
To dominate the leaderboards in Royal Revolt 2: Tower Defense, you must move beyond basic unit deployment and begin mastering the mechanical nuances of high-level raiding. Professional players maintain high win rates not just through raw power, but by manipulating defensive AI, neutralizing area-of-effect threats, and creating optimal "spell windows" that dismantle even the most fortified kingdoms. This guide breaks down the essential professional techniques required to overcome the toughest defensive layouts.
Neutralizing the Werewolf Howl Mechanic
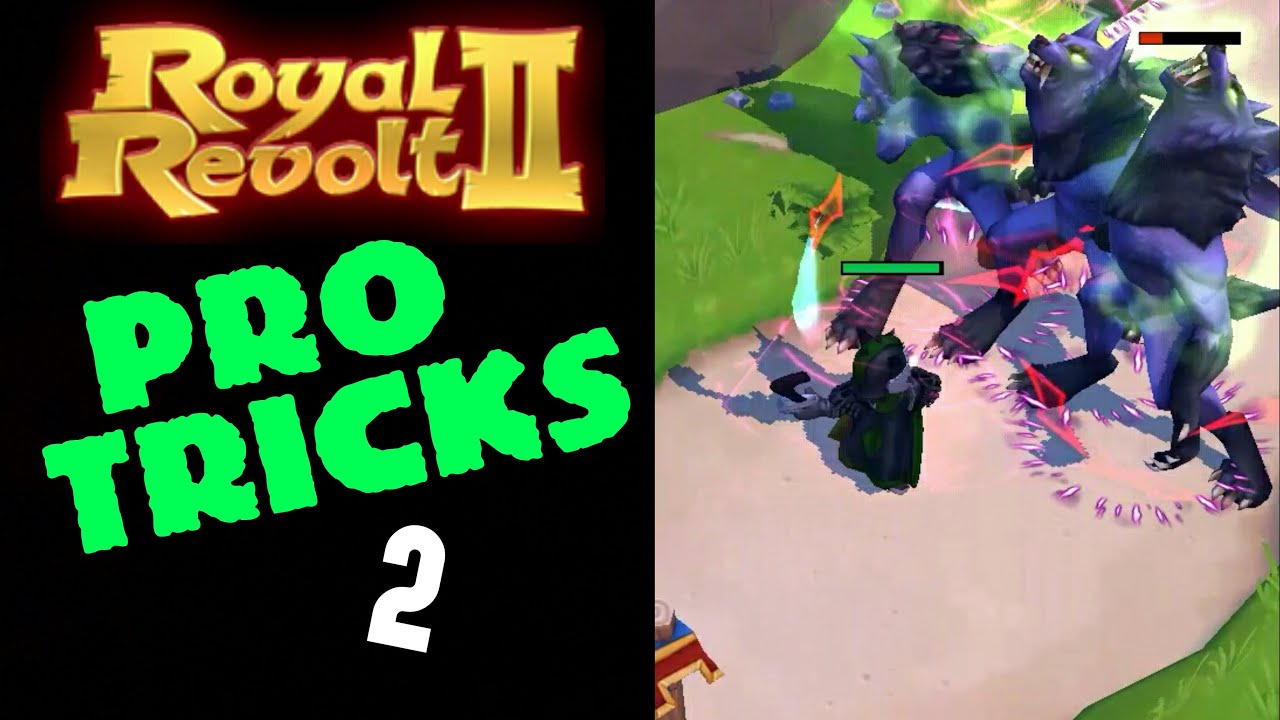
The Werewolf is a staple of high-level defensive layouts, and its "Howl" ability is the single most common cause of failed raids for intermediate players. The howl acts as a potent crowd-control mechanic that disrupts your army’s pathing and leaves them vulnerable to secondary damage sources.
The Pro Strategy: The Hero-Bait Never allow your primary army swarm to engage a Werewolf head-on if its howl is off cooldown. Instead, lead with your hero. As you approach the Werewolf’s detection radius, move your hero slightly ahead of the pack. The goal is to trigger the Werewolf’s AI to initiate the howl animation specifically on your hero.
- The Cue: Watch for the distinct audio-visual windup.
- The Reposition: Once the animation starts, immediately move your hero away from the center of the path.
- The Push: Because the howl has a fixed area of effect, baiting it to the edge of the path allows your main army to bypass the Werewolf safely while the unit is locked into its long "howl" animation, rendering it unable to attack or reposition effectively.
Optimizing Spell Perk Synergies
In Royal Revolt 2: Tower Defense, your spell loadout is the difference between a clean sweep and a time-out. Many players fall into the trap of selecting passive stat-boost perks that fail to address the specific flow of a raid. To succeed, you must build for "Spell Cycling."
Focus on Cooldown Reduction (CDR)
Your goal is to have your freeze, stun, and damage spells available for every major defensive cluster. Prioritize gear and perks that provide:
- Spell Cooldown Reduction: Essential for keeping your utility spells ready for back-to-back tower encounters.
- Duration Extenders: Crucial for freeze spells; an extra 0.5 seconds can mean the difference between your units clearing a Basilisk tower or getting wiped out.
- Mana Efficiency: Allows you to cast more frequently without waiting for the slow passive mana regeneration.
The Pro Insight: Always pair your crowd-control spells with your hero’s specific gear. If your hero gear buffs "Stun" damage, your spell rotation should prioritize stuns over freeze, creating a compounding damage effect that clears towers faster than your raw unit DPS could manage alone.
Managing Unit Pathing and Aggro
Defensive towers in Royal Revolt 2: Tower Defense operate on a priority targeting system. If you deploy your units in a single clump, they become easy targets for splash-damage towers like mortars or flamethrowers. You must learn to manipulate "Aggro" to protect your high-damage, low-health units.
The Tank-and-Spank Protocol
- Deploy your "Tank" units first: Use high-health units like Paladins or Knights to enter the defensive radius first. They soak up the initial volley of fire.
- Staggered Deployment: Drop your ranged units (Archers, Cannoneers) 2–3 seconds after your tanks. This keeps them outside the immediate range of defensive traps and allows them to focus fire on the towers currently distracted by your tanks.
- The "Hero-Shield" technique: If your tanks are low on health, move your hero to the front of the line. The hero acts as a "super-tank" that can absorb massive amounts of punishment, buying your ranged units the extra seconds needed to destroy critical defensive structures.
Exploiting Defensive Blind Spots
Every base layout, no matter how complex, has a "pathing weakness." Pro raiders spend the first few seconds of a match scouting the defensive architecture to find the "dead zone"—an area where towers cannot overlap their fire.
How to identify and exploit these spots:
- Look for spacing: Towers that are placed at maximum range often have a small gap between them.
- Use the Hero to Scout: Push your hero into a suspected gap. If the defensive towers don't immediately fire, you have found a path that allows your units to bypass the primary defensive cluster.
- Isolate and Destroy: Once you find a path, use your spells to freeze the defensive structures on the outside of your path, creating a "safe corridor" for your army to move through while ignoring the bulk of the base's internal defenses.
Strategic Trade-offs and Risks
While these techniques are powerful, they introduce the risk of "Hero-Sniping." By constantly putting your hero on the front line to bait abilities or absorb aggro, you risk losing your most valuable asset.
- The Danger Zone: If your hero falls, you lose the ability to cast spells and provide passive army buffs. This almost always results in a failed raid.
- The Mitigation: Only use your hero as a tank when your spell cooldowns are ready. If your spells are on cooldown, play conservatively. Pull your hero back behind your units and let the "tank" units do their job.
- Gear Check: These tactics are force multipliers. If your hero’s level is significantly lower than the defensive towers, no amount of baiting will prevent them from being melted. Always ensure your hero’s health and armor stats are prioritized alongside your offensive capabilities to survive the "baiting" phase.
Final Summary for Success
To reach the top tier of Royal Revolt 2: Tower Defense, you must treat every raid as a tactical puzzle rather than a brute-force encounter. By baiting the Werewolf howl, prioritizing cooldown-reduction perks, managing unit aggro through staggered deployment, and identifying the structural gaps in base designs, you gain a massive advantage over the average player. Remember that speed is important, but consistency in your spell rotations and hero positioning is what actually wins the war. Practice these steps in lower-level raids to build the muscle memory required to pull off these maneuvers under the pressure of a high-level competitive match.

Free Royal Revolt 2: Tower Defense Codes
Current active codes and how to redeem them.

James Brown
James focuses on Android gaming on PC, emulator setup, controls, performance tuning, and practical troubleshooting for longer play sessions.
COMMUNITY
Player Comments
58 players commented on this guide.
The explanation is clear, especially for beginners.
Good guide for Royal Revolt 2: Tower Defense players. The strategy part was useful.
I tried this today and it worked better than my old setup.
I wish I had read this before upgrading the wrong thing.