
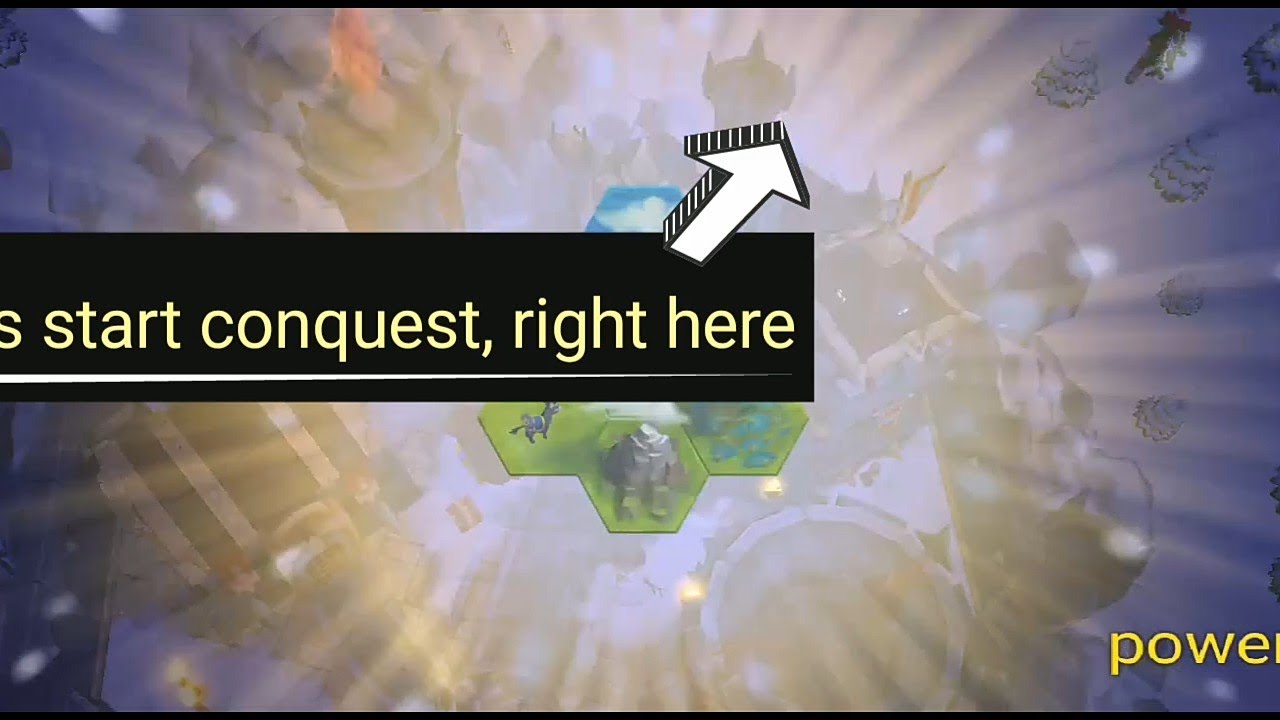
To dominate the Conquest event in Royal Revolt 2: Tower Defense, you must shift your mindset from individual raiding to collective territorial management. Conquest is the ultimate test of an alliance's ability to operate as a singular, cohesive unit. Success is not determined by the strength of a single player’s castle, but by the strategic movement of the entire group across the world map to capture, hold, and defend vital nodes.
Understanding the Conquest Map Mechanics
The Conquest map functions as a strategic web. Unlike standard base raiding, where your goals are localized to your own hero and units, the Conquest map is a shared, live environment where territory equals influence.
Nodes are the lifeblood of the event. Each node provides a specific yield for your alliance, and the map is structured in a way that forces alliances to branch out from their starting zones. You must understand that nodes have "connectivity requirements." You cannot simply teleport to a high-value node on the other side of the map; you must create a contiguous path of controlled territory. This mechanic creates a "front line" where the most intense battles occur. Monitoring the map for neutral nodes versus contested enemy territory is the first step in planning your alliance’s daily strategy.
Executing Node Captures and Defensive Holds
Capturing a node in Royal Revolt 2: Tower Defense requires more than just launching an attack; it requires an occupation window. Once your alliance initiates a capture, your forces must remain committed to that node for a set duration.
- The Capture Window: During this time, the node is vulnerable. The most successful alliances use "staggered arrivals" to ensure that as one player’s capture session ends, another’s begins, creating a continuous shield over the node.
- The Defensive Hold: Once a node is captured, it begins generating points. Defensive holds are the most common failure point for newer alliances. If you capture a node but immediately move your entire force to the next one, you invite "sniping." Sniping occurs when an enemy alliance detects an undefended node and captures it with minimal effort. Always leave a "buffer" of players online during peak event hours to reinforce your most valuable territory.
Strategic Movement and Energy Resource Management
Energy management is the primary constraint in the Conquest event. Every movement and every capture attempt consumes resources, meaning you cannot afford to waste actions on low-value nodes.
To maximize your efficiency:
- Prioritize High-Yield Nodes: Before the event begins, have your alliance leadership identify the highest point-generating nodes. Your pathing should be a direct line toward these objectives.
- Avoid "The Snake" Strategy: Extending your territory in a long, thin line makes your alliance extremely vulnerable. If an enemy cuts your line in the middle, you lose control of all nodes past the break.
- Consolidate: Focus on "clustering" your nodes. A tight, circular, or square-shaped territory is significantly easier to defend than a sprawling, thin line. It allows your members to reinforce each other’s nodes with minimal movement costs.
Coordinating with Your Alliance
Royal Revolt 2: Tower Defense is designed to reward communication. The Conquest event is nearly impossible to win as a solo player or a disorganized group.
- Sector Delegation: Divide your map into sectors. Assign specific teams of players to be "responders" for each sector. If a node in Sector A is attacked, the team assigned to that sector should prioritize defense, while the rest of the alliance continues their offensive push.
- Synchronized Pushes: The most effective way to break an enemy line is a "synchronized push." By having multiple alliance members attack a single high-value enemy node at the exact same time, you can overwhelm their defenses, forcing the opponent to choose which nodes to abandon and which to prioritize.
- External Communication: Relying solely on in-game chat can be slow. High-ranking alliances often use Discord or similar platforms to coordinate movement in real-time, allowing for rapid pivots when an enemy alliance makes an unexpected move.
Avoiding Common Strategic Mistakes
Even experienced players often fall into traps that cost their alliance the win. Avoid these frequent blunders:
- Overextension: The desire to grab as much territory as possible is the primary cause of defeat. If you cannot defend a node, do not capture it. Every node you cannot protect is simply a gift of points to your rivals.
- Ignoring Peak Activity Hours: Conquest is a war of attrition. If your alliance members are all offline during the final hours of the event, you will lose your territory to active, coordinated rivals. Identify your alliance's "power hours"—the time when the most members are active—and concentrate your major pushes during these windows.
- Ignoring Node Tiering: Not all nodes are created equal. Some nodes offer strategic advantages, such as providing a gateway to better areas or acting as a defensive chokepoint. Learn the map layout and prioritize these "key" nodes over generic resource points.
Making the Final Decision
When the event nears its end, you must shift from a growth mindset to a preservation mindset. If you are in a winning position, stop expanding. Instead, focus entirely on reinforcing your current holdings. If you are trailing, identify the enemy's weakest link—the node they are least capable of defending—and launch a concentrated, alliance-wide strike.
Mastery of the Conquest event in Royal Revolt 2: Tower Defense comes down to the balance between aggression and stability. Keep your pathing tight, keep your alliance communication high, and never assume a node is safe just because you captured it. By treating the map as a living, breathing tactical environment, you will secure the rewards and the victory your alliance deserves.

Free Royal Revolt 2: Tower Defense Codes
Current active codes and how to redeem them.

Emily Johnson
Emily writes practical mobile strategy guides with a focus on resource planning, base progression, and the early decisions that shape a long-term account.
COMMUNITY
Player Comments
156 players commented on this guide.
The tips are practical and easy to follow.
Nice guide. I am checking the other Royal Revolt 2: Tower Defense articles next.
I tried this today and it worked better than my old setup.
I wish I had read this before upgrading the wrong thing.