
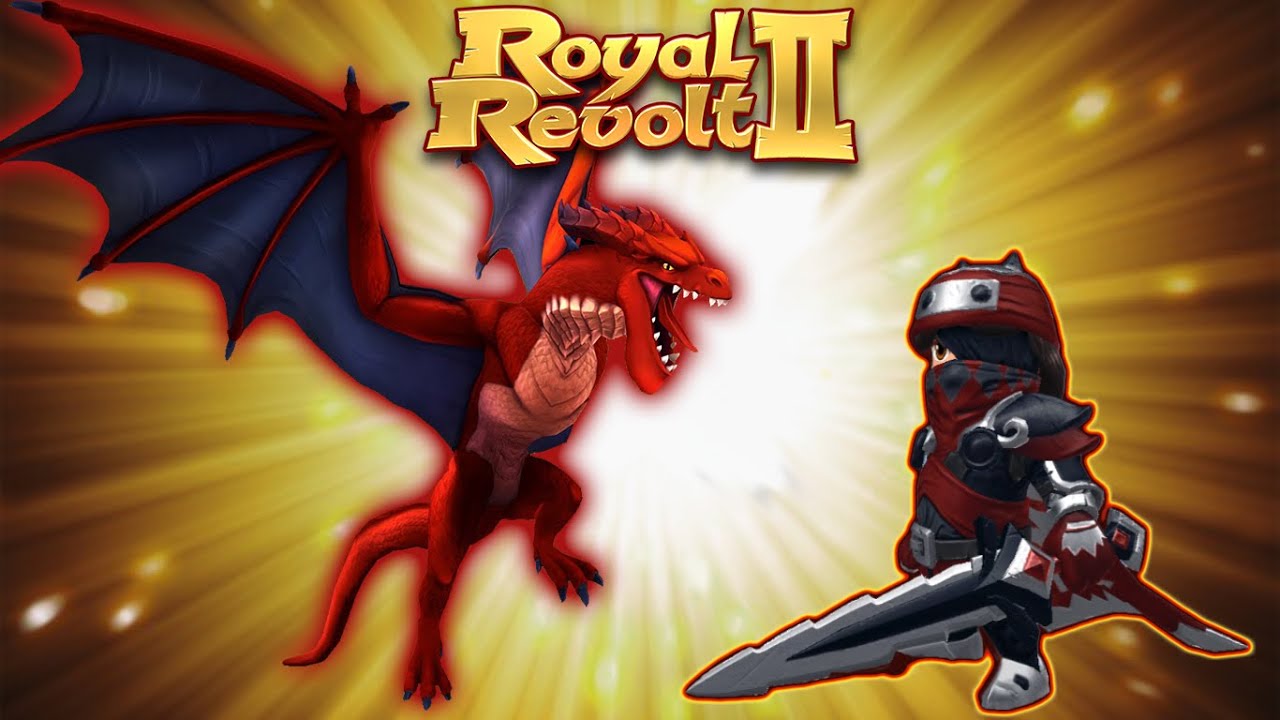
In the strategic landscape of Royal Revolt 2: Tower Defense, success is defined by your ability to overcome intricate pathing and concentrated defensive fire. The synergy between the Dracomancer and the Fire-Dragon is one of the most potent offensive pairings available to players, offering a blend of tactical spellcasting and overwhelming aerial area-of-effect (AoE) damage. By mastering the deployment, positioning, and resource management of these two units, you can effectively neutralize even the most heavily fortified kingdoms.
The Strategic Role of the Dracomancer
The Dracomancer is a specialized spellcasting unit that functions as the "force multiplier" of your army. Unlike frontline troops, the Dracomancer excels at surgical strikes against defensive structures. Its primary value lies in its ability to manipulate the battlefield, softening targets that would otherwise stall your main infantry push.
To utilize the Dracomancer effectively, you must understand its role as a backline support unit. Because it possesses lower health than traditional tanks, it is highly susceptible to being focused down by archer towers or defensive hero spells.
- Optimal Positioning: Always place your Dracomancer behind a "meat shield" of high-HP units like Paladins or Knights. This keeps the Dracomancer alive long enough to cast multiple spells, which is essential for clearing paths.
- Targeting Priority: Use the Dracomancer to focus on high-priority towers that are tucked behind walls. By disabling or weakening these, you prevent your army from becoming trapped in a "kill zone"—a common point of failure for inexperienced players.
Maximizing the Fire-Dragon’s Aerial Dominance
The Fire-Dragon serves as your primary aerial hammer. Its ability to ignore ground-based pathing and obstacles is a game-changer when raiding bases with complex, winding layouts. When deployed correctly, the Fire-Dragon flies over walls and defensive traps, delivering consistent fire damage that incinerates clustered defenders.
However, the Fire-Dragon is a high-cost asset. Because it occupies a significant portion of your troop capacity, losing it early can spell disaster for your raid.
- Avoiding Anti-Air Traps: Before deploying, scout the enemy base for anti-air towers. If the base is saturated with these, do not deploy the dragon immediately. Wait until your ground troops have engaged and potentially destroyed or distracted these specific threats.
- Synergy with Tanks: The dragon is most effective when the enemy’s defensive attention is split. When ground units are drawing fire from towers, the Fire-Dragon can hover safely over the path, maximizing its DPS without fear of immediate retaliation.
Executing the Perfect Raid Sequence
Successful raiding in Royal Revolt 2: Tower Defense requires a rhythmic approach to deployment. Rather than dumping all your units at once, use this step-by-step sequence to maintain momentum:
- Deploy Ground Tanks: Initiate the raid with high-durability units. Their sole purpose is to draw the initial volley of tower fire and trigger hidden traps.
- Deploy the Dracomancer: Once the tanks have moved roughly halfway down the lane and are actively engaged with the first set of towers, deploy the Dracomancer. This allows it to begin weakening structures without being targeted first.
- Deploy the Fire-Dragon: Wait for the enemy towers to "lock on" to your ground troops. Once the defensive fire is focused on your tanks, deploy the Fire-Dragon to clear the path and eliminate clusters of infantry or towers that your ground units cannot reach.
- Support with Spells: Your hero spells should be reserved for moments when your Dracomancer or Fire-Dragon is under direct threat. Use healing or shielding spells to extend the uptime of these high-value units.
Tactical Trade-offs and Resource Management
While the Dracomancer-Dragon duo is powerful, it is not a "win-button" strategy. You must be aware of the tactical costs involved:
- Troop Capacity Limitations: Because these units are expensive, a heavy reliance on them leaves you with a smaller total number of units on the field. If you are raiding a base with a high volume of low-damage, rapid-fire units, the sheer number of enemy defenders might overwhelm your limited army size.
- The "All-In" Risk: If your raid stalls and your units are destroyed, you are left with a long cooldown period. Balance your loadout by including cheaper, expendable units to act as a buffer. This ensures that even if your Dracomancer or Fire-Dragon falls, you have enough remaining force to continue the push.
Common Mistakes to Avoid
Many players fail when using these units because they underestimate the enemy's defensive response. Avoid these frequent errors:
- Clumping Units: Do not deploy your Dracomancer and Fire-Dragon in the same spot. If an enemy hero uses an AoE spell (like a firestorm or freeze), you risk losing both your support and your heavy hitter simultaneously. Stagger your deployment timings.
- Ignoring Pathing: Even with aerial units, pay attention to the base layout. If the path leads directly into a concentrated cluster of anti-air defenses, consider using your hero to destroy those specific towers before deploying your Fire-Dragon.
- Over-reliance on Air: If the target base has high-level air defenses, the Fire-Dragon may be inefficient. Recognize when to pivot your strategy. Sometimes, swapping the dragon for additional infantry or specialized ground-based siege units is the difference between a 3-star raid and a total loss.
By integrating the Dracomancer and Fire-Dragon into your Royal Revolt 2: Tower Defense loadout with careful planning and precise timing, you gain the ability to dismantle even the most stubborn, optimized defenses. Remember: success in this game is as much about managing your troop economy as it is about brute force. Use these units to create gaps in the enemy’s line, maintain your frontline, and systematically dismantle their kingdom from the inside out.

Free Royal Revolt 2: Tower Defense Codes
Current active codes and how to redeem them.

Sarah Williams
Sarah specializes in RPG and collection games, explaining team building, character growth, and beginner-friendly ways to avoid expensive early mistakes.
COMMUNITY
Player Comments
97 players commented on this guide.
Nice guide. I am checking the other Royal Revolt 2: Tower Defense articles next.
I wish I had read this before upgrading the wrong thing.
I tried this today and it worked better than my old setup.
Good guide for Royal Revolt 2: Tower Defense players. The base building part was useful.