
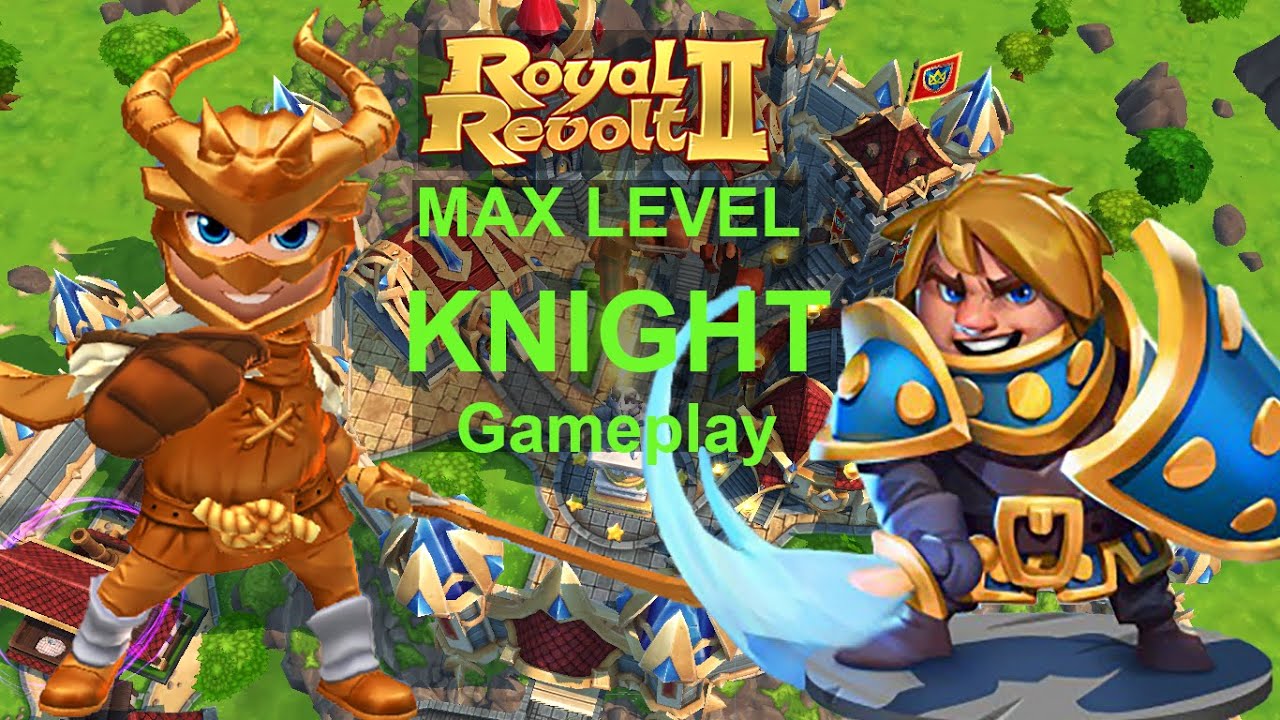
In Royal Revolt 2: Tower Defense, the Knight is the bedrock of a successful offensive strategy. While the game offers a wide array of units, the Knight stands out as the most versatile frontline soldier due to its exceptional durability and, crucially, its natural resistance to poison damage. Whether you are climbing the ranks or raiding high-level kingdoms, understanding how to leverage the Knight is the key to breaking through fortified defensive perimeters.
Why the Knight is Your Primary Frontline Asset
The Knight acts as the essential "anchor" for your army. In Royal Revolt 2: Tower Defense, defensive layouts are designed to punish players who rush in with squishy units. Towers, traps, and environmental hazards often focus on crowd control and damage-over-time (DoT) effects.
The Knight’s inherent resistance to poison is its greatest tactical advantage. Because many endgame defensive bases rely on poison clouds and toxic traps to drain health pools quickly, the Knight can navigate these "death zones" while remaining combat-effective. Unlike other units that may crumble under the weight of sustained poison exposure, the Knight maintains its health pool, ensuring your army’s momentum does not stall out in the middle of a raid.
Strategies for Mitigating Defensive Poison
Poison damage is the silent killer in Royal Revolt 2: Tower Defense. When you encounter bases with layers of poison-spewing towers, your standard units will evaporate before they even reach the core. To counter this, your raid strategy must revolve around the Knight’s "shield" capability.
- The Vanguard Approach: Always deploy your Knights first. By sending them into the path ahead of your hero and damage-dealing units, you force the defensive towers to lock onto your most durable assets.
- Buffer Zones: Use Knights to absorb the initial "tick" of damage from poison traps. By letting the Knights lead, you create a safe corridor for archers, mages, or other glass-cannon units to follow behind and dismantle structures without taking environmental damage.
- Consistency is Key: A level-capped Knight functions differently than a low-level one. At max level, the health pool becomes substantial enough to survive prolonged exposure to multiple poison sources, effectively buying your backline the extra seconds needed to secure a three-star victory.
Integrating Knights into Optimal Army Compositions
The Knight is a tank, not a primary damage dealer. Therefore, you must pair it with units that capitalize on the distraction the Knight provides. A common mistake is fielding too many Knights, which leaves you with a slow-moving army that lacks the DPS to clear towers before the raid timer expires.
Recommended Tactical Placements:
- The Tank-and-Spank: Position your Knights to engage defensive towers while your hero uses area-of-effect (AoE) spells or ranged attacks to destroy the structure. The tower will focus the Knight, keeping your hero safe.
- Pathing Diversion: In complex base layouts, use a small squad of Knights to distract secondary defenses, creating a clear path for your main force to strike the Throne Room.
- The "Safety Net": When facing a high-threat zone, hold back your more fragile units until the Knights have cleared the initial traps. This prevents your damage dealers from dying to incidental splash damage.
Managing Resource Allocation and Progression
Resource management in Royal Revolt 2: Tower Defense is finite. Because the Knight remains relevant from your first raid to the highest competitive tiers, it is one of the safest investments for your gold and resources.
When deciding which units to upgrade, prioritize the Knight if you find yourself failing raids due to "unit depletion"—the scenario where your army dies before reaching the objective. A higher-level Knight increases your survival probability exponentially. However, always keep an eye on your army capacity. If you over-invest in melee, you will lack the speed required to finish raids quickly. Balance your Knight count with enough high-damage units to ensure you aren't just surviving, but actually conquering.
Expert Tips for Max-Level Performance
At max level, the Knight transitions from a basic infantry unit into a tactical powerhouse. At this stage, you should be using your Knights as "terrain clearers."
- Synchronize Spells: The Knight is relatively slow. Use speed-boosting spells or healing abilities specifically to keep your Knight squad in the fight longer. If your Knights survive, your entire army stays alive.
- Base Layout Adaptation: High-level players often build "death funnels" filled with poison. A max-level Knight can walk through these funnels with minimal support, allowing you to bypass the trap-heavy pathing and strike the base from an unexpected angle.
- The "Tank-Hero" Synergy: Always ensure your hero is positioned behind the Knight. If your hero takes poison damage, you lose your ability to cast essential spells. Let the Knight soak the toxins so your hero can focus on casting and pathing.
Common Mistakes to Avoid
Even experienced players often fall into these traps when using the Knight:
- Deploying Everything at Once: Do not drop your entire army simultaneously. Deploy your Knights, give them a moment to draw aggro, and then deploy your secondary units. This ensures your damage dealers aren't caught in the initial blast radius of traps.
- Ignoring Unit Speed: Knights are tanky but slow. If you don't use movement speed spells, you may find yourself running out of time. Always carry a speed-related spell in your loadout when relying on heavy melee units.
- Neglecting Hero Support: Never assume the Knight can win alone. The Knight is a force multiplier, not a solo unit. Without hero support, even a max-level Knight will eventually be overwhelmed by concentrated tower fire.
Conclusion: Why the Knight Remains Meta
The Knight is the cornerstone of Royal Revolt 2: Tower Defense for a reason: it solves the problem of "environmental attrition." By providing a consistent, poison-resistant frontline, it allows you to dictate the pace of the raid. Whether you are a F2P player looking for the best return on investment or a competitive raider aiming for the top of the leaderboard, the Knight is a unit that never goes out of style. Master the placement, time your support spells, and use your Knights as the vanguard that clears the path to victory.

Free Royal Revolt 2: Tower Defense Codes
Current active codes and how to redeem them.

James Brown
James focuses on Android gaming on PC, emulator setup, controls, performance tuning, and practical troubleshooting for longer play sessions.
COMMUNITY
Player Comments
32 players commented on this guide.
I wish I had read this before upgrading the wrong thing.
This helped me understand base building much better.
Can you add more details about base building in a future update?
This saved me time in the early game.