
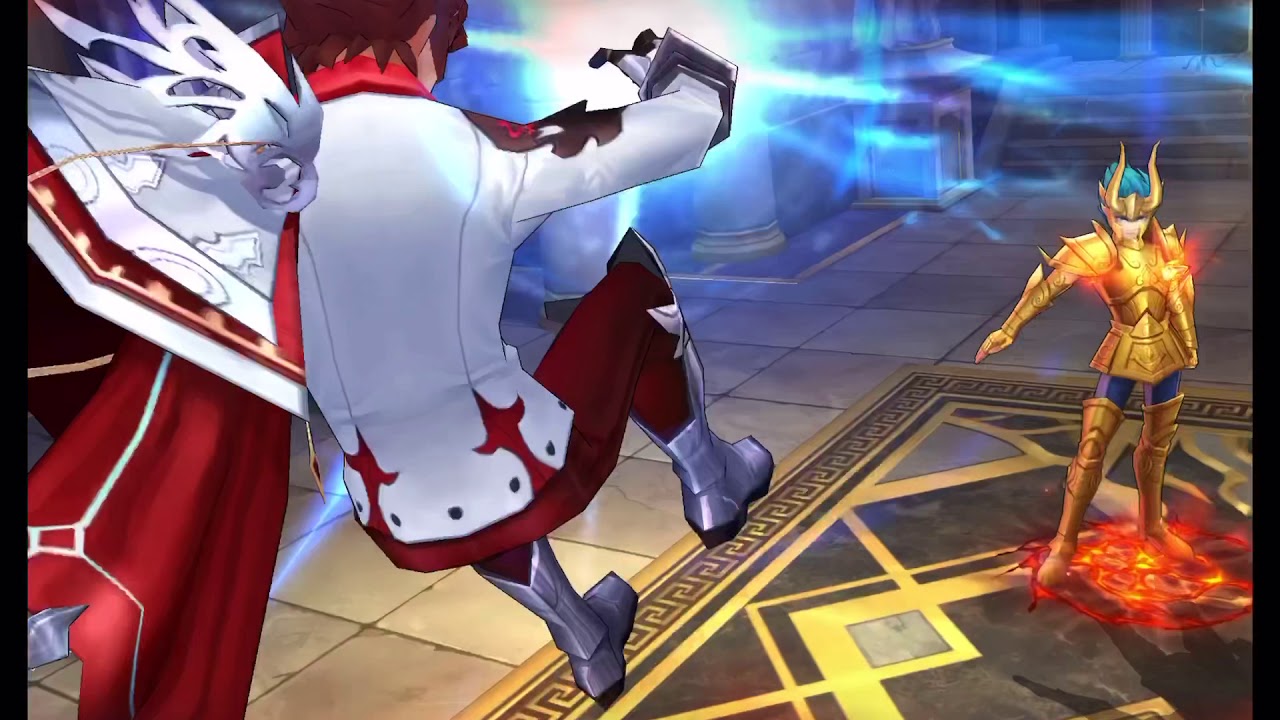
Clearing Floor 21 of the Golden Zodiac in Saint Seiya Awakening—the stage featuring the formidable Capricorn Shura—is a quintessential "gear check" and "strategy check" encounter. Shura is renowned for his lethal single-target physical damage, specifically his ability to execute units that fall below certain health thresholds. To defeat him, you must shift your mindset from pure glass-cannon DPS to a survival-oriented strategy that prioritizes damage mitigation, consistent healing, and strict energy management.
Understanding Shura’s Mechanics
Before attempting to rush the boss, you must understand why Shura consistently wipes teams. His kit focuses on "Excalibur," a series of physical strikes that shred armor and deal massive damage to a single target.
- Execution Risk: Shura’s deadliest trait is his ability to finish off weakened targets. If your units have low Physical Damage Resistance (PDR), he will cut through them in a single turn.
- Turn Order Advantage: Shura acts quickly. If your support units are slower than the boss, you will be unable to heal the damage taken during his initial onslaught, leading to a "death spiral" where your team is constantly playing catch-up.
- Targeting Priority: While Shura often targets the unit with the lowest health or the highest damage output, he can be unpredictable. You must ensure that even your "squishiest" damage dealer has enough defensive padding to survive at least one full rotation of his skills.
The Core Team Composition Strategy
In Saint Seiya Awakening, the mistake most players make in Temple 21 is bringing three or four pure DPS units. This stage is designed to punish teams that lack sustain. A winning formation typically follows a 2-2-1 structure: two dedicated sustain units, two damage dealers, and one utility/energy generator.
Essential Roles:
- The Healer/Shield Provider: Units like Saori Kido (for revives and damage reduction) or Marine (for consistent group healing) are non-negotiable. If you lack a high-tier healer, prioritize units that provide damage-sharing or shields (e.g., June or Mu) to spread the incoming damage across your entire party.
- The Tank/Damage Mitigator: Use a unit that can draw aggro or provide team-wide physical defense buffs. Increasing your team’s overall PDR is significantly more effective than stacking raw HP.
- The DPS Engine: Select two damage dealers who can sustain damage over long periods rather than units that rely on one-shot burst mechanics. Sustained damage dealers often have better defensive passives, which are crucial for this floor.
Mastering Energy Efficiency
Energy is the most limited resource in Saint Seiya Awakening. In the Shura fight, every point of energy spent must contribute to either survival or tactical progress.
- The Three-Turn Rule: Plan your energy usage in three-turn cycles. If you know Shura is about to launch an "Excalibur" barrage, you must reserve enough energy for your healer or shield provider to act immediately after he attacks.
- Generator Priority: If you are running an energy generator like Kiki, ensure their speed stat is the highest on your team. This guarantees that you have the energy pool ready before your main attackers even move.
- Avoiding Overkill: Do not waste energy on "over-healing" if your units are at 90% health. Use that energy to boost your damage dealers' output or refresh a defensive shield. Efficiency is what separates a win from a slow, inevitable defeat.
Essential Cosmos and Sub-stat Tuning
If you find your team is being one-shot by Shura, your level or rarity is likely not the issue—your Cosmos setup is. For Temple 21, you need to re-evaluate your equipment with a focus on survivability.
- PDR (Physical Damage Resistance): This is the single most important stat for this fight. Equip Cosmos like "Tenacity" or others that provide flat or percentage-based physical resistance.
- Speed Tuning: Ensure your healers and utility units act before your DPS units. If your healer acts after your DPS has already taken a hit and died, the turn was wasted.
- Health Sub-stats: Aim for sub-stats that grant HP percentage boosts. Even a 5-10% increase in total health can prevent the "execution" threshold from triggering during Shura’s turn.
Common Mistakes to Avoid
- Ignoring the "Adds": Sometimes players focus exclusively on the boss and ignore the supporting mobs. If the adds are providing buffs to Shura, clear them first. A longer fight is better than a short fight where the boss is buffed to an unkillable state.
- Neglecting Synergy: Don't just pick your highest-level characters. A level 80 character with no synergy will perform worse than a level 70 team designed to work together (e.g., June linking damage for your tank).
- Panic-Healing: Don't heal just because you have energy. Wait until the boss has finished his turn to maximize the value of your healing output, unless a unit is at risk of being killed in the next hit.
Final Tactical Advice
Success against Capricorn Shura is an iterative process. If you fail, look at the combat log to see which unit died first and why. Was it a lack of healing? Did they get focused down by the boss's single-target skills?
Once you identify the weak link, adjust their Cosmos for more physical defense. If you are still struggling, swap one DPS unit for a secondary support. Saint Seiya Awakening rewards the patient strategist; by lowering your damage output slightly to accommodate a second healer, you turn a high-risk, high-failure encounter into a controlled, manageable victory. Keep your team healthy, cycle your energy for defensive priority, and Shura will eventually fall to your persistence.
Free Saint Seiya Awakening Codes
Current active codes and how to redeem them.

Sarah Williams
Sarah specializes in RPG and collection games, explaining team building, character growth, and beginner-friendly ways to avoid expensive early mistakes.
COMMUNITY
Player Comments
111 players commented on this guide.
I tried this today and it worked better than my old setup.
This guide answered the exact question I had.
Nice guide. I am checking the other Saint Seiya Awakening articles next.
Good guide for Saint Seiya Awakening players. The strategy part was useful.