
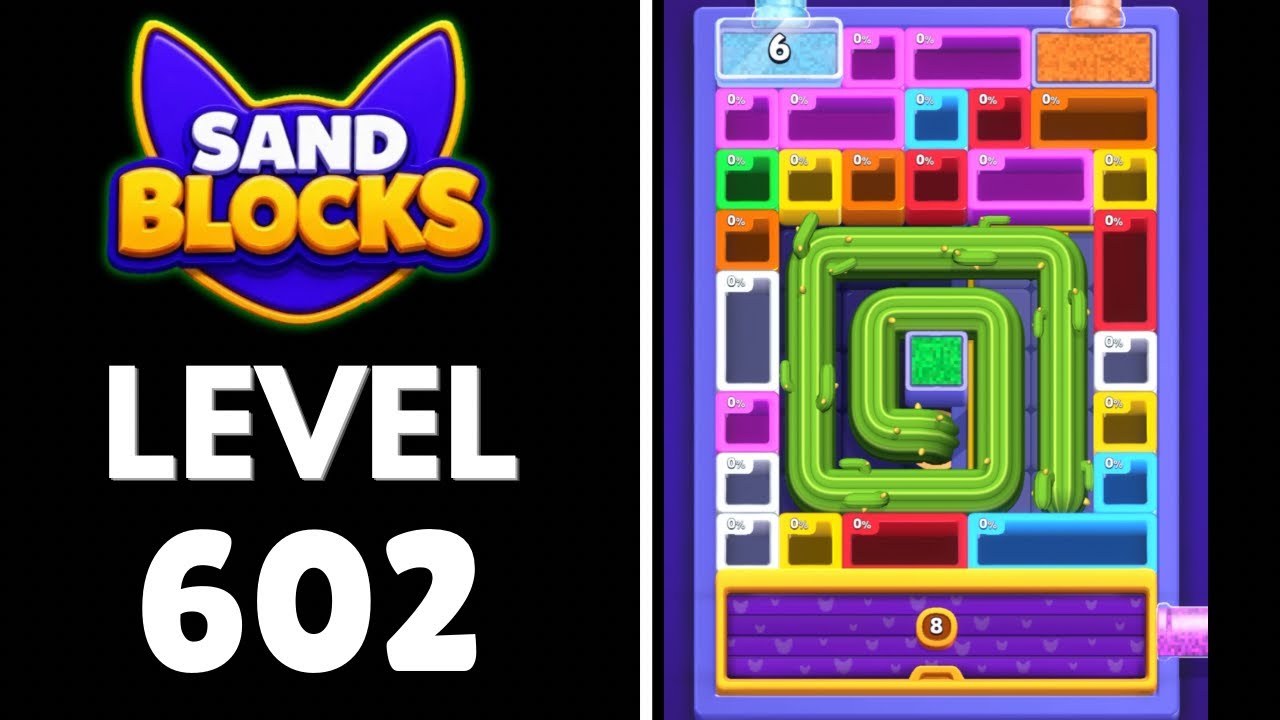
To beat Level 602 in Sand Blocks: Drop Puzzle, create unbroken, single-color horizontal bands that stretch entirely from the left wall to the right wall, prioritizing clears along the bottom of the board. Falling blocks disintegrate into loose sand granules upon impact. Dropping blocks into existing depressions rather than onto steep peaks keeps the sand compact and prevents grains from spreading across the board.
Controlling Sand Flow and Board Shape
Falling blocks break apart the moment they touch a surface. If you drop a piece onto a sharp mound, the loose grains roll down the slope and scatter across adjacent columns. This dispersion dilutes the color density required to complete a row.
- Target low pockets: Drop incoming shapes into natural dips to contain spreading sand and maintain dense color clusters.
- Maintain a center basin: Keep the middle columns slightly lower than the sides. A shallow dip funnels incoming pieces toward the center without pushing granules toward the top boundary.
- Prevent wall bottlenecks: Sand stacks steeply along the outer boundaries. If piles rise too high against the left or right walls, incoming wide pieces will break prematurely near the top line.
Isolating Colors and Drop Layers
Color mixing is the primary cause of failed attempts on Level 602. Thin layers of alternating colors prevent full wall-to-wall connections, leaving clogged rows that require extra moves to clear.
When positioning blocks, concentrate matching colors into dedicated sections:
- Cluster identical shades: Guide matching pieces toward existing sand pools of the same color to prepare wide rows.
- Avoid layering over incomplete colors: Dropping a different color across an unfinished span traps the grains beneath it until the upper layer clears.
- Isolate off-color pieces: If a piece does not match your active horizontal lane, route it to an outer column where it will not disrupt your primary row setup.
Row Clearing Priority
The vertical position of a row clear determines how the remaining sand settles across the grid.
| Clear Level | Board Impact | Strategic Value |
|---|---|---|
| Bottom Rows | Pulls the entire sand structure downward, compressing fragmented pockets. | Highest priority; reclaims the most vertical space safely. |
| Mid-Board Rows | Drops elevated piles into lower depressions, which can trigger secondary chain clears. | Situational; useful for exposing buried colors. |
| Top Rows | Trims sand near the ceiling without shifting the lower foundation. | Emergency measure; prevents an immediate loss near the top boundary. |
Execution Checks to Prevent Early Fails
Keep these operational checks in mind as the board fills:
- Rotate shapes before dropping: Verify block orientation before release so sand does not scatter across two separate color setups.
- Track the upper ceiling: The run ends immediately if settled sand touches the top boundary line.
- Avoid stacking narrow pillars: Dumping mismatched pieces repeatedly into one corner creates a vertical spike that blocks wider pieces from reaching the lower board.
Free Sand Blocks: Drop Puzzle Codes
Current active codes and how to redeem them.

Emily Johnson
Emily writes practical mobile strategy guides with a focus on resource planning, base progression, and the early decisions that shape a long-term account.
COMMUNITY
Player Comments
103 players commented on this guide.
This helped me understand strategy much better.
I wish I had read this before upgrading the wrong thing.
The explanation is clear, especially for beginners.
Can you add more details about strategy in a future update?