
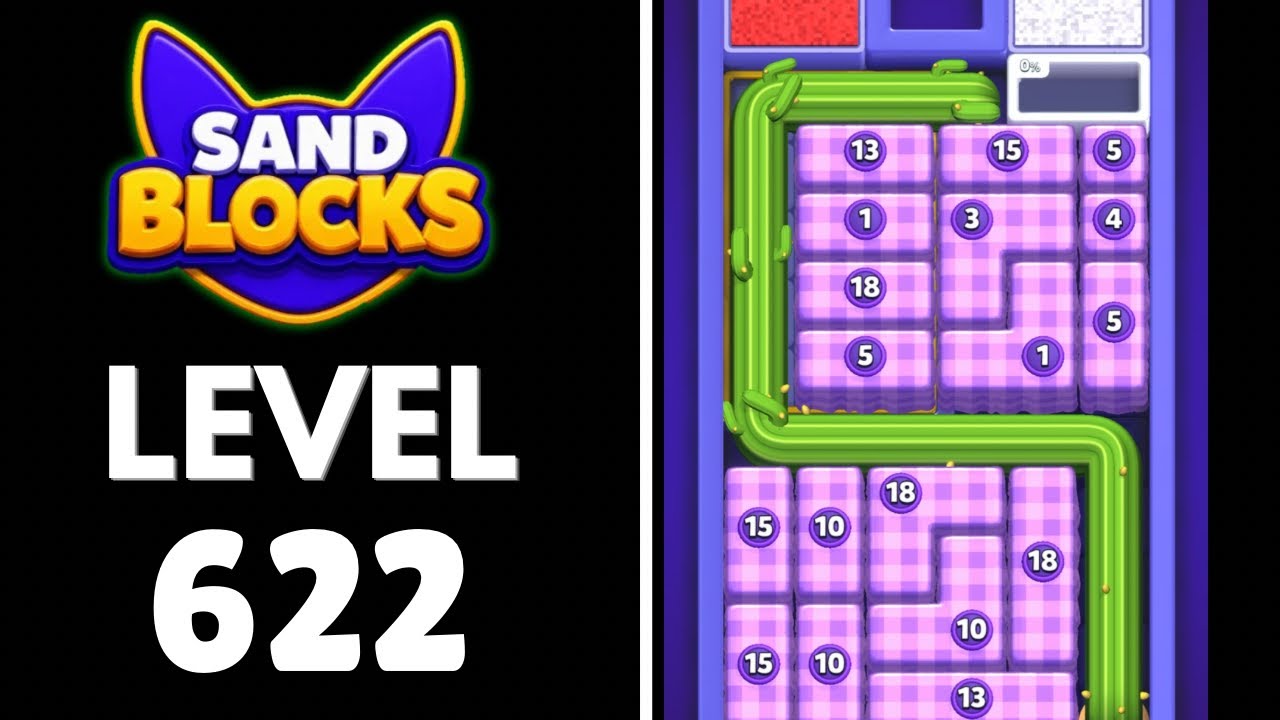
To beat Level 622 in Sand Blocks: Drop Puzzle, connect matching sand colors continuously from the left wall to the right wall while keeping block piles below the top boundary line. Tetromino-shaped pieces disintegrate into loose grains upon landing, sliding down slopes according to gravity and altering the board layout with every drop. An unbroken physical band of a single color touching both side walls dissolves that layer and lowers overall elevation. If blocks stack up to the ceiling before you clear enough sand, the run fails.
Managing Dune Formation and Board Contours
Dropping blocks into the middle of the grid causes sand to spill outward at roughly 45-degree angles, creating tall central dunes. A tall center peak makes incoming pieces tumble unpredictably down the sides, which can contaminate lower rows that are nearly finished.
To maintain control over the sand's flow, drop pieces against the perimeter walls. The side borders act as retaining walls that catch sliding grains and force particles inward, creating a concave basin rather than a pyramid. A concave board makes it easier to level the floor with wide, horizontal drops.
| Board Scenario | Recommended Placement | Operational Risk |
|---|---|---|
| Deep gap along a side wall | Drop horizontal matching blocks directly against the edge | Sand compacts well, but overfilling one side creates an awkward center valley |
| Broad, low basin across the floor | Spread matching color blocks evenly across the base | Guarantees a line clear, but leaves fewer landing slots for odd-shaped pieces |
| Split colors on the same elevation | Direct contrasting colors away from the active bridge toward outer walls | Keeps the primary clear line open, but temporarily elevates secondary piles |
Handling Multi-Colored Pieces Without Contamination
Lines only dissolve when an unbroken band of one identical color connects both side walls. A single stray grain or gap of a different color acts as an insulator, breaking the circuit and trapping the sand underneath. When pieces with multiple colors appear, place them using these sorting priorities:
- Rotate the piece so the segment matching the base layer faces downward, allowing it to merge directly into the active bridge.
- Position the secondary, non-matching segment against an outer wall or on top of a dormant pile where it will not obstruct the active line.
- If an unintended color contaminates an active bridge, switch priorities immediately to complete and clear the top color, which reopens access to the trapped sand beneath it.
Setting Up Cascades to Clear Sand Safely
When a bottom sand layer dissolves, all sand resting above it drops straight downward. Laying clean tiers of matching colors allows you to trigger automated cascade reactions, clearing significant volume in a single turn.
- Check incoming pieces to identify two colors that can be stacked in separate horizontal bands.
- Fill roughly 80 to 90 percent of the bottom color band across the grid floor.
- Drop a continuous layer of the second color directly on top of the unfinished bottom band.
- Place the final matching piece into the bottom band to complete the connection to both side walls.
- Let the bottom layer dissolve, causing the upper tier to fall into the empty floor and trigger an immediate secondary clear.
Cascade setups are effective, but they require vertical space. Only build multi-tiered setups when the total sand volume sits below the halfway mark of the board. If the sand reaches the upper third of the grid near the danger line, abandon cascade plans and clear single lines immediately to avoid topping out.
Free Sand Blocks: Drop Puzzle Codes
Current active codes and how to redeem them.

James Brown
James focuses on Android gaming on PC, emulator setup, controls, performance tuning, and practical troubleshooting for longer play sessions.
COMMUNITY
Player Comments
135 players commented on this guide.
I wish I had read this before upgrading the wrong thing.
This guide answered the exact question I had.
This helped me understand strategy much better.
The explanation is clear, especially for beginners.