
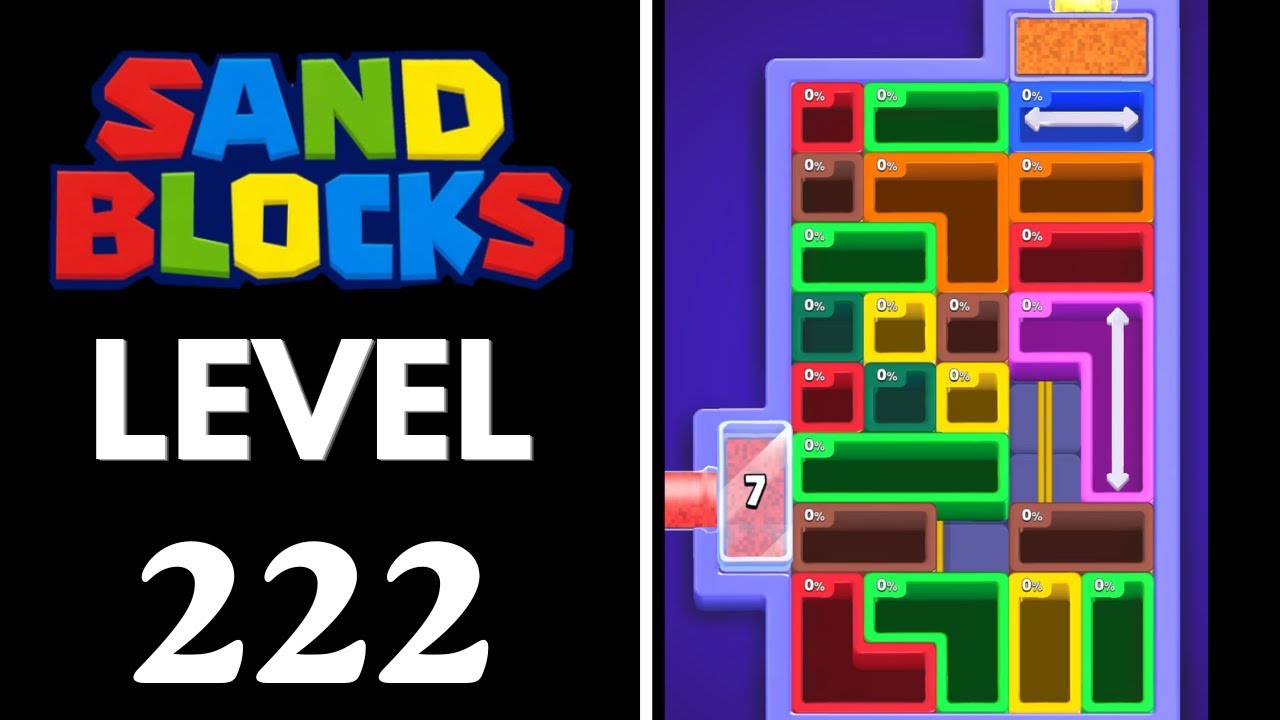
To beat Level 222 in Sand Blocks: Drop Puzzle, you must keep your board height low by routing matching sand colors into unbroken horizontal bands connecting the left and right walls. Dropped shapes crumble into loose sand upon landing, which easily spills across rows if piled too high. Prioritize spreading sand across low troughs, discard mismatched colors into outer corners, and complete full wall-to-wall color connections before rising piles hit the top ceiling hazard line.
Core Board Mechanics and Rules
Success on Level 222 requires managing loose granular physics within a narrow vertical margin. Blocks crumble immediately upon touching the ground or settled debris, flowing downward and outward into adjacent depressions.
A line only clears when a single, unbroken color stretches completely from the left boundary to the right boundary. If a stray particle of another color interrupts that band, the sand will not dissolve.
| Mechanic | Tactical Impact on Level 222 | Required Player Action |
|---|---|---|
| Granular Collapse | Blocks break into sand and roll diagonally down steep slopes. | Orient pieces horizontally to disperse sand evenly across multiple columns. |
| Wall-to-Wall Dissolve | Clears require an uninterrupted single color touching both side walls. | Dedicate full horizontal layers to one color instead of stacking mixed vertical columns. |
| Top Hazard Boundary | Sand reaching the ceiling line triggers an immediate loss. | Keep center columns lower than the edges to handle tall or awkward drops. |
| Alternating Drop Queue | Incoming pieces regularly switch between non-matching colors. | Park off-color shapes along side walls to protect your active clearing layer. |
Early-Drop Placement and Color Segregation
Your opening moves establish whether the board stays manageable or becomes cluttered with mixed sand. Avoid dropping contrasting colors onto each other in the center third of the board during your initial turns.
- Check the piece queue: Identify your primary incoming color and commit to establishing it across the lowest floor layer.
- Create a center depression: Route early drops toward the outer walls. Leaving the center slightly lower gives rolling particles a natural trough to settle into without spilling over into other zones.
- Isolate mismatched pieces: If a piece does not match your active floor color, drop it flat against an outer flank. Keeping off-colors contained along one wall prevents them from contaminating the main horizontal clear path.
Managing Sand Flow and Preventing Center Peaks
The most common failure point in Level 222 is allowing sand to form a steep pyramid in the center columns. Because sand naturally slides down inclines, a central peak forces falling particles to scatter across both sides of the board, burying incomplete color bands.
Follow these structural placement rules to maintain a stable board profile:
- Target the lowest troughs: Always place incoming blocks into the deepest open dip on the board to keep the overall surface level.
- Rotate pieces flat: Orient wide and long pieces horizontally so their mass distributes across three or four columns rather than stacking vertically.
- Flatten existing mounds: If an uneven drop forms a high mound, place a wide block directly over or adjacent to its crest to push the sand outward into low spots.
- Maintain a dedicated discard corner: Use one corner of the board to absorb unhelpful shapes. Sacrificing a corner protects your primary clearing zone from contamination.
Linking Wall-to-Wall Bands and Setting Up Cascades
Clearing sand requires a continuous line of one color touching both boundary walls. Simply accumulating a deep pile of one color will not trigger a clear if either edge remains detached.
Bridging the Final Gap
When your target color covers 70% to 80% of a horizontal layer, dedicate all matching sand toward closing the remaining gap. Direct pieces directly toward the open boundary wall. Do not drop non-matching colors near this gap, as stray particles will wedge between the wall and your color stream, preventing the line from dissolving.
Executing Secondary Cascades
When a horizontal band dissolves, all sand resting directly above it drops into the empty space. You can use this collapse to trigger consecutive clears:
- Build a secondary color layer directly on top of your primary clearing band.
- Verify that the secondary color forms a continuous, cohesive shape before finishing the bottom layer.
- Drop the final piece to dissolve the lower band.
- Allow the upper sand to settle evenly onto the floor, where it can complete an immediate secondary wall-to-wall connection.
Recovering from Misplaced Sand
If an off-color piece accidentally settles across an active, incomplete color path, do not attempt to dig it out by dropping more blocks on top of it. Piling more sand onto a mistake rapidly pushes your board toward the top ceiling hazard.
Instead, pivot your clearing target. Treat the misplaced sand layer as your new floor baseline. Build a clean, single-color horizontal band directly over the mistake. Clearing that upper layer removes the vertical pressure, often allowing the contaminated sand underneath to shift sideways and reopen your original clearing path. If your columns rise dangerously close to the ceiling line, immediately switch to clearing whichever color is most abundant in your drop queue to regain vertical space.
Free Sand Blocks: Drop Puzzle Codes
Current active codes and how to redeem them.

Michael Smith
Michael covers live-service games, events, reward systems, and efficient daily routines, turning frequent updates into clear actions for players.
COMMUNITY
Player Comments
58 players commented on this guide.
I wish I had read this before upgrading the wrong thing.
This saved me time in the early game.
This guide answered the exact question I had.
This helped me understand strategy much better.