
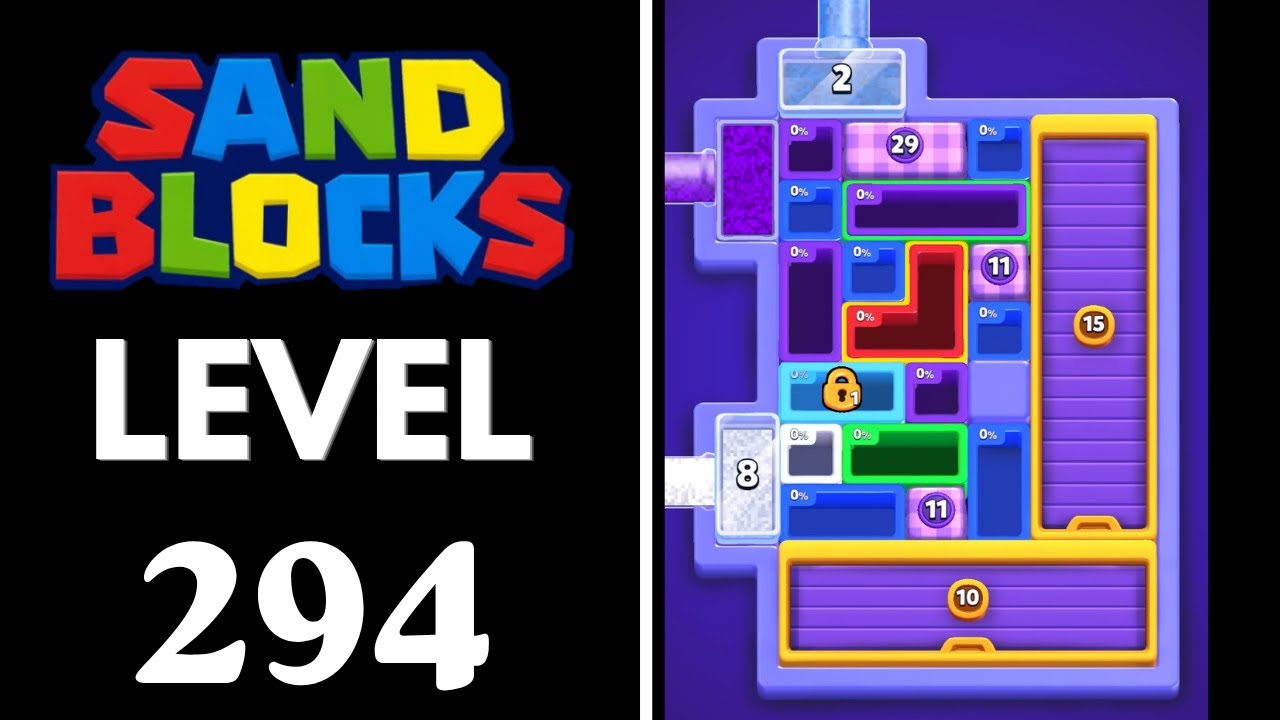
To beat Level 294 in Sand Blocks: Drop Puzzle, build unbroken wall-to-wall horizontal bands using a single sand color while preventing accumulated sand from touching the upper boundary line. Because solid shapes dissolve into flowing grains upon landing, your immediate priority is laying flat, horizontal foundations, grouping matching colors into dedicated lanes, and clearing lower tiers to collapse high peaks.
Clear Mechanics and Board Physics
A clear triggers in Level 294 only when one continuous color spans entirely from the left wall to the right wall without interruption. If even a small deposit of another color breaks the chain, the clear will not register, trapping any sand buried underneath it.
Because solid blocks dissolve into granular particles upon impact, sand flows down angled surfaces and settles into lower dips and gaps. Level 294 features faster drop speeds and frequent color shifts. Dropping shapes into the center creates pyramid-shaped mounds that cause sand to roll down both flanks, scattering colors across columns and contaminating clean clearing paths.
Piece Orientation and Placement
Orient shapes horizontally before dropping them to maximize surface contact and prevent tall, narrow spires.
- Horizontal Line (I-Block): Lay the bar completely flat across dips to span four columns, establishing a level base or linking separated deposits of the same color.
- L-Shape and J-Shape: Rotate the piece so the long three-block edge sits flat against the floor. Avoid dropping these upright, which forms steep funnels that slide sand sideways.
- Square (O-Block): Steer squares into deep troughs or corners along the outer edges. Dropping squares into the middle concentrates high volume into a narrow footprint, generating obstructive mounds.
- T-Shape: Place the flat side downward to bridge uneven dips, or position the flat side upward to provide a level landing terrace for future drops.
Color Isolation and Lane Routing
Keep matching colors grouped together on the board to avoid layered cross-contamination. If an off-color shape lands on an incomplete row, it blankets the lower sand. That buried color cannot clear until the top layer is removed, wasting vertical space.
- Establish Color Zones: Anchor a specific color to one side of the board and use incoming pieces of that color to extend the line toward the opposite wall.
- Divert Mismatches: When an unusable color appears, drop it against the far opposite wall or into an isolated corner away from your active chain.
- Use the Preview Queue: Check the upcoming piece indicator before dropping your current block. If the next shape is a contrasting color, leave an accessible, out-of-the-way pocket where it can land without severing your main line.
Board Stabilization and Recovery
When sand heaps approach the upper defeat line, do not rush drops. Adding pieces haphazardly to high mounds pushes sand over the top threshold. Follow this recovery sequence to regain board control:
- Let pieces fall naturally: Stop fast-dropping so you have time to read the board layout and identify open gaps.
- Locate the dominant low color: Identify the lowest accessible row containing the widest stretch of a single color.
- Complete the row: Route matching incoming pieces into the remaining gaps of that row to trigger a full clear.
- Trigger gravity collapses: Clearing the lower band allows the upper sand mounds to fall into the cleared space, immediately lowering the overall board height.
- Route off-colors to edges: Steer any shapes that do not contribute to the target row toward the outer borders to keep the center clear.
Free Sand Blocks: Drop Puzzle Codes
Current active codes and how to redeem them.

Sarah Williams
Sarah specializes in RPG and collection games, explaining team building, character growth, and beginner-friendly ways to avoid expensive early mistakes.
COMMUNITY
Player Comments
139 players commented on this guide.
I tried this today and it worked better than my old setup.
This guide answered the exact question I had.
This helped me understand strategy much better.
I wish I had read this before upgrading the wrong thing.