
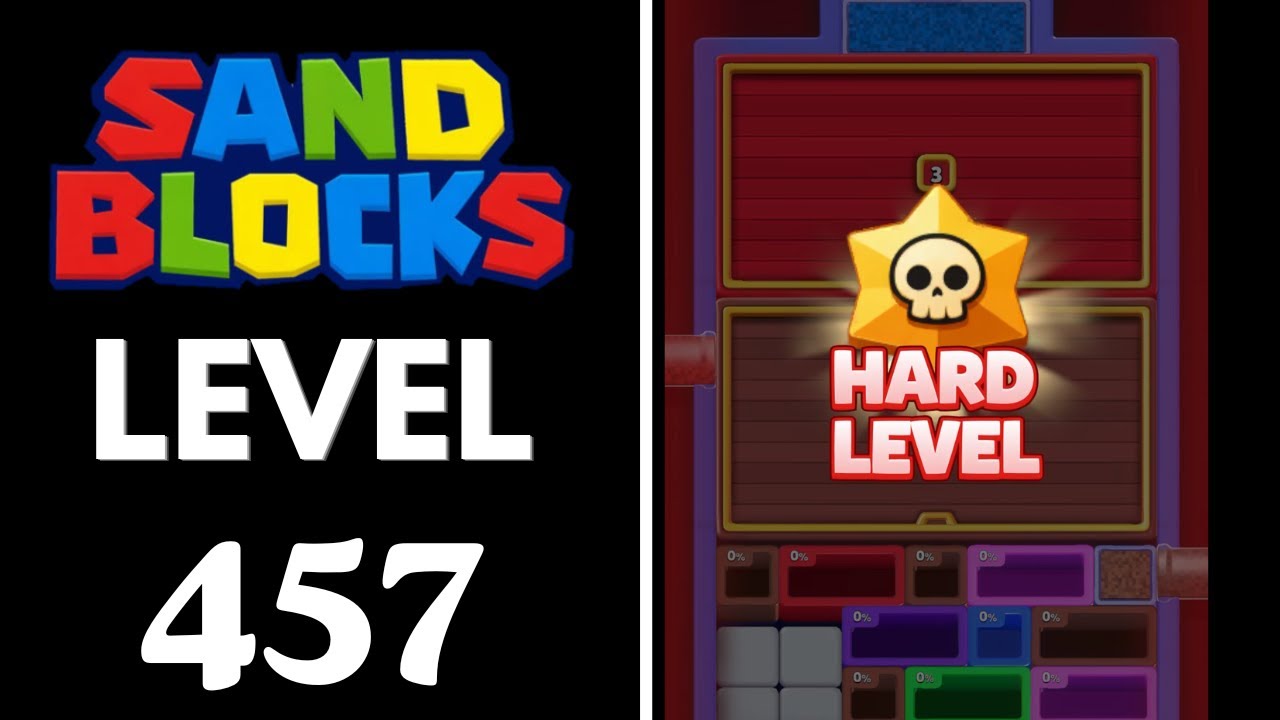
To beat Level 457 in Sand Blocks: Drop Puzzle, orient incoming blocks horizontally across the lowest dips on the board to form unbroken, single-color bands from the left wall to the right wall. In this stage, narrow clearances and frequent color variations accelerate accumulation toward the upper hazard line. Stabilizing the board requires spreading matching grains flat, isolating discordant colors along the outer edges, and triggering downward collapses to reset rising sand levels.
Drop Orientations and Sand Physics
Solid tetromino blocks dissolve into loose granular particles the moment they make contact with a surface. Gravity causes the grains to slide downward and outward into sloped mounds. Dropping pieces vertically creates steep cones that shed sand unpredictably into adjacent columns, raising the board height toward the top danger line. Laying shapes flat disperses the sand evenly, filling low crevices and keeping the surface level.
| Drop Orientation | Sand Distribution Pattern | Board Impact | Recommended Placement |
|---|---|---|---|
| Flat Horizontal | Broad, low spread across multiple columns | Low height gain | Open valleys needing wide color coverage |
| Vertical Column | Narrow, steep cone with outward spill | High vertical climb | Deep, isolated crevices between mounds |
| Perimeter Drop | Grains settle flush against a side wall | Contained lateral spill | Isolating unusable or off-color pieces |
| Center Drop | Grains roll evenly toward both boundaries | Bilateral fill | Leveling wide dips across the board center |
A row clears only when a single matching color spans continuously from the far-left boundary to the far-right boundary. Even a single stray grain of another color breaks the chain and prevents the sand from dissolving. When a valid wall-to-wall band clears, the entire connected layer dissolves, causing all overhead sand to fall straight down into the cleared space.
Handling Off-Color Pieces and Jams
When the queue serves a color that cannot immediately complete an active horizontal line, dropping it in the middle of the board contaminates the working surface. Alternating color layers create gridlocks where neither color can touch both side walls.
To protect your active clearing lanes from contamination:
- Quarantine off-colors on outer borders: Direct unwanted shapes flush against the far-left or far-right walls. Confining unneeded sand to the perimeter leaves the center open for your primary clearing color.
- Fill inactive depressions: If a corner is already occupied, place non-matching sand into deep, inactive hollows that are not currently part of your clearing attempt.
- Capitalize on gravity collapses: Once your primary horizontal layer dissolves, the quarantined sand along the perimeter drops into a consolidated lower pile, making it easier to incorporate into later full-width clears.
Step-by-Step Drop Routine
Maintaining board control under rapid sand accumulation requires executing drops systematically:
- Scan the floor: Check the board for the lowest valley and identify which color has the widest lateral presence across the base.
- Rotate for width: Turn incoming pieces into their widest horizontal configuration before releasing them.
- Target existing low points: Drop pieces directly into dips and crevices so shifting grains level out the floor rather than building vertical peaks.
- Isolate non-matching blocks: Steer mismatched colors to the side boundaries immediately to prevent stray grains from cutting across your target line.
- Clear the lowest band: Dissolve completed foundational lines as early as possible so overhead sand drops down, lowering the overall stack away from the red hazard ceiling.
Free Sand Blocks: Drop Puzzle Codes
Current active codes and how to redeem them.

Emily Johnson
Emily writes practical mobile strategy guides with a focus on resource planning, base progression, and the early decisions that shape a long-term account.
COMMUNITY
Player Comments
146 players commented on this guide.
I wish I had read this before upgrading the wrong thing.
This guide answered the exact question I had.
This helped me understand strategy much better.
The explanation is clear, especially for beginners.