
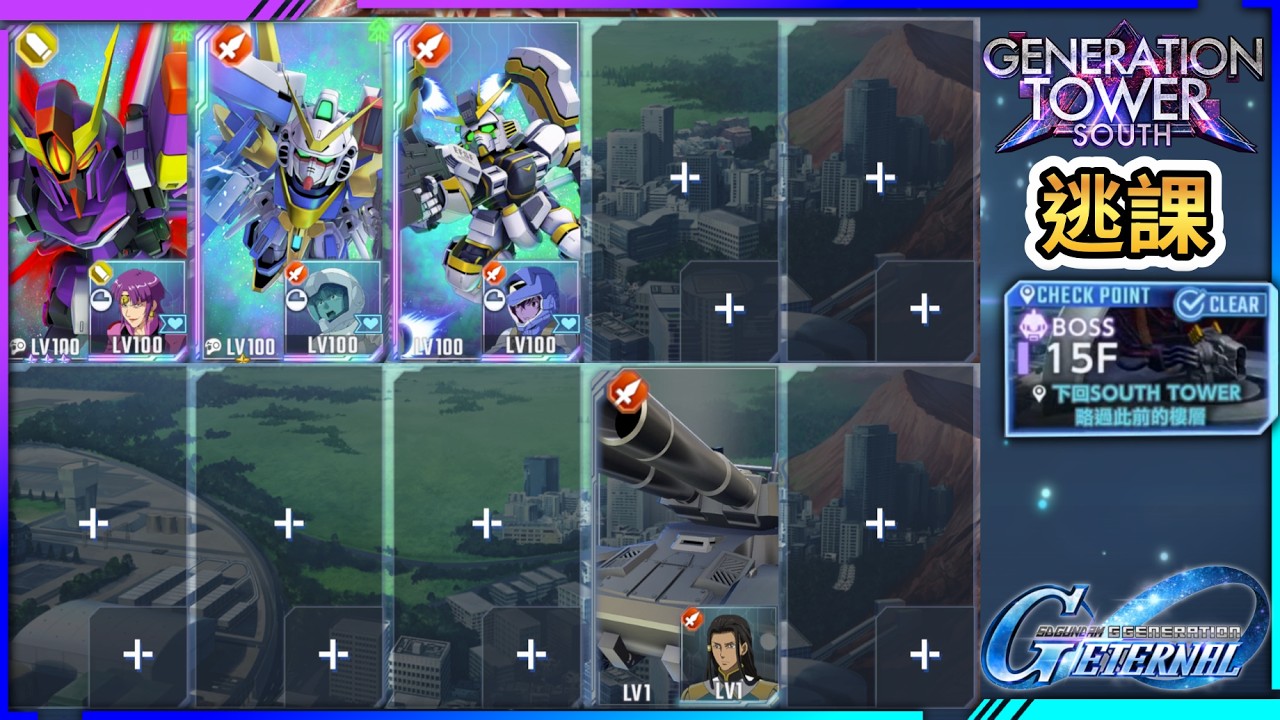
To clear South Tower 15F in SD Gundam G Generation ETERNAL, deploy a specialized squad of three mobile suits instead of a full team. South Tower 15F features tight corridors and a hard-hitting boss designed to punish standard five-unit squads with multi-lock area attacks. Fielding only three units removes target ambiguity for enemy AI, eliminates clustered formations, and allows you to control enemy movement by funneling all initial attacks into a single defensive unit.
Recommended 3-Unit Squad Roles
Your squad must fulfill three specific functions: absorbing incoming aggro, applying debuffs, and dealing burst damage from outside the enemy retaliation range.
| Squad Role | Target Range | Operational Priority | Key Stat Focus |
|---|---|---|---|
| Defensive Anchor | 1–2 tiles | Frontline containment and aggro baiting | HP, DEF, Damage Cut passives |
| Primary Striker | 4–5 tiles | Boss burst damage and out-ranging counterattacks | ATK, Critical Rate, Beam/Physical PEN |
| Utility Specialist | 2–4 tiles | Defense shredding and secondary cleanup | Accuracy, Mobility, EN Efficiency |
- Defensive Anchor: Equip this suit with high beam and physical defense alongside defensive guard skills or damage-reduction passives. Assign a pilot with defensive survivability traits to ensure the unit survives sustained enemy fire.
- Primary Striker: Select a suit with long-range burst weaponry reaching 4 to 5 tiles. This range allows the striker to hit bosses without triggering return fire.
- Utility Specialist: Use this suit to soften enemy defense gauges and debuff boss stats before your primary striker attacks.
Positioning and Aggro Baiting
Enemy AI targets accessible units within reach, favoring suits with lower effective defense or clusters where area-of-effect skills deal maximum damage. You can manipulate this behavior by using a staggered formation.
- Check threat boundaries: Before moving on Turn 1, inspect the red attack range lines of the nearest escort enemies.
- Step into threat range: Move your Defensive Anchor exactly one tile past the outer edge of the escort units' threat zone.
- Stage your backline: Position your Primary Striker and Utility Specialist two tiles directly behind your Defensive Anchor, keeping them entirely outside the enemy threat boundary.
- Isolate escorts: Because only the anchor is eligible to be targeted, the escort units advance forward into an isolated pocket, separating themselves from the main boss.
- Eliminate escorts early: Once the escorts commit their movement, destroy them with your Utility Specialist and Primary Striker before the boss reaches your front line. Maintain the two-tile spacing behind your anchor at all times so area attacks cannot splash onto your attackers.
Boss Engagement and Damage Sequencing
Engaging the boss in prolonged combat will exhaust your anchor's defensive abilities. Defeat the boss quickly by coordinating your debuffs and high-damage cooldowns in a single offensive turn.
- Apply debuffs first: Attack with your Utility Specialist from an angle that minimizes counterattack damage. Land defense shred and accuracy debuffs to accelerate the boss's break gauge.
- Exploit range blind spots: Attack with your Primary Striker at 4 to 5 tiles. Firing from outside the boss's active retaliation range prevents your damage dealer from taking return fire.
- Trigger burst during break: Reserve your highest-damage special attacks for the turn the boss enters a broken or staggered state. Delivering your primary burst during this window maximizes damage efficiency and ends the fight before enrage mechanics activate.
Failure Points and Tactical Adjustments
If an attempt fails, adjust your deployment based on the specific failure condition:
- Striker eliminated by counterattacks: Do not move your striker into retaliation range for unbuffed damage. If you cannot safely destroy an enemy on the current turn, keep your striker outside the red boundary.
- Anchor takes excessive damage: If your anchor loses over 40% of its maximum HP in one round, replace offensive pilot abilities with raw defense and damage-cut passives.
- Failing to break the boss: Ensure defense shred debuffs land before using heavy striker attacks. If an attack misses or crits fail, pull your offensive units back outside the danger boundary and allow the anchor to reset enemy movement before re-engaging.

Free SD Gundam G Generation ETERNAL Codes
Current active codes and how to redeem them.

Emily Johnson
Emily writes practical mobile strategy guides with a focus on resource planning, base progression, and the early decisions that shape a long-term account.
COMMUNITY
Player Comments
153 players commented on this guide.
The tips are practical and easy to follow.
Nice guide. I am checking the other SD Gundam G Generation ETERNAL articles next.
The explanation is clear, especially for beginners.
This saved me time in the early game.