
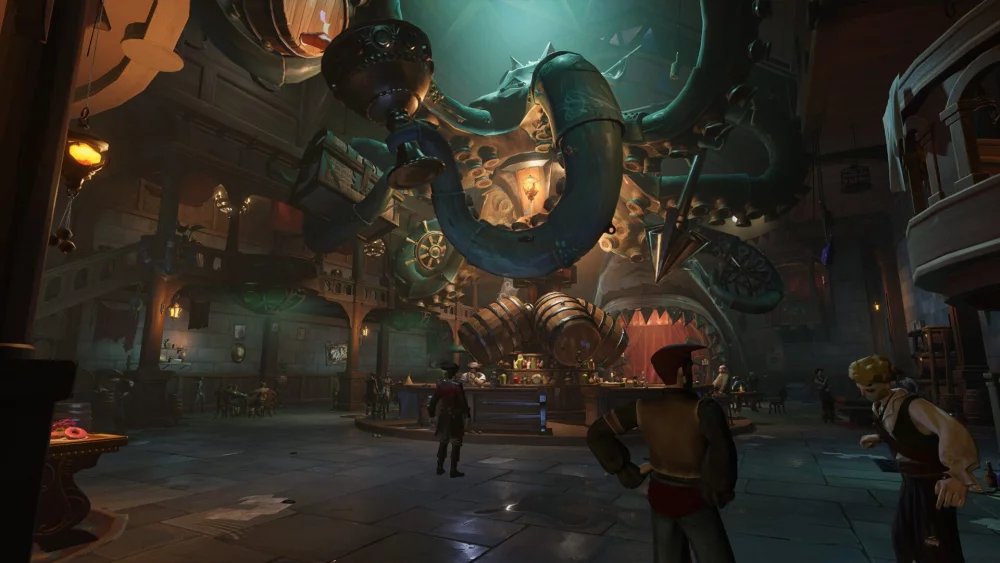
Success in Sea of Remnants demands more than just raw power; it requires a deep understanding of combat mechanics, resource efficiency, and spatial awareness. As a new player, the sheer volume of systems can be overwhelming, but your ability to stabilize your progression early determines how smoothly you transition into the mid-game. By focusing on building a synergistic core team and treating every encounter as a tactical puzzle rather than a mindless skirmish, you can overcome the game’s scaling difficulty curve without wasting valuable early-game resources.
Mastering Combat Synergies and Ability Timing
In Sea of Remnants, combat efficiency is dictated by how well your team's abilities interact. Beginners often fall into the trap of using skills as soon as they come off cooldown, but true mastery lies in "chaining" effects.
- Status Effect Priming: Identify which characters apply debuffs (like armor reduction or crowd control) and which characters act as "detonators" for those effects. Saving a high-damage ultimate for a window where an enemy is stunned or vulnerable significantly increases your DPS.
- Cooldown Management: Never engage a high-value target with your primary skills on cooldown. If your team’s defensive or crowd-control abilities are unavailable, you are effectively fighting with one hand tied behind your back.
- Aggro Manipulation: Understand the target priority of your opponents. Use tankier units to draw fire while your damage dealers (DPS) reposition to hit the enemy’s flanks.
By aligning your characters' high-impact skills, you clear encounter zones faster. This reduces the duration of the fight, minimizes your health loss, and keeps your resources intact for the next discovery.
Strategic Roster Management: Quality Over Quantity
One of the most common mistakes in Sea of Remnants is spreading experience points and upgrade materials across too many heroes. Resources are strictly finite in the early stages, and a wide, weak roster will quickly hit a "progression wall" where you lack the power to defeat story-gated bosses.
Building Your Core Trio
Focus your investment entirely on a core group of three to four characters. Aim for a balanced composition that includes:
- A Frontline Anchor: A character capable of absorbing damage and disrupting enemy formations.
- A Primary DPS: A unit with either high single-target burst for bosses or consistent area-of-effect (AoE) for clearing mobs.
- A Utility/Support: A character that provides healing, shields, or crucial buffs to keep your frontline alive.
If a specific unit in your roster isn't pulling their weight or lacks synergy with your preferred playstyle, do not hesitate to pivot. It is better to "bench" a unit early than to sink precious upgrade materials into a character that will be obsolete by mid-game.
Environmental Awareness and Spatial Tactics
Sea of Remnants utilizes complex, dynamic environments that are meant to be used as tools. If you are standing in an open field trading blows with enemies, you are playing inefficiently.
- Choke Point Manipulation: When outnumbered, retreat to narrow corridors or rocky outcrops. This forces enemies to approach in a single-file line, preventing them from surrounding you and making them perfect targets for your AoE skills.
- Environmental Hazards: Always scan the battlefield for explosive barrels, unstable structures, or environmental triggers. These can often be triggered by a single attack to deal massive percentage-based damage to enemies, bypassing their armor stats entirely.
- Line of Sight (LoS): Use obstacles to break the line of sight for ranged enemies. By forcing archers or gunners to move toward you, you neutralize their distance advantage and bring them into your preferred striking range.
Scavenging and Resource Prioritization
In the nautical world of Sea of Remnants, every trip out of your base should have a clear purpose. Scavenging is not a passive activity; it is a calculated risk.
- Objective-First Approach: Before engaging a group of enemies, identify the resource nodes nearby. If you can secure the loot without fighting, do so. If the loot is guarded, weigh the cost of the combat (health packs, cooldowns, and time) against the value of the materials.
- Selective Engagement: You do not need to clear every camp on the map. If an encounter does not provide the specific crafting components or experience you need for your current upgrade tier, bypass it. Conserving your resources for "must-win" fights is the hallmark of a veteran player.
- The Power Spike Cycle: Always prioritize upgrading your offensive gear or leveling your primary DPS just before tackling major story encounters. Anticipating the difficulty spikes in the game’s narrative allows you to prepare your stats accordingly.
Preventing Common Early-Game Pitfalls
To ensure you stay ahead of the curve, keep these three rules in mind:
- Don’t Hoard, But Don’t Waste: While you should save high-tier materials, don't be afraid to use common upgrade components. If an item makes your life significantly easier for the next two hours of gameplay, it has paid for itself.
- Monitor Your Stamina/Health Economy: If you reach a point where you are consistently running out of supplies, stop pushing the map. Return to earlier, safer zones to farm or re-evaluate your team composition.
- Study the Bestiary: Spend a moment in your menu to look at the enemies you’ve encountered. Understanding their elemental weaknesses and attack patterns allows you to swap in the right team members before the battle even begins.
By treating Sea of Remnants as a game of calculated decisions rather than a test of reflex, you will find that the challenges which once seemed insurmountable become manageable. Focus on your core roster, respect the environment, and always keep your team’s cooldowns in mind—the rest will fall into place as you master the depths.

Free Sea of Remnants Codes
Current active codes and how to redeem them.

Emily Johnson
Emily writes practical mobile strategy guides with a focus on resource planning, base progression, and the early decisions that shape a long-term account.
COMMUNITY
Player Comments
142 players commented on this guide.
I tried this today and it worked better than my old setup.
The explanation is clear, especially for beginners.
This saved me time in the early game.
I wish I had read this before upgrading the wrong thing.