
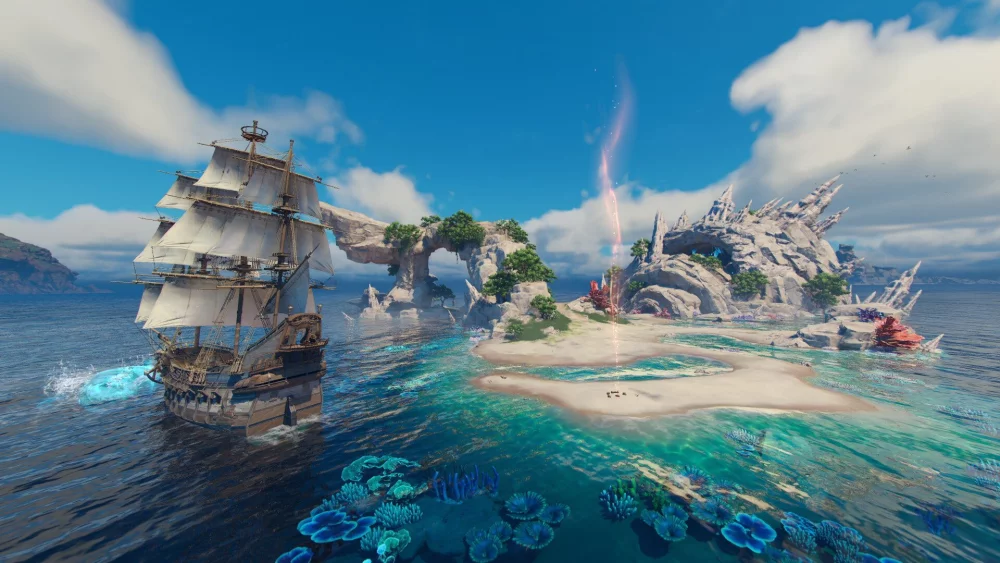
In Sea of Remnants, victory is not determined by the size of your ship, but by the efficiency of your design. To dominate the open ocean, you must move beyond thinking of your vessel as a static vehicle and instead treat it as a dynamic, modular combat platform. By strategically reinforcing specific hull segments and optimizing the placement of your weaponry, you can dictate the flow of maritime engagements and survive even the most grueling boarding attempts.
Mastering the Modular Upgrade System
The core of Sea of Remnants lies in its modular upgrade system. Unlike games that rely on a single "health bar" for the entire ship, this title tracks damage across individual components. If you ignore this, you risk losing critical systems—like your rudder or cannons—long before your hull actually sinks.
Prioritizing Your Specialization
Do not attempt to be a master of all trades in your early progression. Resource scarcity is a reality, and spreading your upgrades thin across every system will leave you weak in every category. Instead, define your combat identity:
- The Brawler: Focus on reinforced forward hull plating and short-range, high-caliber cannons. This build relies on closing the gap quickly and absorbing damage while delivering devastating point-blank volleys.
- The Sniper: Prioritize range-finding sensors and long-range ballistic batteries. Your goal is to stay outside the enemy’s effective firing arc, picking them apart piece by piece before they can close the distance.
- The Escort/Utility: Focus on propulsion upgrades and reinforced internal storage. This allows you to outmaneuver threats, repair allies, or carry more salvage, making you an invaluable asset in a fleet.
Strategic Component Placement and Firing Arcs
In Sea of Remnants, where you place your weapons is just as important as the quality of the weaponry itself. The game’s physics engine rewards players who account for line-of-sight and firing angles. If your cannons are blocked by a mast or a poorly placed storage crate, you are essentially sailing with dead weight.
Layout Rules for Optimal Performance
- Centralize Vitality: Keep your engine and primary resource caches toward the center or rear of the vessel. Frontal assaults are common; protecting your core components prevents a lucky shot from disabling your propulsion.
- Unobstructed Arcs: Spend time in the ship editor checking the firing radius of every mounted weapon. If a weapon's arc is obscured by the ship’s own geometry, you will find yourself unable to return fire during critical circling maneuvers.
- Weight Distribution: A heavily armored ship is a slow ship. If you pack too much weight on the port or starboard side, your turning speed will suffer. Always ensure your armor is balanced to maintain the agility required to dodge incoming fire.
Managing Durability and Damage Control
Damage control is a constant, high-stakes requirement. In the heat of battle, you must monitor your ship’s structural health in real-time. The game provides visual cues—such as glowing hull segments or visible structural degradation—that indicate when a part is about to fail.
The Art of the Trade-Off
- Armor vs. Speed: High-armor plating is excellent for soaking up damage, but it increases your ship’s mass. If you are being outmaneuvered, you must be prepared to jettison non-essential cargo to regain the speed needed to retreat.
- Active Repairs: Never enter a combat zone without a reserve of basic repair materials. During a protracted engagement, you will not have the luxury of returning to a port. Assign a hotkey to your repair tools to ensure you can patch critical sections mid-fight.
Using the Environment for Tactical Advantage
The world of Sea of Remnants is filled with hazards and opportunities. Skilled captains use the environment as a shield, a funnel, or a trap.
- Breaking Line of Sight: When your ship takes heavy fire, use massive debris fields or islands to break the enemy’s line of sight. This forces the opponent to reposition, giving you a vital few seconds to perform emergency repairs or reload.
- The Funnel Strategy: If you are outnumbered, head for narrow straits or reefs. By forcing enemies into a single-file line, you effectively negate their numerical advantage, allowing you to focus your firepower on one target at a time.
- Environmental Hazards: Don't be afraid to bait faster enemies into hazardous shallow waters or storm-wracked zones where their maneuverability might be hindered, allowing your heavier ship to capitalize on their mistakes.
Balancing Offensive and Defensive Loadouts
The final key to long-term success is the balance between your "glass cannon" offensive setups and your "tank" defensive configurations. The most successful players in Sea of Remnants utilize a hybrid approach that allows for adaptation.
- The All-Rounder: This configuration focuses on medium-range cannons and moderate plating. It is the most versatile choice for solo players who don't know what threats they might encounter in a new sector.
- Threat Assessment: Before engaging, evaluate the threat level of the area. If you are entering a high-difficulty sector known for heavy enemy artillery, swap some of your offensive components for damage-mitigation plating. In lower-threat zones, prioritize propulsion and storage to maximize your efficiency and profit.
Ultimately, your ship in Sea of Remnants is a reflection of your tactical choices. By treating your vessel as a modular system, leveraging the environment, and making intelligent trade-offs between armor and agility, you will transform from a novice captain into a formidable force upon the high seas. Stay vigilant, monitor your components, and never stop refining your layout.

Free Sea of Remnants Codes
Current active codes and how to redeem them.

Michael Smith
Michael covers live-service games, events, reward systems, and efficient daily routines, turning frequent updates into clear actions for players.
COMMUNITY
Player Comments
60 players commented on this guide.
I wish I had read this before upgrading the wrong thing.
The tips are practical and easy to follow.
Can you add more details about strategy in a future update?
The explanation is clear, especially for beginners.