
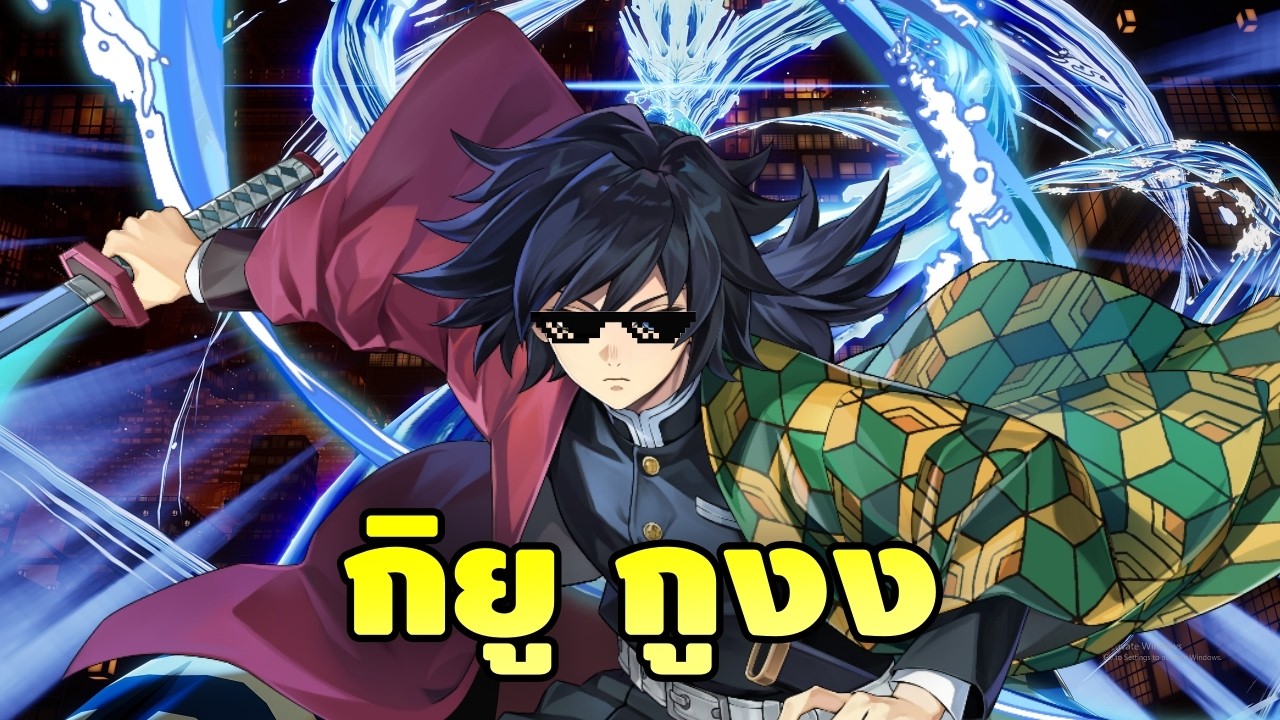
To keep Giyu Tomioka alive against high-burst Arena teams in Seven Knights Re:BIRTH, build him for survivability over pure offense. Equip armor focused on maximum Health and Damage Reduction, tune his action speed to trigger his defensive stance after enemy setup skills, and position him in the backline behind dedicated frontline tanks.
Without defensive stats, Giyu often falls to opening multi-hit area-of-effect or single-target pierce attacks before activating his utility skills.
Choosing the Right Stance Setup
Giyu's primary survival mechanic is his Water Breathing Eleventh Form: Dead Calm, which nullifies multi-hit nukes and interrupts enemy offensive tempo. Relying entirely on Dead Calm carries risks: it remains vulnerable to buff removal, status ailments, and skill downtime. Speed tuning determines whether this stance succeeds. Acting too early wastes the defensive window on minor chip damage, while acting too late allows enemy burst to eliminate him before he acts.
| Stance Focus | Primary Strength | Trade-off | Recommended Arena Matchup |
|---|---|---|---|
| Dead Calm (Defensive) | Nullifies multi-hit bursts and negates enemy momentum | Vulnerable to buff removal and skill cooldown downtime | Aggressive physical pierce and fast AoE cleave teams |
| Striking Tide (Offensive) | Deals consistent chip damage and applies debuffs | Sacrifices personal safety against high-speed openers | Slower matches supported by taunt tanks and sustain |
| Hybrid Control | Balances status disruption with moderate resilience | Requires precise substat rolls across all gear slots | Mid-range, balanced Arena compositions |
Recommended Gear and Substat Priorities
To survive Arena burst chains, allocate Giyu's equipment slots to damage mitigation rather than raw offensive scaling.
- Armor: Prioritize flat Damage Reduction, maximum Health, and Block Rate rolls. Pierce attacks bypass standard defense values, making raw Health and flat mitigation more dependable.
- Weapons: Run one Attack Speed weapon alongside one Critical Hit Rate or Effect Hit piece. This pairing ensures Giyu acts in proper sequence without outpacing friendly barriers and buffs.
- Jewelry and Accessories: Equip rings that trigger Revive or temporary Invincibility at low health thresholds. These effects create a safety buffer that lets Giyu cast Dead Calm even after taking heavy opening damage. Use Effect Resistance talismans if facing heavy control teams.
- Gems: Select Damage Taken Reduction, Block Chance, and Speed tuning gems over pure critical damage multipliers.
Team Placement and Lineup Synergy
Position Giyu in the backline of a defensive formation to prevent him from taking unprovoked default targeting. Pair him with heroes that mitigate early burst damage and divide the opponent's attention:
- Frontline Tanks: Run protective bruisers or taunters like Rudy to absorb opening hits and grant team-wide defense buffs.
- Mitigation Supports: Include allies capable of generating barriers, applying pre-cast damage reduction, or cleansing debuffs before Giyu's turn.
- Secondary Disruptors: Deploy secondary threats such as Shinobu or Zenitsu. Forcing enemy teams to split high-multiplier skills across multiple lanes prevents focused targeting on Giyu.
Matchup Strategy: Physical Cleave vs. Magic Decks
Against pure Physical Cleave rosters, stack Block Chance and flat Damage Reduction. Absorbing the initial blitz blunts physical burst damage, giving Giyu the opportunity to activate Dead Calm and disrupt opposing squishy carries once their primary skills enter cooldown.
Against Magic-heavy teams, pivot toward Effect Resistance and barrier utility. Magic lineups frequently rely on status ailments and non-physical damage spikes to incapacitate targets before defensive stances take effect. Ensure your lineup includes proactive cleanse options or resistance buffs so Giyu avoids stun and silence locks during the opening round.

Free Seven Knights Re:BIRTH Codes
Current active codes and how to redeem them.

James Brown
James focuses on Android gaming on PC, emulator setup, controls, performance tuning, and practical troubleshooting for longer play sessions.
COMMUNITY
Player Comments
41 players commented on this guide.
I tried this today and it worked better than my old setup.
The explanation is clear, especially for beginners.
This helped me understand strategy much better.
This saved me time in the early game.