
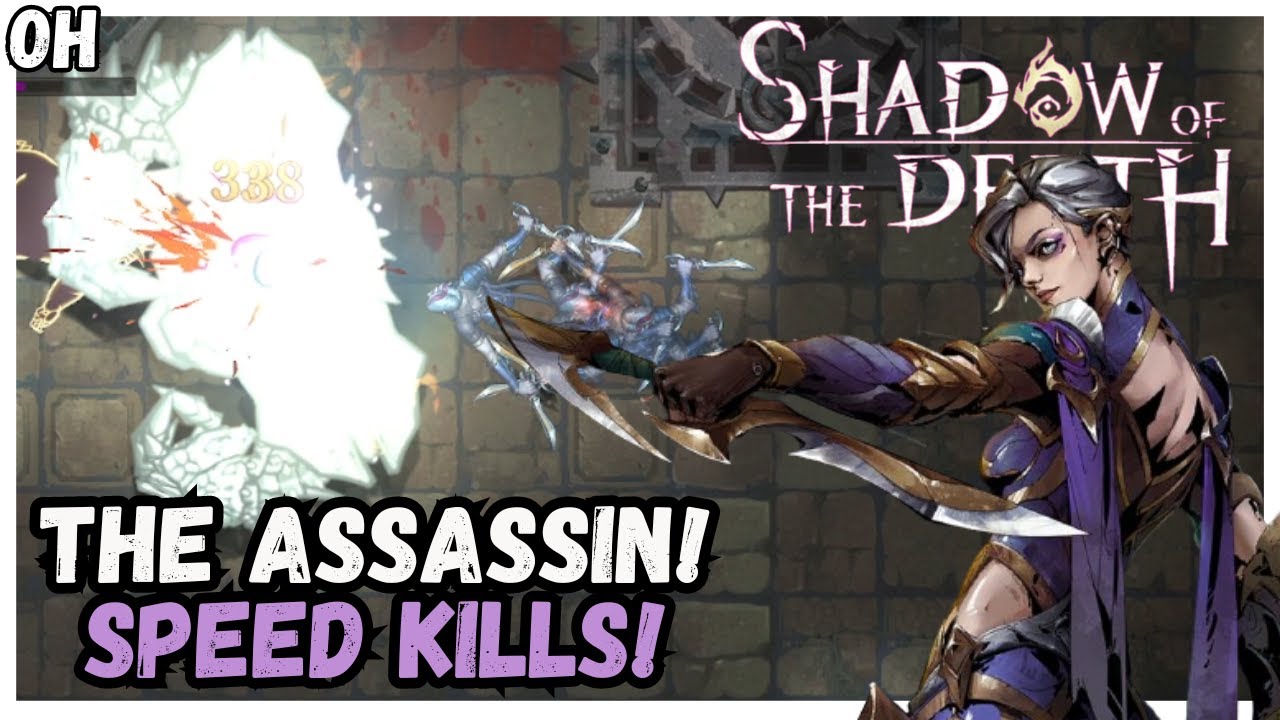
To survive and clear rooms quickly as the Assassin in Shadow of the Depth, fight from enemy blind spots and cancel your dagger attack recovery animations with short evasive dashes. Because the Assassin has a low baseline health pool and short melee range, approaching enemies head-on leads to rapid attrition. You must rely on rapid flanking, hit-and-run engagement windows, and high-frequency on-hit effects rather than trading damage.
Core Mobility and Attack Flow
The Assassin uses rapid dual-dagger strikes that chain into continuous multi-hit strings. Because dagger swings have limited reach, positioning determines both your damage output and your safety.
- Approach from angles: Never run in a straight line toward monster packs where frontal cleaves and incoming projectiles hit you.
- Dash to the rear flank: Dash through telegraph cones to get behind targets. Striking enemies from behind triggers critical damage bonuses.
- Cancel recovery frames: Immediately tap your dash after finishing an attack string. Dashing interrupts weapon recovery animations, repositioning you before counterattacks land.
Skill Roles and Engagement Sequence
Pair single-target dagger attacks with ranged harassment and area-of-effect skills to handle mixed packs.
| Skill Category | Primary Role | Optimal Usage |
|---|---|---|
| Throwing Daggers | Ranged interrupt and bleed | Soften elite foes and disrupt casters before engaging in melee. |
| Flanking Dash / Blink | Repositioning and invulnerability frames | Close distance or pass through sweeping boss telegraphs. |
| Stealth / Smoke Screen | Aggro drop and burst setup | Drop threat when surrounded to guarantee critical burst damage. |
| Dagger Tempest / Spin | Close-range group clearing | Clear clusters of weak minions gathered around an elite target. |
Initiate combat at range with throwing daggers to stagger high-priority targets. Follow up with an evasive dash behind the target, activate your burst skill or multi-hit combo, and disengage with smoke or a dash before counterattacks begin.
Stat and Upgrade Priorities
Dagger mechanics scale with attack frequency. Prioritize stats that reward continuous hits and mobility over flat, slow damage increases.
- Attack Speed: Shortens swing duration, allowing full attack sequences to complete before an enemy recovers from hitstun.
- Critical Chance and Critical Damage: Generates consistent damage spikes due to the high number of hits dual daggers deliver per second.
- Bleed and Damage-over-Time (DoT): Applies sustained damage to resilient foes while you maneuver out of range.
- Dash Cooldown Reduction: Keeps your evasive repositioning ready against tracking projectiles and floor hazards.
- Life Siphon on Hit: Provides self-sustain that triggers naturally during fast dagger combos.
Avoid defensive upgrades that require taking damage to activate, such as armor bonuses or health recovery triggered by incoming hits. Absorbing hits directly compromises your run.
Dungeon Room Pathing
Clear regular dungeon chambers by eliminating threats in a strict order:
- Clear perimeter ranged units first: Circle the outer edge of the room to assassinate archers, shamans, and mortar units before engaging the central pack.
- Herd melee enemies: Use your higher base movement speed to kite surviving melee foes into a dense group.
- Flank and burst: Dash through the clustered pack, deploy close-range skills like Dagger Tempest, and immediately back away.
Boss Combat Discipline
Boss encounters punish overcommitting to long dagger combos. Never attack during an active boss indicator.
Wait for the boss to commit to a ground slam, sweep, or beam attack. Once the attack completes its telegraph, dash behind the recovery zone, land a short three-to-four strike combo, and dodge away before the boss pivots. When minion waves spawn, eliminate them to reset mobility cooldowns and activate on-kill speed buffs before returning to the boss.

Free Shadow of the Depth Codes
Current active codes and how to redeem them.

Michael Smith
Michael covers live-service games, events, reward systems, and efficient daily routines, turning frequent updates into clear actions for players.
COMMUNITY
Player Comments
139 players commented on this guide.
I tried this today and it worked better than my old setup.
This guide answered the exact question I had.
Nice guide. I am checking the other Shadow of the Depth articles next.
This helped me understand strategy much better.