
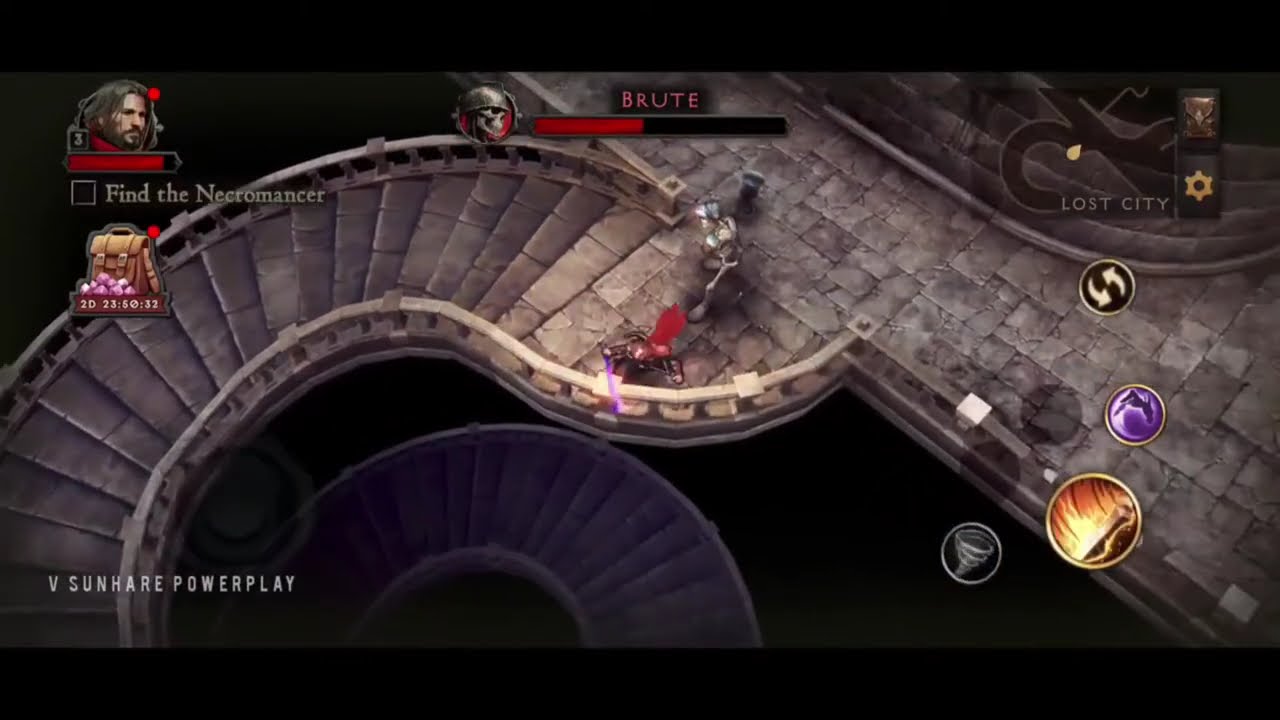
To succeed in the early stages of Shadowborn, you must shift your focus from reactive button-mashing to proactive resource and cooldown management. The game’s fast-paced, arcade-style combat rewards players who can manipulate enemy positioning and maximize the efficiency of their ability rotations. By balancing your offensive output with defensive movement, you can navigate initial difficulty spikes and build a foundation that carries you through the mid-game with ease.
Mastering Skill Activation for Early Combat Efficiency
The most common mistake for new Shadowborn players is the indiscriminate use of abilities. To clear early levels efficiently, you must treat your skill cooldowns as your most valuable resource.
The core strategy is to synchronize your skill activation with enemy density. Shadowborn utilizes mob-swarming behavior, where enemies funnel toward the player. Instead of using an Area-of-Effect (AoE) skill on a single straggler, wait for enemies to cluster.
- Group and Burst: Use your movement speed to "herd" enemies into a tight pack before unleashing your primary DPS ability. This maximizes your damage-per-second (DPS) and ensures you aren't left with an empty skill bar when a larger, more dangerous wave spawns.
- Visual Cues: Pay close attention to the spawn animations. When you see a group of enemies materializing on the perimeter, that is your window to position yourself for a high-impact strike.
Strategic Resource Allocation for Gear Upgrades
In Shadowborn, your currency is finite, and spending it on every minor gear drop is a trap that will stall your progress. Progression in this game is gated by gear checks; if your damage output doesn't scale with enemy health pools, you will find yourself stuck on boss encounters.
The Golden Rule of Upgrades: Prioritize base damage and raw survivability (HP).
- Avoid Secondary Stat Traps: In the early game, secondary stats like minor critical chance increases or elemental resistance are less valuable than raw weapon damage.
- Hoarding for Tiers: Do not feel obligated to spend every gold piece at a checkpoint. If you cleared the previous stage with more than 50% health, save your resources. Holding onto currency allows you to purchase higher-tier gear immediately upon unlocking it, which is far more efficient than upgrading low-level "placeholder" items that will be discarded within twenty minutes of gameplay.
Optimizing Movement and Positioning
Combat in Shadowborn is rarely stationary. If you are standing still, you are likely taking chip damage. The "kite and strike" method is the single most important skill to master for survival.
- The Circular Pattern: Never move in a straight line away from enemies, as this often leads to getting cornered. Instead, move in wide, circular arcs around the arena. This forces enemies to follow your path, naturally grouping them behind you.
- Center-Stage Dominance: Always try to maintain your position toward the center of the map. Being near the edges significantly limits your visibility and restricts your ability to dodge incoming projectiles. If you find yourself pinned, prioritize using your dash ability—even if it doesn't deal damage—to regain the center.
Managing Cooldowns and Ability Rotations
Your ability rotation should be a rhythmic cycle of utility, crowd control (CC), and burst damage. Many players fail because they burn their ultimate early, leaving them defenseless against elite enemies that spawn midway through a wave.
Follow this hierarchical priority for your ability rotations:
- Utility/CC: If you are surrounded, use your knockback or stun abilities first to create a "safety bubble."
- AOE Burst: Once the enemies are grouped by your CC or movement, trigger your high-damage AOE skills.
- Single Target/Ultimate: Save your ultimate ability for high-density spawns or boss encounters.
Pro Tip: Watch the icons at the bottom of your screen. If your primary defensive skill is on cooldown, play conservatively. Do not initiate an aggressive push toward a large group until your defensive reset is within 3–5 seconds of being ready.
Class Selection and Multiclass Synergy
While Shadowborn offers various classes, the early game is the perfect time to experiment with multiclass ability combinations. Your character’s skill tree is designed to allow for "cross-pollination" of abilities.
When choosing your early skills, look for synergy between elements. For example, if you choose a class with a "Frost" utility skill, look for a "Physical" or "Fire" damage skill that benefits from slowed targets. Combining crowd control with high-damage finishers is the most reliable way to overcome the level-scaling challenges inherent in Shadowborn’s campaign. If you are struggling with a specific boss, respec your points into a more CC-heavy build—often, the ability to keep a boss at range is more valuable than raw damage output.
Overcoming Progression Milestones
Progression in Shadowborn is intentionally gated by difficulty spikes at specific level milestones. When you hit a wall, it is rarely a lack of player skill; it is usually a sign that your build is suboptimal or your gear is outdated.
If you find yourself failing a stage repeatedly, follow these steps:
- Analyze the Death: Did you die because you ran out of health (gear check), or because you were swarmed (positioning check)?
- Replay for Resources: Replaying earlier, "cleared" stages is not a waste of time; it is a necessary part of the gameplay loop to farm the materials required for your next weapon tier.
- Adjust the Loadout: Sometimes, swapping one skill for a defensive dash or an extra CC ability is all it takes to clear a stage that seemed impossible.
By integrating these strategies—managing your movement, timing your bursts, and being disciplined with your resource spending—you will transform from a novice to a seasoned adventurer in Shadowborn. Consistency is the key to conquering the darker corners of the game's world.

Free Shadowborn Codes
Current active codes and how to redeem them.

Sarah Williams
Sarah specializes in RPG and collection games, explaining team building, character growth, and beginner-friendly ways to avoid expensive early mistakes.
COMMUNITY
Player Comments
64 players commented on this guide.
I tried this today and it worked better than my old setup.
The explanation is clear, especially for beginners.
This saved me time in the early game.
This guide answered the exact question I had.