
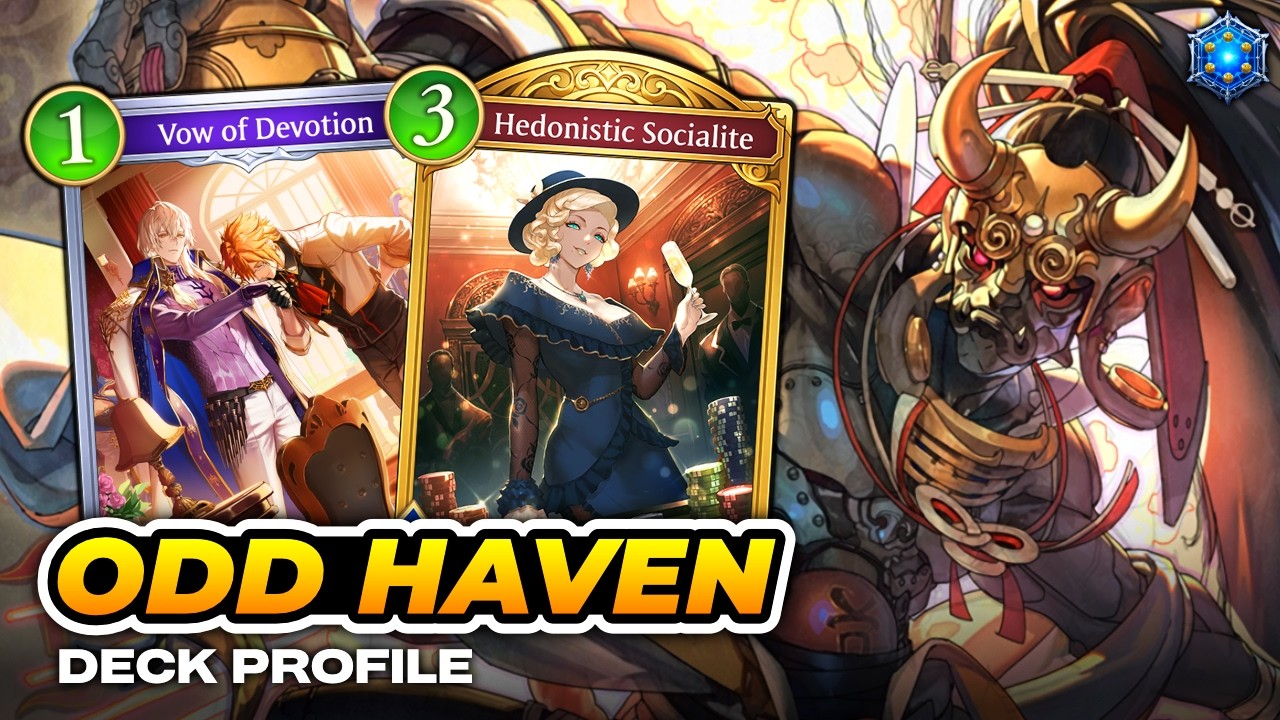
To pilot Odd Havencraft effectively in the Shadowverse: Worlds Beyond Revenants of Azvaldt rotation format, prioritize odd-cost curve plays on turns 1 and 3, split your play points on even-numbered turns, and stabilize behind high-defense wards before closing out matches on turns 7 through 9.
Mulligan Strategy
Your primary mulligan goal is finding active 1-drop and 3-drop cards to prevent taking uncontested early damage. Discard expensive anchors and late-game finishers during the mulligan phase.
| Priority | Target | Purpose |
|---|---|---|
| High | 1-Cost Amulet or Follower | Establishes turn 1 tempo and begins amulet countdowns |
| High | 3-Cost Core Follower | Provides an immediate board presence to trade into enemy 2-drops |
| Medium | 3-Cost Targeted Removal | Answers early enemy threats without requiring Evolution points |
| Situational | 5-Cost Swing Unit | Keep going second only if you already hold guaranteed turn 1 and turn 3 plays |
Curve Management on Even Turns
Because the archetype is built around odd-cost synergies, even-numbered turns require calculated play point management. On turn 4 and turn 6, you cannot deploy a single card that matches your maximum play point total.
- Turn 2: Advance countdown amulets or float play points if no cheap utility is available.
- Turn 4: Pair a 3-cost follower with a 1-cost utility spell, or deploy an odd-cost unit alongside a low-cost countdown trigger.
- Turn 6: Split your play points by combining two 3-cost cards or a 5-cost follower with a 1-cost action to maximize board impact.
Mid-Game Transitions and Evolution Points
The mid-game hinges on using Evolution points and ward units to exhaust opposing offensive resources.
Evolution Point Discipline
Save your first Evolution point for reactive board control rather than leader damage. Use evolved followers to clear high-priority enemy targets and perform double trades. Forcing opponents to trade into your surviving, high-defense units exhausts their hand resources while keeping your leader safe.
Defensive Ward Containment
By turn 5, shift from passive recovery to active containment. Playing bulky ward units stops direct attacks from aggressive decks. Time your early countdown amulets on turns 1 and 3 so they resolve alongside your turn 5 drops, creating wide multi-unit boards that single-target removal cannot clear.
Closing Matches
Odd Havencraft cannot afford to play purely defensively against control or combo strategies, as those archetypes will assemble lethal setups if given unlimited time.
Track your opponent's leader defense starting on turn 6. Once they drop between 10 and 14 defense, direct your damage toward their leader. Use rush and banish effects strictly to remove enemy wards blocking your lethal attacks, and deploy your top-end odd-cost finishers across turns 7 through 9 to close out the game.
Matchup Approaches
- Against Aggro: Prioritize life total over long-term value. Trade proactively on turns 1 through 3, deploy odd-cost healing followers when your defense drops below 15, and establish ward lines by turn 5.
- Against Combo and Control: Adopt an aggressive midrange stance. Force opponents to spend key combo pieces and removal clearing your board rather than assembling their win conditions.
- Vulnerabilities: Missing a turn 3 drop or holding too many late-game finishers early can stall your momentum. If falling behind on board parity, spend an Evolution point immediately to stabilize rather than holding it for late-game value.

Free Shadowverse: Worlds Beyond Codes
Current active codes and how to redeem them.

Sarah Williams
Sarah specializes in RPG and collection games, explaining team building, character growth, and beginner-friendly ways to avoid expensive early mistakes.
COMMUNITY
Player Comments
107 players commented on this guide.
The explanation is clear, especially for beginners.
Can you add more details about early game in a future update?
This helped me understand early game much better.
I wish I had read this before upgrading the wrong thing.