
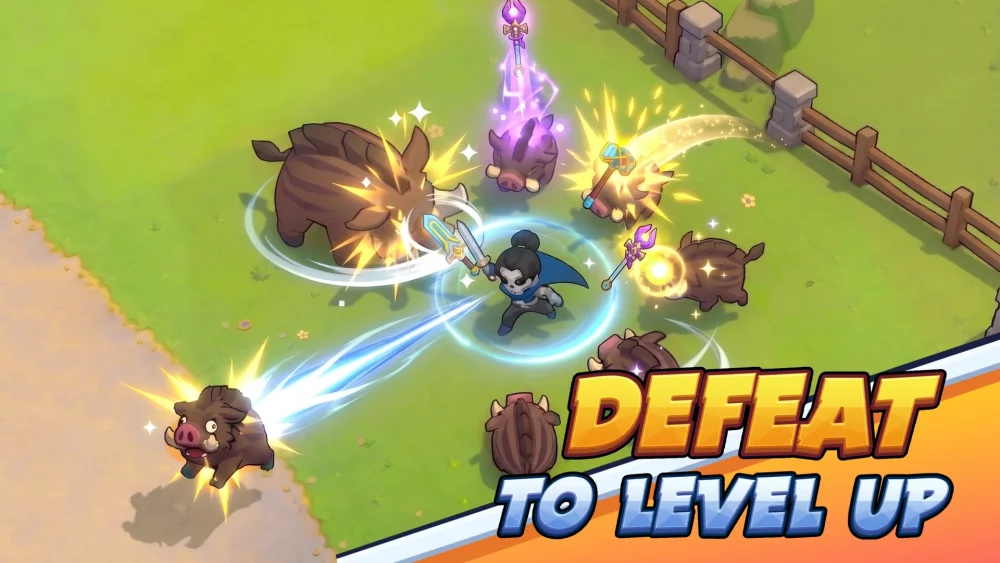
In Skull Hero, your character’s head is more than just an aesthetic choice—it is the engine that drives your entire combat capability. Success in this action-focused fantasy adventure depends on your ability to treat your inventory as a modular toolset. By mastering the head-swapping mechanic, you can bypass cooldowns, maximize damage output, and survive encounters that would otherwise overwhelm a single-form build. This guide provides the tactical foundation needed to conquer mysterious lands, farm experience, and dominate boss fights.
Mastering the Head-Swap Combat Loop
The "head-swap" mechanic is the defining feature of Skull Hero and the key to high-level play. You carry two skulls at any time, each with distinct skills, passive traits, and roles.
Why You Should Swap Frequently
Swapping is not merely a utility; it is a core offensive and defensive strategy. When you swap heads, you gain a brief window of invulnerability frames (i-frames). Experienced players use this to dodge telegraphed boss attacks that are otherwise difficult to avoid with a standard dash.
Furthermore, swapping allows you to reset your engagement rhythm. By executing a full skill rotation on your primary skull, then immediately swapping to your secondary head, you can fire off a second set of abilities without waiting for cooldowns. This creates a "burst cycle" that keeps your damage-per-second (DPS) high while keeping enemies stun-locked or cleared through crowd control.
Building Synergistic Loadouts
One of the most common mistakes new players make is pairing two skulls that rely on different damage scaling. To progress through the game’s later stages, your skulls must work in tandem with your items.
- Damage Types: Check if your skull relies on Physical or Magic damage. When you find gear that boosts "Magic Attack," you should prioritize a second skull that also scales with Magic. Mixing types will dilute your build and make your damage feel lackluster as monster health pools scale.
- Role Complementarity: A balanced loadout typically features one "Main DPS" skull and one "Utility/Mobility" skull. If your main skull is a slow, heavy-hitter, pair it with a fast, mobile skull to navigate traps or evade boss AOE (Area of Effect) attacks.
- Tier Management: While Legendary skulls offer incredible power, do not ignore Common or Rare skulls that provide specific passive synergies. A lower-tier skull with the right passive trait can often outperform a high-tier skull that doesn't fit your current gear build.
Navigating Early-Game Progression
The "Trace of Invasion" phase serves as your primary training ground. Treat this phase as a laboratory to test how different skull archetypes interact with enemy waves.
- Experiment Freely: Do not grow attached to your starting head. The game is designed for you to constantly replace skulls as you find better ones in chests or after defeating mini-bosses.
- Understand Trap Logic: Some skulls have passive abilities that improve jump height or dash distance. If you are struggling with a specific platforming section or a room filled with traps, switch to your most mobile skull—even if its combat stats are lower—to navigate safely.
- Learn Enemy Patterns: Every monster type has a specific "tell" before they attack. Use the early stages to practice swapping into your defensive form the moment you see these cues.
Strategic Skill Rotation and Cooldown Management
Effective combat in Skull Hero is about never being idle. If your skills are on cooldown, you are vulnerable. Follow this logic to maintain pressure:
- The Rotation: Activate primary damage abilities on your first skull, swap immediately to your second skull, and expend its abilities. By the time you finish the second rotation, your first skull’s cooldowns will likely be nearing completion.
- Defensive Swapping: If you find yourself surrounded by mob waves, don't wait for your health to drop to critical levels. Swap to your secondary head to displace your character’s hitbox. This sudden shift in positioning often catches AI enemies off guard, allowing you to reposition for a counter-attack.
- Shared Health Pool: Remember that your health pool is shared between your two heads. If your primary form has low health, treat it as a "glass cannon" and swap to a more durable form to mitigate damage while you seek out health drops or healing items.
Common Mistakes to Avoid
- Hoarding Skulls: Don't be afraid to swap out a skull you haven't used in a few rooms. If you find a skull that offers a better passive boost to your current equipment, discard the weaker one immediately.
- Ignoring Item Synergy: Always check the "Item" tab when choosing a new skull. If an item provides a massive bonus to "Dash Attacks," ensure one of your two skulls has a skill that functions well with dash-based movement.
- Panic Swapping: Avoid swapping aimlessly. Every swap has a minor delay. Coordinate your swaps with your intended attack rhythm rather than mashing the button when you feel overwhelmed.
Conclusion: Refining Your Playstyle
The path to mastering Skull Hero lies in your ability to adapt. By treating your skulls as a fluid, interchangeable toolset, you gain the flexibility to handle any threat the game throws at you. Focus on maintaining a consistent damage scaling type, prioritize mobility when platforming, and use your swap window as a defensive tactical tool. As you progress, you will find that the best players aren't just those with the highest-tier skulls, but those who best understand the timing and synergy of their two-headed arsenal. Keep experimenting, refine your rotations, and use each run as an opportunity to discover new combinations that suit your personal combat style.

Free Skull Hero Codes
Current active codes and how to redeem them.

James Brown
James focuses on Android gaming on PC, emulator setup, controls, performance tuning, and practical troubleshooting for longer play sessions.
COMMUNITY
Player Comments
49 players commented on this guide.
Nice guide. I am checking the other Skull Hero articles next.
The tips are practical and easy to follow.
This guide answered the exact question I had.
Can you add more details about heroes in a future update?