
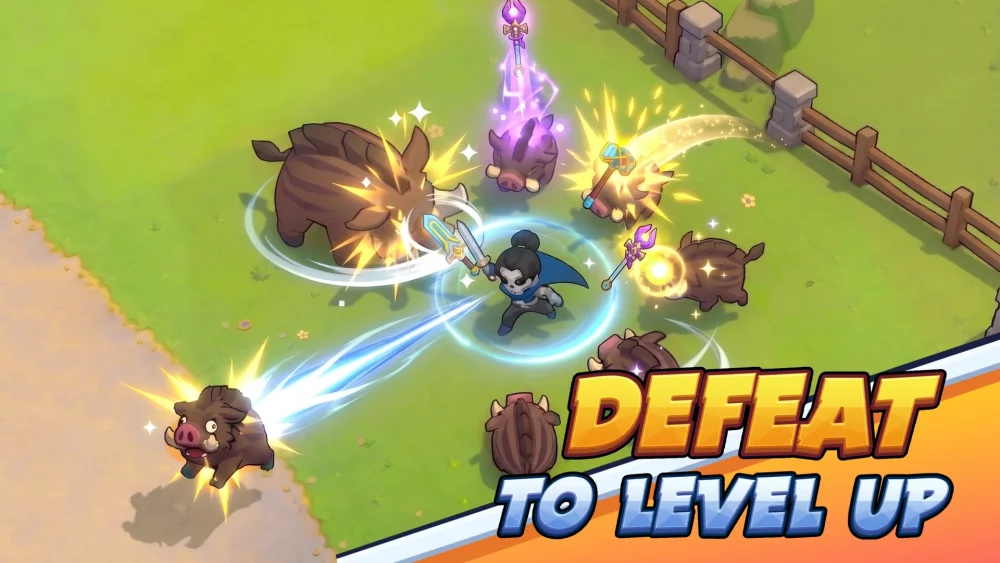
The Bone Knight is one of the most challenging mid-game encounters in Skull Hero, serving as a skill check for players who have relied on brute force rather than tactical synergy. To emerge victorious, you must master the art of character swapping, learn to read the boss's telegraphed animations, and manage the unique skill sets of your four heroes: Sun Wukong, Zhu Bajie, Tang Sanzang, and Sha Wujing.
This guide breaks down the mechanics of the Bone Knight fight and provides the expert strategies needed to dismantle his defenses without sacrificing your team’s health pools.
Understanding the Bone Knight’s Mechanical Phases
The Bone Knight encounter is divided into three distinct phases defined by the boss’s health percentage. As the fight progresses, the boss’s attack speed increases and his recovery windows shorten, requiring you to adapt your playstyle in real-time.
- Phase 1 (100%–70% HP): The boss uses predictable melee swings and slow, telegraphed ground slams. Use this time to learn the rhythm of his attack animations.
- Phase 2 (70%–30% HP): The boss introduces ranged bone projectiles and faster combo flurries. This is where most players lose their first hero due to poor spacing.
- Phase 3 (30%–0% HP): The "Enrage" phase. The Bone Knight becomes hyper-aggressive, chain-staggering attacks with minimal downtime. Defensive play and precise hero swapping are mandatory here.
Mastering Character Rotation for Health Management
In Skull Hero, your four heroes function as a single unit with a shared tactical purpose. Attempting to face-tank the Bone Knight with a single character is a recipe for failure.
- Rotating for Recovery: When a hero takes significant damage, swap them out immediately. Characters on the "bench" recover a portion of their health over time. By cycling your roster, you effectively extend your total party HP by 200–300%.
- Role-Based Swapping: Assign roles to your heroes based on their inherent strengths. Use Sun Wukong for high-mobility dodges when the boss is mid-attack, and swap to Sha Wujing for sustained damage when the boss is vulnerable.
- The "Panic Switch": If you are caught in a bad position, use the character swap animation to gain a brief moment of invulnerability (i-frames). This can be the difference between getting hit by a devastating slam and slipping away unscathed.
Exploiting Opening Windows After Melee Flurries
The Bone Knight’s most significant weakness is his recovery period after a heavy melee flurry. After he completes his three-hit combo, he will briefly pause, lowering his guard.
- The Bait-and-Punish Strategy: Stay just outside the range of his melee flurry. As soon as the final hit whiffs, dash in with your highest DPS hero.
- Avoid Greed: Players often try to squeeze in one extra hit, which leads to being caught in the boss’s next initiation. Hit twice, then prepare to retreat or swap.
- Visual Cues: Watch the boss’s armor. When it begins to glow or he shifts his stance, he is about to trigger a counter-attack. Regardless of how much damage you are dealing, stop attacking and prioritize repositioning.
Tactical Use of Tang Sanzang Against Projectiles
Projectile attacks can quickly pin you in a corner, limiting your mobility and making you an easy target for follow-up slams. Tang Sanzang is your best asset for controlling the battlefield during these moments.
- Defensive Utility: Use Tang Sanzang’s abilities to neutralize incoming bone projectiles. His skill set often includes defensive buffers that reduce incoming damage or deflect light projectiles.
- Line-of-Sight Tactics: Do not try to outrun projectiles in an open space. Instead, use the arena’s geometry to break the boss’s line of sight. By forcing the boss to reposition, you create a natural pause in his attack frequency, allowing your other heroes to recover.
Interrupting Boss Skills with Sha Wujing and Zhu Bajie
The Bone Knight’s screen-wide slams are high-damage, area-of-effect (AoE) attacks that can wipe out a hero instantly if you are caught in the epicenter. However, these attacks have a "charge-up" animation—a golden aura surrounding the boss.
- Interrupt Mechanics: Both Sha Wujing and Zhu Bajie possess heavy-impact abilities that can interrupt the Bone Knight’s channeling. If you see the boss charging his screen-wide slam, immediately swap to one of these characters and unleash their CC (crowd control) skill.
- Managing Cooldowns: Do not waste your interruption skills on minor attacks. Save them specifically for the boss’s ultimate ability. If your CC skills are on cooldown when the boss begins his charge, you must prioritize getting out of the radius rather than attacking.
Common Mistakes to Avoid
Even experienced Skull Hero players fall into these traps during the Bone Knight encounter:
- Ignoring the Enrage Timer: Players often maintain an aggressive playstyle throughout the entire fight. In the final phase, you must switch to a "hit-and-run" style. The boss moves faster; chasing him is dangerous. Let him come to you.
- Forcing a Single Character: Never stick to one hero just because they are your favorite or currently have the highest level. The game’s design forces a rotation. If you refuse to swap, you will lack the specific tools needed to survive the later stages of the fight.
- Mismanaging Stamina: Every dash and skill usage costs resources. If you exhaust your stamina bar, you won't be able to dodge the boss’s heavy slams. Always keep at least one dash worth of stamina in reserve.
Final Strategy Summary: The Path to Victory
The Bone Knight is a test of discipline. Success comes from:
- Maintaining a constant rotation to share the damage load across all four heroes.
- Using high-mobility heroes like Sun Wukong to dance around the boss’s melee range.
- Saving CC skills from Sha Wujing or Zhu Bajie to cancel the boss's most dangerous attacks.
- Transitioning to defensive play as the boss enters his final phase, prioritizing survival over rapid damage output.
By implementing these strategies, you turn a chaotic boss fight into a rhythmic, manageable encounter. Keep your eyes on the boss’s animations, respect his recovery windows, and keep your heroes cycling to ensure no single member of your team falls in battle.

Free Skull Hero Codes
Current active codes and how to redeem them.

Emily Johnson
Emily writes practical mobile strategy guides with a focus on resource planning, base progression, and the early decisions that shape a long-term account.
COMMUNITY
Player Comments
72 players commented on this guide.
This saved me time in the early game.
This guide answered the exact question I had.
Good guide for Skull Hero players. The heroes part was useful.
I wish I had read this before upgrading the wrong thing.