
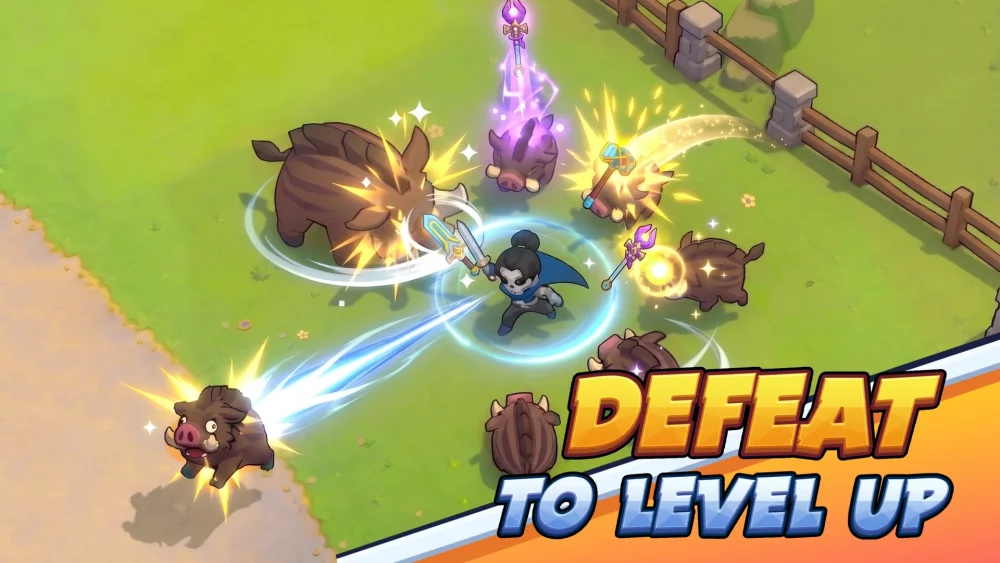
Clearing floors 10 through 20 in Skull Hero requires a fundamental shift in combat philosophy: moving away from static survival toward high-mobility, calculated aggression. As you progress into this mid-game bracket, the game increases enemy density and introduces complex environmental traps that punish stationary play. The Assassin Ghost Claw is uniquely positioned to handle these challenges due to its superior attack speed and rapid dash mechanics. By mastering this character, you can effectively "stagger-lock" threats and maintain a tempo that prevents the game’s increasingly dense monster waves from overwhelming your hero.
Mastering the Assassin Ghost Claw Playstyle
The Assassin Ghost Claw is a high-velocity, close-quarters specialist. Because this hero lacks the heavy health pools or defensive shielding of other classes, your survival is entirely dependent on your ability to initiate combat while remaining in motion.
The core of the Ghost Claw’s effectiveness lies in its attack animations. These are extremely fast, allowing you to force "stagger" states on smaller enemies before they can initiate their own attacks. To optimize this:
- Avoid Static Combat: Never stand still for more than a second. Even when attacking, weave your movement inputs to reposition behind or to the side of your targets.
- Exploit Attack Speed: Use the Ghost Claw’s rapid strike rate to create a "bubble" of damage around you, making it difficult for mobs to close the gap without taking significant damage.
- Target Prioritization: Always identify and eliminate crowd-control (CC) enemies first. These units are the primary threats to your chain-combos, as any stun or slow effect will leave you vulnerable to the dense monster clusters found on floor 15 and beyond.
Navigating the Mid-Game Difficulty Spike (Floors 10–20)
The difficulty jump at floor 10 is designed to test your spatial awareness. You will encounter more frequent enemy spawn patterns and environmental hazards that require active navigation.
When entering a new floor, pause for a split second to observe the spawn layout. If the area is wide open, use your dash to drag enemies into a tight cluster. If the layout is narrow, use your mobility to lure enemies into a choke point where the Ghost Claw’s frontal damage can hit multiple targets simultaneously.
If you find yourself surrounded, do not attempt to "tank" the damage. The Ghost Claw is not designed for sustained soaking. Instead, use your dash ability to break out of the circle, reset your position, and re-engage from the periphery. Remember: clearing every single enemy is not always necessary for progression. If your health is low, focus on clearing a path toward the exit or the next safety zone rather than completing a full area wipe.
Managing Cooldowns and Skill Timing
Effective resource management is the difference between a successful run and an early defeat in the 10–20 floor range. Your primary dash-strike is both your greatest offensive tool and your only reliable defensive escape.
- Avoid Over-Commitment: Never exhaust your dash ability on a single, low-health enemy. Save it for repositioning when elite units appear.
- Elite Unit Strategy: Floors 12 and above frequently feature elite monsters with significantly higher health pools. Use your specialized abilities to burst these targets down immediately. Once the elite is removed, the remaining mob density is much easier to manage with basic attacks.
- The "Escape Route" Rule: Always ensure you have at least one dash charge available. If you are ever forced to use both charges to initiate combat, you are effectively leaving yourself defenseless if a trap triggers or a new wave spawns immediately behind you.
Tactical Positioning Against Shielded Enemies
Around floor 15, you will encounter shielded enemies that block frontal damage. The Assassin Ghost Claw thrives here because of its high maneuverability. Rather than forcing a frontal assault—which will result in wasted cooldowns and lost time—use your dash to zip behind the enemy’s turn-radius.
Because the Ghost Claw’s attack animation is so fast, you can often land 3–4 hits before the shielded enemy can rotate to face you again. This "flanking" strategy is the most efficient way to deal with tanks without taking return fire.
Optimizing for the Floor 20 Milestone
Reaching floor 20 is a test of consistency. As you approach this bracket's conclusion, prioritize picking up environmental buffs, specifically those that provide movement speed. These buffs are essential for maintaining the Assassin’s hit-and-run tempo.
Finally, be wary of the map design in floors 18–20. These levels often feature vertical drops and narrow corridors that limit your lateral movement. If you find yourself in a tight spot, keep your back to an open space. This ensures that when you do dash, you are moving away from danger rather than accidentally dashing into a wall or a trap.
By prioritizing your mobility over raw damage output and keeping your dash cooldowns strictly managed, you can consistently navigate the 10–20 floor range with the Assassin Ghost Claw, ensuring your hero is fully upgraded and prepared for the challenges that lie beyond the mid-game.

Free Skull Hero Codes
Current active codes and how to redeem them.

Emily Johnson
Emily writes practical mobile strategy guides with a focus on resource planning, base progression, and the early decisions that shape a long-term account.
COMMUNITY
Player Comments
156 players commented on this guide.
Good guide for Skull Hero players. The heroes part was useful.
This saved me time in the early game.
The explanation is clear, especially for beginners.
The tips are practical and easy to follow.