
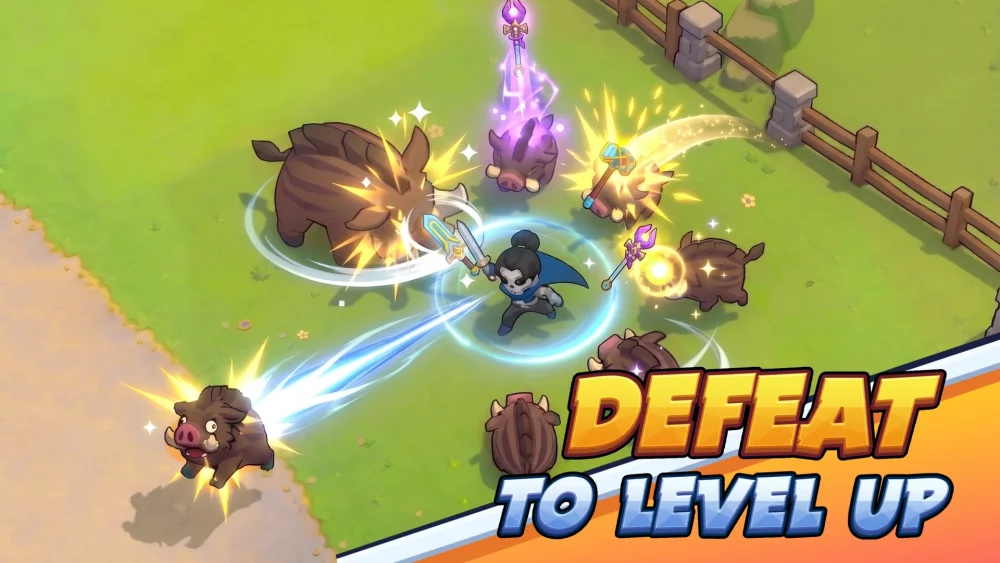
Conquering the Skullwreck Bay stage on Impossible difficulty in Skull Hero is the ultimate test of your tactical decision-making and mechanical precision. Unlike lower difficulties where you can afford minor mistakes, Impossible mode requires a disciplined approach to lane management, resource allocation, and hero deployment. To succeed, you must move away from "all-purpose" defense builds and transition into a specialized strategy that exploits the map's unique geography.
This guide provides the expert-level insights needed to dismantle enemy formations before they reach your defensive line, ensuring you maintain total control of Skullwreck Bay.
Understanding the Impossible Difficulty Meta
On Impossible difficulty, enemies in Skull Hero feature significantly higher HP pools, increased movement speed, and armor values that render weak, low-tier towers useless. The primary threat in Skullwreck Bay is not just the boss, but the "swarm" waves that can overwhelm your DPS output.
To survive, you must stop thinking about coverage and start thinking about concentration. The game engine calculates enemy pathing based on the shortest route to your base; by using your towers to create "kill boxes"—small, high-density areas where every tower can hit the same target—you effectively multiply your DPS without needing to upgrade every single structure on the map.
Strategic Tower Placement for Lane Control
The geography of Skullwreck Bay is its greatest asset. The map features narrow corridors and sharp turns that are perfect for maximizing splash damage.
The Kill-Box Strategy
- Corner Loading: Always prioritize placing your primary damage-dealing towers on the inside of corners. This allows projectiles to travel along the path of the enemy for a longer duration, increasing the number of hits per unit.
- Front-Loading Slows: Place your slowing towers (or crowd-control units) at the very entrance of the lanes. By slowing enemies before they reach your high-damage towers, you ensure your heavy hitters have more time to fire before the enemies exit their range.
- The Avoidance Trap: Avoid building towers in "dead zones" where they cannot reach the primary lane. In Skull Hero, every bit of gold invested in a sub-optimal position is a liability. If a tower isn't hitting an enemy at least 80% of the time, sell it and move it to a bottleneck.
Optimizing Hero Ability Timing
Your hero is the most versatile unit in your arsenal. On Impossible difficulty, using your hero simply to "add damage" is a waste. You must treat your hero’s cooldowns as a defensive emergency system.
- The "Cluster" Rule: Never expend your hero’s Area of Effect (AoE) abilities on single targets, even if they are elite units. Wait for the enemy wave to bottleneck at your primary chokepoint.
- Stalling for Cooldowns: If your towers are overwhelmed, use your hero to "body block" the lane. By standing in the path, you force enemies to stop, effectively stalling them for several seconds. This is often the difference between a successful defense and a leaked wave.
- Ability Rotation: If you have a multi-part ability kit, use your CC (Crowd Control) or debuff ability first to prime the enemies, followed by your high-damage burst. This maximizes the efficiency of your hero’s damage output against armored units.
Resource Allocation: Quality Over Quantity
One of the most common mistakes players make in Skull Hero is spreading their gold too thin. Attempting to build a "wall of towers" across the entire map will lead to failure on Impossible difficulty.
- Upgrade, Don’t Expand: One fully upgraded tier-three tower is objectively better than three tier-one towers. Upgraded towers offer armor penetration, faster fire rates, and specialized damage types that are essential for late-game waves.
- The Emergency Reserve: Always keep roughly 200–300 gold in your coffers during the mid-game. This acts as an insurance policy. If a wave manages to bypass your frontline, you can quickly drop a defensive tower to finish off stragglers without having to sell your main structure.
- Selling Strategy: Don't be afraid to sell a tower that was useful for an early wave but is now ineffective against the current enemy composition. Reinvesting that gold into a more effective tower type (e.g., swapping physical damage for magic damage) is a hallmark of an expert player.
Adapting to Enemy Compositions
Skullwreck Bay is infamous for its varied enemy types. You will frequently face mixed waves featuring fast "scout" units alongside heavily armored "bruisers."
- Handling Speed: If you see fast-moving units, adjust your tower focus to high-rate-of-fire structures. These units have low HP but can slip past slow, heavy-hitting towers.
- Handling Armor: High-armor enemies ignore standard physical damage. You must have at least one dedicated armor-shredding or magic-based tower in your setup. If you find your towers are firing but the enemy health bars aren't moving, you are missing the correct damage type.
- The Hero Pivot: If a specific wave composition is countering your current tower layout, move your hero to that lane immediately. Use your hero’s mobility to "shore up" the weakness until the wave is cleared.
Common Mistakes to Avoid
Even experienced players fall into these traps during high-difficulty runs:
- Over-extending: Positioning your hero too far forward makes them vulnerable to being swarmed and killed, resulting in a long respawn timer that leaves your defenses wide open. Keep your hero near your towers.
- Ignoring the Goal: Players often focus so much on the spawn point that they forget to defend the "goal." Always leave a small amount of damage potential near your base as a final line of defense.
- Panic Selling: Don't sell your entire defense because one enemy unit slipped through. If it’s just one or two enemies, prioritize killing them with your hero and keep your tower network intact for the next major wave.
Conclusion: Achieving Perfection
Mastering Skullwreck Bay on Impossible difficulty is about discipline. By focusing your towers into high-density kill boxes, timing your hero abilities to coincide with lane bottlenecks, and prioritizing tier-three upgrades over map coverage, you can systematically neutralize any threat the game throws at you. Stay calm, watch the wave timers, and trust your setup—every enemy in Skull Hero has a weakness; your job is simply to force them into the path where your towers are strongest.

Free Skull Hero Codes
Current active codes and how to redeem them.

Michael Smith
Michael covers live-service games, events, reward systems, and efficient daily routines, turning frequent updates into clear actions for players.
COMMUNITY
Player Comments
122 players commented on this guide.
Nice guide. I am checking the other Skull Hero articles next.
The explanation is clear, especially for beginners.
Good guide for Skull Hero players. The heroes part was useful.
This saved me time in the early game.