
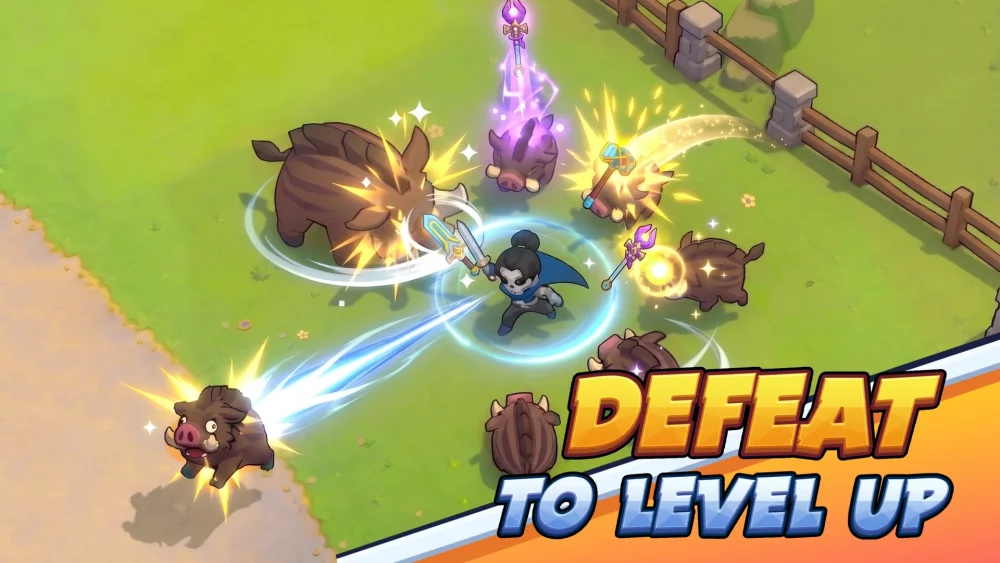
The secret to conquering the treacherous lands of Skull Hero is not found in a single, powerful form, but in the tactical mastery of your skull-swapping mechanic. In Skull Hero, your hero is defined by the head they currently wear. By swapping heads, you instantly transition between distinct combat classes, each with unique abilities, movement speeds, and attack patterns. To survive the game's increasingly difficult waves and punishing boss encounters, you must stop viewing swaps as a simple cosmetic change and start using them as a fundamental offensive and defensive tool.
The Strategic Advantage of Head-Swapping
The primary strength of the head-swapping system is the ability to bypass static gameplay limitations. In most action games, you are tethered to the constraints of your character’s kit. In Skull Hero, swapping allows you to chain abilities across different forms.
When you swap, you aren't just changing your look; you are resetting your tempo. If you have depleted your primary hero's skill set, swapping to a secondary head provides an immediate, fresh kit to continue dealing damage. Players who master this transition gain a massive DPS advantage, as they can rotate through two sets of powerful cooldowns rather than waiting for one set to recharge. This fluidity turns you from a vulnerable target into a relentless combat engine that never stops applying pressure to enemy ranks.
Managing Cooldowns and Ability Chains
Effective combat in Skull Hero requires a high uptime on your abilities. The most common mistake beginners make is waiting for a primary skill to finish its cooldown while standing in place. Instead, you should aim for a "rotation" mindset:
- Deploy your primary hero’s burst damage skills.
- Swap immediately to your secondary hero once those skills are on cooldown.
- Execute your secondary hero’s skills to maintain pressure.
- Swap back once the primary hero’s cooldowns have reset.
This rhythmic swapping prevents "dead air" in your combat loop. When building your loadout, prioritize pairing heroes that cover each other’s weaknesses. For instance, pair a heavy-hitting, stationary hero with a high-mobility "assassin" class. This pairing ensures that when you are vulnerable after a heavy attack, you have a safe, agile form to switch to, keeping your survival rate high.
Utilizing Swaps for Defensive Repositioning
Beyond raw damage, the swap mechanic is your most reliable survival tool. Many hero forms feature unique "entrance" effects or invulnerability frames (i-frames) during the swap animation. Learning the timing of these frames is critical for high-level play.
- Evade Through Hazards: If you are trapped in a corner or surrounded by projectiles, a well-timed swap can allow you to pass through dangers that would otherwise drain your health.
- Entrance Stuns: Some hero heads deal damage or cause stuns the moment they land. Use these as an "emergency button" when an enemy wave gets too close.
- Gap Closing: Use a mobile hero’s swap to quickly close the distance to a boss or to retreat from an telegraphed AoE (Area of Effect) attack.
Tactical Pairings and Synergy
To truly excel in Skull Hero, you must consider the synergy between your two heads. Not all heroes work well together, and your success often hinges on how well your chosen pair complements your stage progression strategy.
| Pair Type | Goal | Best For |
|---|---|---|
| Double Offense | Maximize DPS | Clearing waves of weak enemies quickly. |
| Mobility/Defense | Survivability | Boss fights with complex movement requirements. |
| Status/Control | Crowd Control | Rooms filled with high-HP monsters and traps. |
Always test your pairings in lower-stakes areas before heading into a boss fight. You need to develop the muscle memory to know exactly which abilities are available the moment the swap happens. If you swap to a form you aren't comfortable with, you are more likely to make a mistake during a high-pressure encounter.
Avoiding Common Mistakes
Even experienced players fall into traps regarding their form-switching habits. Avoid these common pitfalls to stay ahead of the challenge:
- Panic Swapping: Do not swap just because you are nervous. If you swap prematurely, you might find yourself stuck with a hero that has long cooldowns while a boss is winding up a major attack. Always have a plan for which hero you are swapping to and why.
- Neglecting Cooldown Timers: Keep a close eye on your UI. If you swap to a hero whose primary skills are still on cooldown, you have wasted your swap and potentially left yourself defenseless.
- Ignoring Base Stats: Remember that swapping changes your base movement speed and attack range. If you swap from a long-range archer to a short-range brawler, you must instantly adjust your positioning, or you will take unnecessary damage.
Mastering the Flow of Battle
Ultimately, Skull Hero rewards players who treat the swap mechanic as a core combat skill rather than an afterthought. By treating your two heads as a unified, two-part unit, you can manipulate the flow of battle, negate incoming damage, and maintain a constant, high-damage output.
Practice by forcing yourself to swap at least once every few seconds during standard combat encounters. Over time, this will become second nature, allowing you to focus on boss telegraphs and enemy patterns rather than worrying about your own cooldowns. With the right heads equipped and a solid grasp of your swap rhythm, no monster or boss in the mysterious lands of Skull Hero will be able to stand in your way.

Free Skull Hero Codes
Current active codes and how to redeem them.

Sarah Williams
Sarah specializes in RPG and collection games, explaining team building, character growth, and beginner-friendly ways to avoid expensive early mistakes.
COMMUNITY
Player Comments
43 players commented on this guide.
I wish I had read this before upgrading the wrong thing.
Nice guide. I am checking the other Skull Hero articles next.
This helped me understand heroes much better.
The tips are practical and easy to follow.