
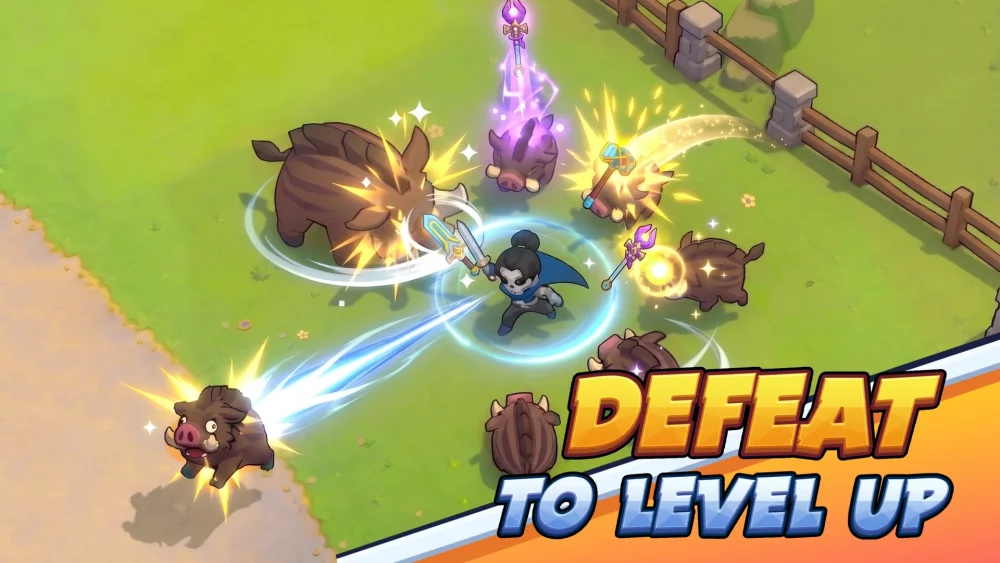
Mastering boss encounters in Skull Hero requires a fundamental shift from aggressive, static combat to a rhythm-based movement style that prioritizes survival during high-intensity phase transitions. Because boss patterns in the later stages of the game feature complex, screen-filling projectiles and rapid-fire strikes, standing still is often a death sentence. By leveraging the specific invulnerability frames (i-frames) provided by head-swaps and maintaining constant, lateral mobility, you can effectively mitigate high-damage patterns that would otherwise deplete your health pool. This guide provides the tactical framework necessary to conquer the toughest challenges in the mysterious lands of Skull Hero.
Utilizing Invulnerability Windows During Boss Phases
The most effective way to survive complex boss patterns in Skull Hero is to exploit the brief window of invulnerability triggered during a head-swap. While many players rely solely on the dash mechanic, your dash has a distinct cooldown that can leave you exposed. Instead, you should treat your head-swap as a defensive utility.
When you swap your skull, your character enters a short state where they cannot take damage. By timing these swaps to coincide with a boss’s telegraphed "large area" or "projectile spam" attacks, you can bypass hit-box detection entirely.
- Timing the Swap: Observe the boss for visual cues—such as a glowing aura or a specific charge-up animation—that precede a heavy strike.
- Layered Defense: Use your dash to reposition for distance, and use your swap to "iframe" through an attack that is physically impossible to dodge with movement speed alone.
- The Benefit: This turns a defensive maneuver into an offensive opportunity, as you remain close enough to the boss to resume your attack string immediately after the i-frames conclude.
Maintaining Constant DPS Through Strategic Swapping
Aggression is a core pillar of Skull Hero, but it must be balanced with calculated positioning. Many players lose runs by attempting to "facetank" damage to finish a boss, but the more efficient path is to maintain pressure while moving laterally.
By alternating between two skulls, you ensure that your active skills are frequently cycled. This creates a rhythm where you are constantly outputting high-impact damage while avoiding the cooldown bottlenecks associated with using only one skull.
- The Hybrid Loadout: Aim to pair one skull that provides high-impact melee burst with one that offers consistent ranged pressure. This allows you to deal damage even when the boss is mid-animation or positioned across the arena.
- Skill Cycling: When your primary damage skill is on cooldown, swap to your secondary skull to trigger its own skill set. This keeps the boss in a state of constant suppression, effectively interrupting their rhythm and potentially staggering them out of dangerous phases.
Managing Resource Pacing and Item Synergies
Success in Skull Hero is heavily dependent on how your item build complements your mechanical choices. During boss fights, the synergy between your equipped items and your skulls is critical. If you are running a high-speed, physical damage build, you should prioritize items that grant bonuses to attack speed, critical damage, or cooldown reduction upon swapping skulls.
- The Value of Inscriptions: Don’t ignore defensive inscriptions. While it is tempting to stack pure damage, inscriptions that provide damage reduction or health regeneration provide the "margin of error" necessary to learn a boss’s attack patterns without ending your run.
- Adaptive Itemization: If you find yourself consistently failing at a specific health threshold (e.g., the final 25% of a boss's HP), pivot your focus. Look for items that trigger effects upon swapping, as these reward the movement-heavy playstyle that keeps you alive.
Adapting Movement to Arena Layouts
Every boss arena in Skull Hero offers unique terrain features that can be exploited. Rather than standing in the center of the arena, use the edges and platforms to manipulate boss pathing.
- Baiting Attacks: Many bosses have predictable movement patterns. By positioning yourself near the perimeter, you can "bait" the boss into using attacks in specific directions, leaving the center of the arena clear for you to maneuver.
- Verticality: If the arena has platforms, use them to dodge ground-based shockwaves. However, be cautious; staying in the air too long can make you vulnerable to anti-air projectiles. Use platforms to regain your bearings, then drop back to the ground to continue your DPS cycle.
Avoiding Common Mistakes in the Final Phase
A common point of failure for players in Skull Hero is the "panic state" that occurs during the final 20% of a boss’s health bar. As the boss enters their "enraged" or final phase, they will typically increase the speed and frequency of their attacks.
- Avoid Long Animations: Do not commit to long, high-damage skills if the boss is entering their final phase. If you are locked in an attack animation when a telegraphed attack begins, you will likely take a hit.
- Prioritize Positioning over greed: There is a temptation to "burn" the last bit of health, but the game rewards patience. Wait for a clear window, land a quick combo, and move.
- Manage Dash Usage: Never dash into the boss; always dash away or through if you have the i-frame timing mastered. Dashing into a boss often lands you directly into a secondary hitbox that you didn't account for.
By focusing on rhythmic swapping, utilizing i-frames, and building for survivability as much as damage, you will find that even the most daunting encounters in Skull Hero become manageable. Keep your movement fluid, respect the boss’s phase transitions, and focus on consistent, steady damage output rather than reckless, high-risk play.

Free Skull Hero Codes
Current active codes and how to redeem them.

Michael Smith
Michael covers live-service games, events, reward systems, and efficient daily routines, turning frequent updates into clear actions for players.
COMMUNITY
Player Comments
100 players commented on this guide.
This saved me time in the early game.
Good guide for Skull Hero players. The heroes part was useful.
The tips are practical and easy to follow.
The explanation is clear, especially for beginners.