
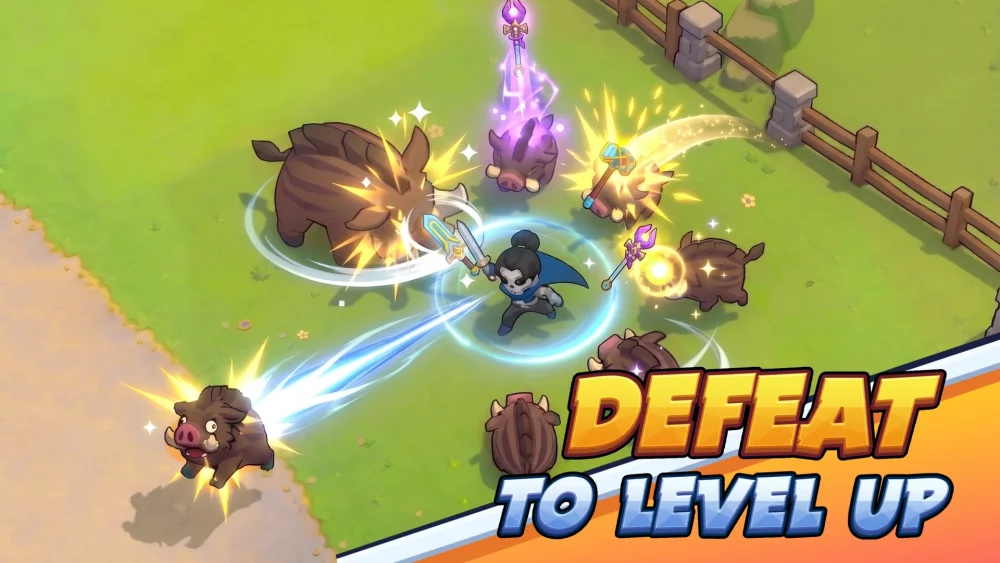
The Stone Monkey is arguably the most potent late-game carry in Skull Hero. Characterized by its ability to generate multiple clones and unleash a flurry of devastating staff strikes, this skull turns the battlefield into a chaotic storm of damage. While it requires a high level of mechanical discipline, mastering the Stone Monkey allows players to bypass even the most difficult health thresholds in the game. This guide provides the expert strategies, gear synergies, and tactical insights needed to turn your Stone Monkey into a boss-melting machine.
Understanding the Stone Monkey Mechanics
The defining feature of the Stone Monkey is its "clone" mechanic. Unlike other skulls that focus on personal DPS or defensive sustain, the Stone Monkey functions as a force multiplier. When you trigger your abilities, you aren't just attacking once—you are manifesting independent entities that mimic your aggression.
Each clone acts as an extension of your own attack range and output. When you swing your staff, your clones replicate the motion, effectively turning a single-target attack into a screen-wide area-of-effect (AoE) event. This makes the Stone Monkey exceptionally effective against large bosses with multiple hitboxes or wave-clearing during dense monster spawns. To play this skull effectively, you must stop viewing your character as a lone fighter and start viewing yourself as the commander of an army of strikes.
Maximizing Clone Synergy for DPS
Many players make the mistake of focusing on basic attack speed, but the true potential of the Stone Monkey lies in ability uptime. If your clones aren't on the field, your damage output is effectively halved.
To maintain peak DPS, follow these strategic guidelines:
- Prioritize Skill Haste: This is your most critical stat. Shorter cooldowns mean you can refresh your clone summons more frequently, ensuring that you are almost never fighting without your full entourage.
- Target Centering: Because your clones often strike in proximity to your own position, leading the boss toward the center of your formation ensures that every staff swing lands simultaneously.
- The "Burst Window" Philosophy: Do not spam your abilities mindlessly. Save your summons for when the boss is stationary or staggered. The goal is to stack all instances of your staff damage within a single, high-impact window.
Strategic Gear and Item Selection
The Stone Monkey is a "proc-heavy" character. Because your clones generate dozens of individual hits in a matter of seconds, any item that triggers an effect "on hit" or "on crit" becomes exponentially more powerful.
Recommended Build Priorities:
- Physical Damage Scaling: Since the Stone Monkey’s staff swings are primarily physical, flat physical attack buffs provide the highest return on investment.
- On-Hit Proc Items: Look for gear that adds magic damage, true damage, or elemental effects on hit. Since your clones hit so rapidly, you will trigger these bonus effects dozens of times per second.
- Critical Hit Rate: A high critical hit chance is essential. When you have five or more clones active, a single critical hit proc effectively multiplies your damage output across your entire squad.
Combat Limitations and Trade-offs
Even with its massive damage potential, the Stone Monkey is a glass cannon. It lacks the natural damage reduction found in tankier skulls, meaning you cannot afford to trade hits with bosses.
- The Visibility Trap: One of the most common mistakes players make is losing track of the boss's telegraphs amidst the visual clutter of your own clones. If you cannot see the boss's wind-up animation, you are one bad dodge away from a run-ending mistake.
- Vulnerability Windows: When your skills are on cooldown, you are at your weakest. If a boss forces you to dodge during your "summon downtime," do not panic. Use your mobility to kite the enemy until your cooldowns reset. Never commit to a stationary attack animation unless your clones are active to provide cover.
Mastering Skill Rotations for Boss Encounters
Boss fights in Skull Hero are tests of timing, and the Stone Monkey excels when you treat the boss’s animation cycle as a metronome.
- Phase 1 (Setup): Start the fight by positioning yourself at a medium distance. Do not immediately dump all your cooldowns.
- Phase 2 (The Opening): Wait for the boss to finish a long-winded attack. Once the boss enters its "recovery" phase, unleash your full rotation of summons.
- Phase 3 (The Overlap): While the clones are active, focus entirely on dodging. Your only goal during this phase is to maintain the boss's position within your clones' range.
- Phase 4 (Reposition): Once your clones expire or the boss becomes invulnerable/mobile, disengage. Use your movement abilities to stay safe until the next window opens.
Why This Strategy Works
The Stone Monkey’s strength lies in layering. By forcing the game engine to calculate dozens of attack instances simultaneously, you bypass the standard limitations of individual damage output. While other skulls might do 1,000 damage per second, a well-geared Stone Monkey can output 5,000+ damage per second simply by ensuring that the boss is standing in the middle of a "Staff Storm."
By focusing on cooldown reduction and high-frequency proc items, you aren't just playing the game; you are breaking the encounter math. Keep your clones active, watch the boss's patterns, and prioritize survival during your downtime—if you do this, there is no monster in Skull Hero that can survive your onslaught.

Free Skull Hero Codes
Current active codes and how to redeem them.

Emily Johnson
Emily writes practical mobile strategy guides with a focus on resource planning, base progression, and the early decisions that shape a long-term account.
COMMUNITY
Player Comments
101 players commented on this guide.
I tried this today and it worked better than my old setup.
Can you add more details about heroes in a future update?
Nice guide. I am checking the other Skull Hero articles next.
This saved me time in the early game.