
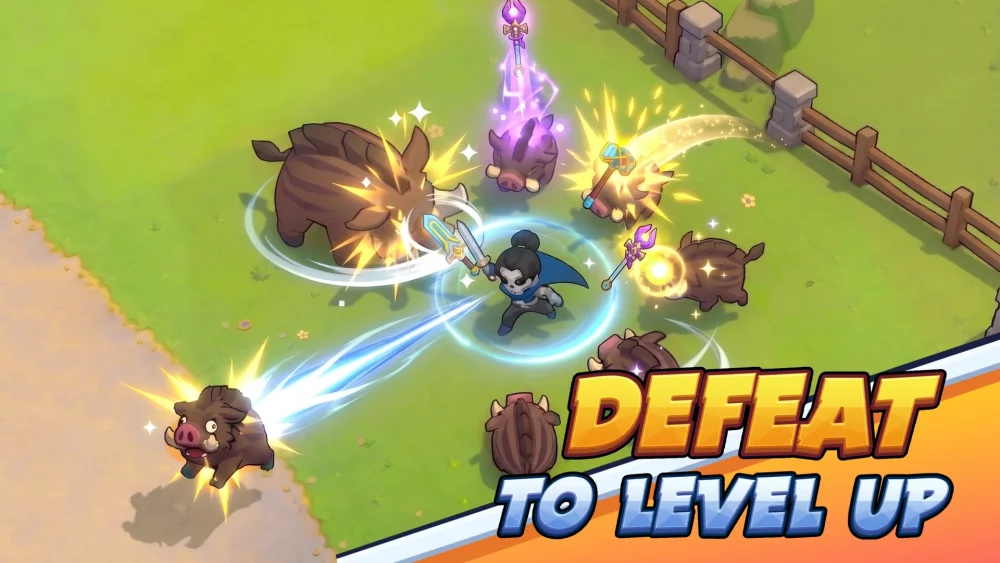
To dominate in Skull Hero, you must evolve beyond simple button-mashing and master the rhythmic interplay between basic attacks, active skill usage, and the core head-swap mechanic. The game’s combat system is designed to reward players who treat their two-skull loadout as a single, cohesive unit rather than two separate tools. By synchronizing your secondary skull’s entry attack with your primary skull's cooldowns, you can maintain constant offensive pressure while utilizing invulnerability frames to negate incoming damage.
This guide provides the tactical framework necessary to maximize burst damage, preserve your health pool during high-intensity encounters, and ensure consistent progression through the game’s increasingly difficult stage layouts.
Mastering the Head-Swap Mechanic
The head-swap is the defining feature of Skull Hero combat, functioning as both an offensive catalyst and a defensive maneuver. When you swap your current skull, the arriving skull performs a unique entry attack that often deals significant damage or applies status effects.
Why the Swap Matters:
- Continuous Offensive Flurries: By chaining swaps during your primary skull’s skill cooldowns, you eliminate "dead air" in your damage output. Instead of waiting for abilities to recharge, you immediately transition to a fresh set of skills.
- Invulnerability Frames (i-frames): The split-second animation of the head-swap grants you brief invulnerability. Experienced players use this to "dash-through" telegraphed boss strikes or dense clusters of projectiles that are otherwise unavoidable.
- Tactical Repositioning: A swap can instantly move your character from a compromised position to a safer one, allowing you to bypass enemy frontlines and strike high-priority targets.
Synchronizing Skill Rotations for Burst Damage
Effective DPS in Skull Hero relies on deliberate cycles. Rather than spamming abilities the moment they are off cooldown, aim for a "Swap-to-Skill" rotation.
The Ideal Rotation Strategy:
- Engage: Start with your primary skull to unleash its main skills on a clustered group.
- Transition: As soon as the skills are expended, trigger the head-swap. The entry attack of the second skull acts as your bridge.
- Sustain: Immediately fire off the skills of your secondary skull while your primary skull’s cooldowns reset in the background.
- Repeat: Return to your primary skull once its cooldowns are clear.
When selecting skull pairs, look for synergy. A "long-range/crowd-control" skull pairs perfectly with a "high-mobility/melee" skull. Use the range-focused skill to soften groups from a distance, then swap into the melee skull to clean up remaining targets while the first skull resets.
Managing Combat Pacing and Enemy Crowd Control
In Skull Hero, being surrounded is a death sentence. Combat pacing is about maintaining control of the screen, forcing enemies into clusters where your area-of-effect (AoE) skills can hit multiple targets simultaneously.
- Manipulate Positioning: Use your jump-attacks and dashes to herd enemies into tight groups. If you find yourself surrounded, do not panic-dash. Instead, use a head-swap to break through the enemy line, effectively turning your escape into an attack.
- Prioritize Threats: Identify monsters that spawn projectiles or traps. These are your priority targets. Use your most powerful skill rotations on these enemies first to remove the source of incoming chaos.
- The "Hit and Run" Discipline: Avoid the temptation to commit to long, vulnerable attack strings. If you lack an exit strategy, trade a few basic hits for a skill-swap combo that keeps you mobile.
Optimizing Resources During Boss Encounters
Boss fights in Skull Hero are endurance tests that require a shift from clearing speed to high-damage burst windows. During these encounters, your strategy should be conservative until the boss enters a vulnerable or "stunned" state.
Boss-Specific Tactics:
- Reserve Skills: Hold your highest-damage abilities for when the boss is locked into an animation or vulnerable state.
- Passive Buffs: Choose skulls that offer passive bonuses—such as increased attack speed or damage-over-time effects—that persist even when that skull is not currently active.
- Mastering the Timing: Practice the specific animation timings of your favorite skulls in lower-stakes areas. Knowing exactly how long your swap takes ensures you won't get caught in a long animation while the boss is winding up an attack.
- Safety Over Greed: The biggest mistake players make is forcing an extra hit at the end of a rotation. If the boss is about to attack, prioritize the swap for the i-frames over the final hit of your combo.
Common Mistakes to Avoid
Even veterans can fall into patterns that hinder their progression. Watch for these common pitfalls:
- Ignoring Swap Entry Attacks: Many players treat the swap as a simple utility. Always check the specific entry effect of your skull; some provide stuns, others provide knockbacks, and some provide massive burst damage.
- Neglecting Hero Upgrades: Don't hoard your farming resources. Upgrading your hero’s base stats is essential to scaling with the difficulty of later stages.
- Static Loadouts: If you find a skull you like, it is tempting to stick with it. However, the game demands adaptability. Be willing to swap your secondary skull for one that counters the specific boss or trap layout of the biome you are currently in.
- Mismanaging Dash Resources: Never use your dash for movement if you are in the middle of a boss encounter; save it strictly for evading unavoidable damage.
By mastering the rhythm of the head-swap and the discipline of your skill rotations, you will find that Skull Hero becomes much more manageable. Focus on movement, prioritize your survival through i-frame management, and ensure that every second of your run is spent dealing damage. With these strategies, you will navigate the mysterious lands and overcome even the most formidable monster waves with ease.

Free Skull Hero Codes
Current active codes and how to redeem them.

Michael Smith
Michael covers live-service games, events, reward systems, and efficient daily routines, turning frequent updates into clear actions for players.
COMMUNITY
Player Comments
27 players commented on this guide.
The tips are practical and easy to follow.
I tried this today and it worked better than my old setup.
Good guide for Skull Hero players. The heroes part was useful.
I wish I had read this before upgrading the wrong thing.