
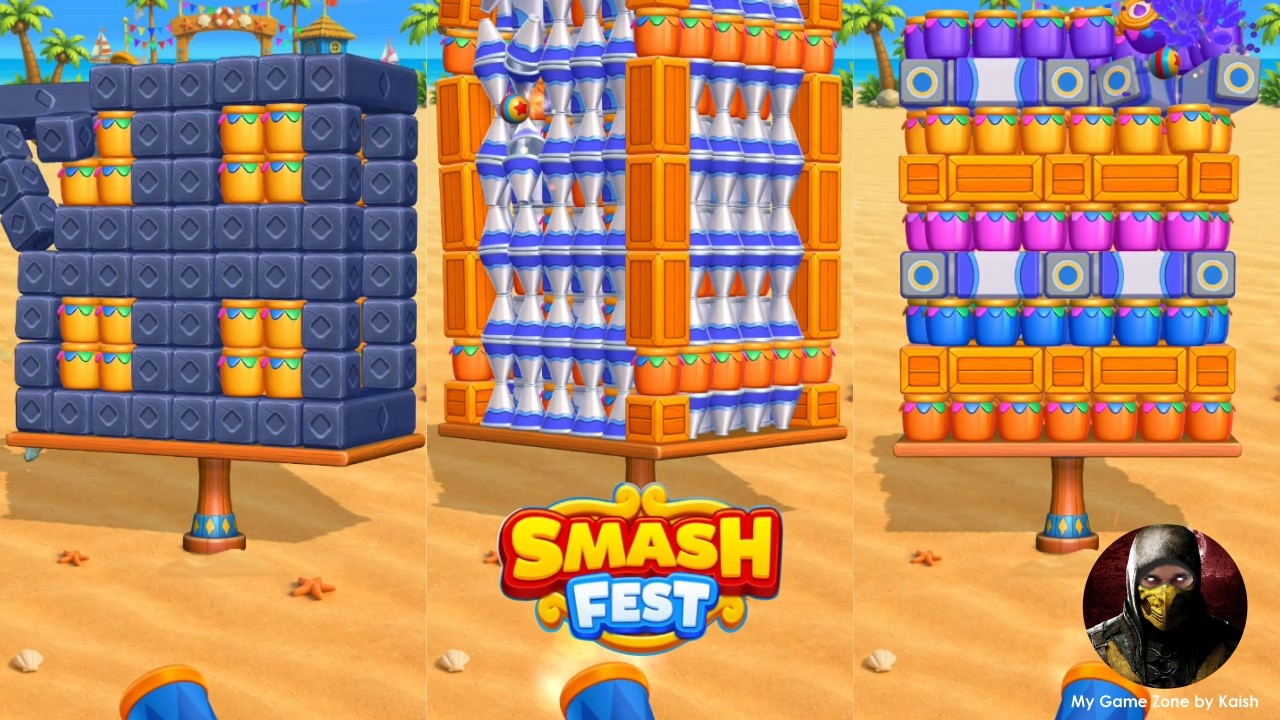
Reaching level 401 in Smash Fest! signals a definitive shift in the game's design philosophy. You are no longer in the tutorial phase where brute force or rapid-fire shooting will suffice; you are entering a high-complexity zone where every projectile must serve a specific architectural purpose. Levels 401 through 450 demand a transition from "target-focused" gameplay to "structure-focused" analysis.
By understanding the physics of the Smash Fest! engine and identifying the specific failure points in increasingly complex, festival-themed stages, you can conserve your limited ammunition and maintain your star ratings. This guide provides the tactical framework required to dismantle the structures found in the mid-400s.
The Core Philosophy: Structural Analysis Over Sniping
The most common mistake players make when entering the 400s is attempting to pick off individual targets one by one. In levels 401–450, the developers intentionally place high-value items in positions that bait players into wasting shots. To advance, you must ignore the individual targets and focus entirely on the foundation.
Identifying the "Primary Anchor"
Every structure in Smash Fest! has a "Primary Anchor"—the specific block or platform that supports the greatest amount of weight.
- The Bottom-Center Rule: In 70% of levels between 401 and 425, the base-center block is the load-bearing component. A single, well-placed shot here causes a catastrophic structural failure, bringing the entire tower down.
- Cantilevered Instability: Many mid-game structures feature overhanging platforms. Do not aim for the items on top; aim for the support pillar holding the cantilever. Once the support is removed, gravity does the work for you, often clearing 3–5 targets in a single shot.
Mastering Trajectory and Arc Control
As you progress toward level 450, you will encounter more vertical obstacles and defensive barriers that block your direct line of sight. Relying on "line-of-sight" shots will lead to frustrating ricochets and wasted ammo.
High-Arc vs. Low-Arc Shots
- The High-Arc Drop: Use this when targets are clustered behind a tall, indestructible barrier. Drag your cannon aim upward to create a steep parabolic arc. The projectile will clear the obstacle and drop vertically onto the structure’s weak point.
- Ricochet Geometry: If the level layout forces a side-shot, analyze the wall angles. Smash Fest! physics are consistent; a shot hitting a wall at a 45-degree angle will deflect at a 45-degree angle. Use the side walls to bypass shields and strike targets from behind.
The Landing Indicator
If your current version of Smash Fest! features a trajectory ghost-line, use it to test impact points on the edge of blocks rather than the center. Striking an edge often imparts rotational force (torque) to the structure, which is far more effective at toppling towers than a direct, flat impact.
Triggering Chain Reactions for Maximum Efficiency
To clear levels efficiently, you must learn to weaponize the environment. Many levels in the 401–450 range include physics-based triggers that, when activated, trigger a "cascade" effect.
Identifying Environmental Triggers
- Explosive Barrels: These are your best friends. In the mid-400s, barrels are often tucked into the lower levels of a structure. If you see a barrel, that is your primary target. The resulting blast radius usually covers the entire footprint of the structure.
- Gravity-Sensitive Tiles: Some levels include blocks that lose their collision properties when hit. If you see a cluster of blocks hovering or suspended, target the "connector" block to drop the entire section onto the targets below.
- The "Wait" Factor: After a successful chain reaction, do not fire your next shot immediately. The Smash Fest! physics engine may take 2–3 seconds to fully resolve the collapse. Firing early often wastes a shot on a target that was already destined to fall.
Tactical Troubleshooting: What to Do When You Fail
If you find yourself stuck on a specific level in the 401–450 bracket, it is usually because you are playing too aggressively. Use this checklist to reset your approach:
- Perspective Shift: If you are failing to hit a target, look for a different angle. Sometimes, moving your cannon to the far left or right of the screen provides a clearance angle that isn't obvious from the center.
- The "Ignore" Strategy: If a target is particularly difficult to hit, ask yourself: Is this target required to clear the level? Often, the game places one or two "bait" targets that are unnecessary to reach the score threshold. Ignore them and focus on the main body of the structure.
- Ammo Management: If you are down to your last two shots, stop aiming for the most "difficult" target. Aim for the center of gravity of the remaining structure. A heavy, low-accuracy shot is better than a high-precision shot that misses by a millimeter.
Summary of Best Practices for Levels 401–450
- Prioritize structural integrity: Always look for the base support before scanning for individual targets.
- Use the environment: If an explosive barrel is present, it is almost always the intended solution.
- Patience is a weapon: Let the physics engine finish the work of a collapse before committing to your next shot.
- Angle of attack: Use the walls to your advantage; don't be afraid to bounce your projectile to hit hidden areas.
By applying these principles, the transition through the 400s in Smash Fest! becomes a test of strategy rather than a test of reflexes. Focus on the foundation, manage your arcs, and let gravity provide the high score.

Free Smash Fest! Codes
Current active codes and how to redeem them.

Emily Johnson
Emily writes practical mobile strategy guides with a focus on resource planning, base progression, and the early decisions that shape a long-term account.
COMMUNITY
Player Comments
87 players commented on this guide.
I wish I had read this before upgrading the wrong thing.
This helped me understand strategy much better.
Good guide for Smash Fest! players. The strategy part was useful.
Can you add more details about strategy in a future update?