
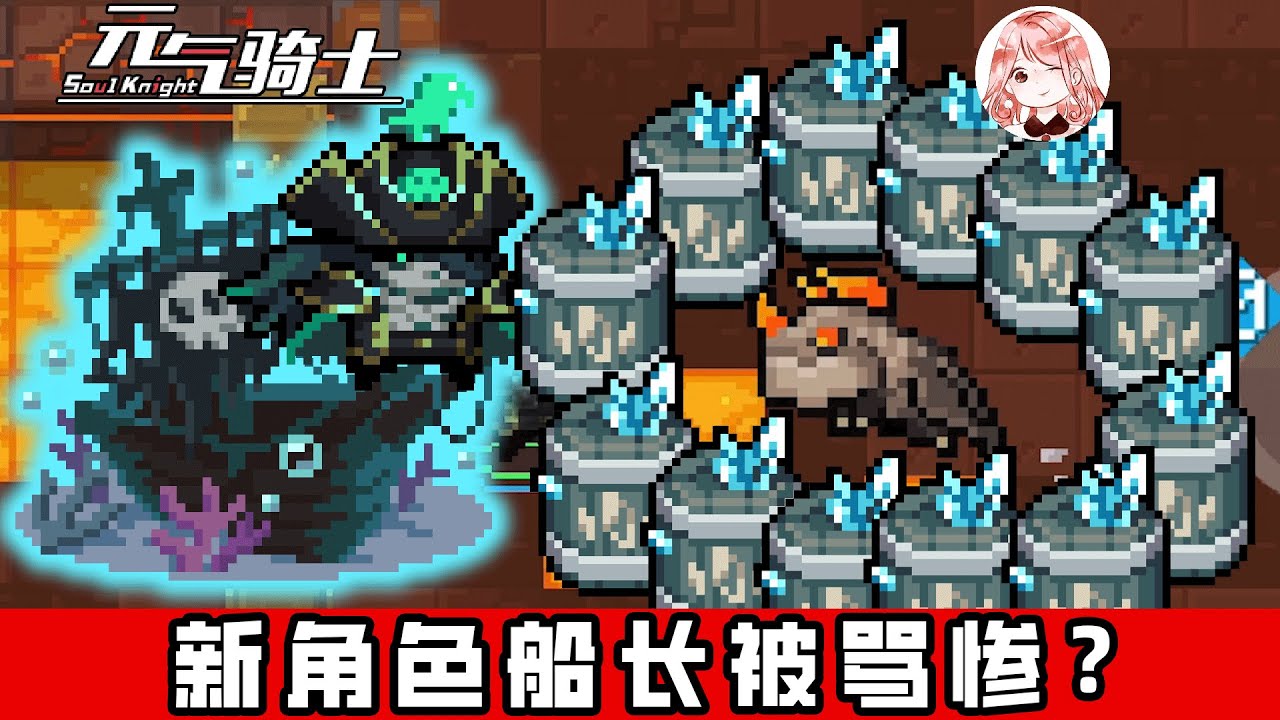
To master Paladin's third skill, Shield Toss, in Soul Knight, prioritize catching the projectile on its return flight to instantly restore armor while using its ricochet stuns to disable high-threat enemies.
Unlike Paladin's first skill, Energy Shield, which provides pure invulnerability, Shield Toss replaces passive defense with aggressive crowd control. Because Paladin possesses a base stat line of 9 armor and only 2 maximum health, your survivability depends on maintaining that 9-point armor pool. Catching the thrown shield replenishes missing armor and grants a temporary armor boost. Missing the catch places the skill on its full standard cooldown, leaving Paladin exposed to projectile damage.
Core Skill Mechanics and Catch Timing
Shield Toss operates as a hybrid offensive and defensive loop governed by the projectile's trajectory:
- Launch and Impact: Paladin hurls the shield (skinned as a glowing nautical wheel on the Ghost Captain skin) toward targeted enemies. It deals burst kinetic damage and immediately stuns the initial target, canceling attack windup animations.
- Ricochet Phase: The shield bounces between nearby enemies and solid walls, chaining stuns across clusters of monsters to suppress bullet density.
- Return Arc and Catch: After finishing its bounces, the shield arcs back toward Paladin. Moving into its return trajectory catches the shield, instantly restoring armor points and granting a temporary defensive shield buff.
Failing to catch the shield leaves you without defensive regeneration until the standard recovery cooldown finishes. Always prioritize your positioning relative to the shield's return flight over chasing stray enemies.
Recommended Buffs and Mentor Upgrades
Shield Toss relies heavily on bounce mechanics and skill uptime. Passive dungeon talents that modify projectiles directly enhance room-clearing speed and defensive consistency.
| Talent / Upgrade | Mechanical Effect on Shield Toss | Priority |
|---|---|---|
| Bullets Can Bounce | Adds extra bounces between targets and obstacles, extending total stun duration. | Highest |
| Skill Cooldown Reduction (-50%) | Minimizes downtime, letting you throw again almost immediately after a catch. | Highest |
| Mentor Upgrade | Emits explosive shockwaves on each impact, broadening stun radius and burst damage. | High |
| Armor Break Shockwave | Releases a bullet-clearing pulse when armor breaks, acting as a failsafe if a catch is missed. | Medium |
| Increase Max Armor | Increases the total armor threshold, strengthening Paladin's effective health buffer. | Medium |
Combining Bullets Can Bounce with the Mentor Upgrade allows the shield to clear out large chambers by continuously staggering monster waves with shockwaves before they can fire.
Weapon Synergies and Close-Range Tactics
While the shield is traveling, Paladin cannot absorb bullets automatically. Balance your weapon loadout to address this vulnerability:
- Melee Weapons (Broadsword, Laser Sword, Spear): Swing swift melee weapons to destroy incoming bullets while the shield is in flight. Once the shield stuns a pack of enemies, use your melee weapon to advance safely into the cluster.
- Burst Shotguns and Charge Weapons: Shotguns typically lose efficiency at long range due to spread. Because Shield Toss immobilizes targets, you can step up to stunned elite champions and land point-blank shots with guaranteed critical hits.
- Bare-Handed Badass Combat: Shield Toss serves as an entry tool. Stun an elite enemy from a distance, close the gap during the stun window to deliver rapid hand slaps, and retrieve the shield as it returns.
Room Routing and Boss Encounters
In standard dungeon rooms, throw the shield along diagonal angles rather than directly at the closest front-line minion. Angling the throw into backline snipers, elite laser units, or turrets allows the shield to bounce across room perimeters, disabling dangerous threats while creating a predictable return path through the center of the room.
During boss encounters, evaluate the room layout immediately:
- Enclosed Boss Rooms (Pillars or Walls): Position yourself so the shield ricochets rapidly between the boss and a nearby wall. This short flight path inflicts rapid stuns and returns the shield to you quickly, keeping the boss locked down.
- Open Arenas: Maintain medium distance and aim straight through the boss. Sidestep bullet patterns while tracking the return trajectory.
If you drop a catch during a boss fight, immediately swap to a defensive melee weapon to swat away projectiles and take cover behind obstacles until Shield Toss comes off cooldown.

Free Soul Knight Codes
Current active codes and how to redeem them.

Sarah Williams
Sarah specializes in RPG and collection games, explaining team building, character growth, and beginner-friendly ways to avoid expensive early mistakes.
COMMUNITY
Player Comments
104 players commented on this guide.
Good guide for Soul Knight players. The strategy part was useful.
The explanation is clear, especially for beginners.
This saved me time in the early game.
This helped me understand strategy much better.