
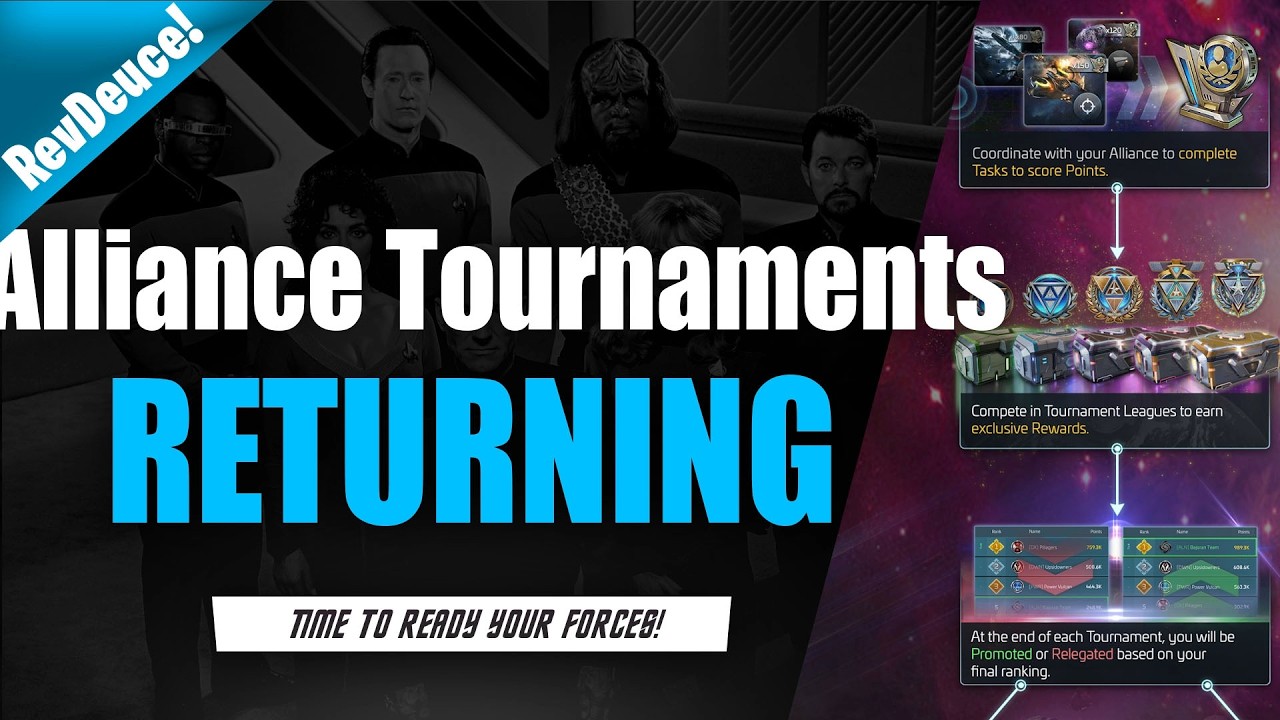
To succeed in the updated Alliance Tournaments in Star Trek Fleet Command, focus your alliance on securing reachable milestone tiers during coordinated fleet windows rather than overspending resources on open-ended leaderboard competition. The tournament format features narrower power brackets and strict scoring mechanics that directly reward combat efficiency while punishing point-feeding.
Roster Audits and Matchmaking Brackets
Tournament matchmaking groups competitors into narrower power bands based on active alliance strength. This change reduces matchups against alliances with vastly superior Operations levels and combat research. However, brackets lock based on your alliance roster at tournament launch.
To optimize your bracket placement:
- Remove inactive accounts before the lock: Inactive or high-power non-participating members artificially inflate your alliance rating, potentially pulling your team into a higher, more punishing bracket.
- Assess bracket standing immediately: If your alliance falls near the lower boundary of a bracket, avoid solo roaming and instruct members to commit fleets only in synchronized formations.
Scoring Mechanics and Combat Engagement Rules
The tournament scoring model eliminates point-farming exploits by calculating points based on hull damage dealt, target ship strength, and relative power ratios. Repeatedly attacking the same target within a short timeframe yields diminishing point returns, and sacrificing low-power hulls no longer provides easy points.
To maintain a positive point differential:
- Stop feeding cheap hulls: Sending under-crewed survey ships or weak interceptors into contested zones hands efficient points directly to rivals.
- Engage only favorable matchups: Deploy durable PvP crew setups and commit to battles where your fleet can destroy opposing ships without sustaining heavier hull damage in return.
- Maintain Peace Shields: Stations left unshielded in hostile or contested territory surrender massive destruction points if cracked. Keep Peace Shields active throughout the event window.
Milestone Progression vs. Leaderboard Investment
The event's reward economy front-loads materials and tournament tokens into individual and alliance milestone tiers. This structure offsets repair speed-ups, Tritanium, and Dilithium expenses without requiring a top leaderboard placement.
| Tournament Focus | Primary Resource Cost | Optimal Team Strategy | Payout Profile |
|---|---|---|---|
| Milestone Completion | Moderate Tritanium & repair speed-ups | Massed combat sorties during scheduled team windows | Guaranteed materials, tournament tokens, and buffs |
| Leaderboard Push | Heavy Dilithium & deep repair speed-up reserves | Continuous multi-system coverage led by top-tier combat fleets | High-risk placement rewards and prestige cosmetics |
| Defensive Chokepoints | Low repair speed-ups | Stationed defense platforms guarding key system approaches | Stable defensive point generation and enemy denial |
Alliances without deep reserves of repair speed-ups should stop pushing once the final milestone tier is secured. Competing for leaderboard ranks requires exponential repair costs that can leave stations depleted for subsequent faction events.
Fleet Coordination and Tactical Deployment
Isolated ships are quickly eliminated by organized strike teams, bleeding tournament points to opponents. Centralize your fleet movements to control combat zones effectively:
- Set combat windows: Schedule designated battle hours so alliance members enter contested systems in force rather than trickling in individually.
- Assign target callers: Designate fleet leaders to call primary targets, direct focus fire onto vulnerable enemy ships, and coordinate retreats before sustaining critical casualties.
- Group fleet types: Pair high-survivability command ships with heavy damage-dealers to absorb initial strikes while eliminating targets before opponents can disengage.
Free Star Trek Fleet Command Codes
Current active codes and how to redeem them.

Sarah Williams
Sarah specializes in RPG and collection games, explaining team building, character growth, and beginner-friendly ways to avoid expensive early mistakes.
COMMUNITY
Player Comments
118 players commented on this guide.
This guide answered the exact question I had.
I wish I had read this before upgrading the wrong thing.
I tried this today and it worked better than my old setup.
This helped me understand strategy much better.