
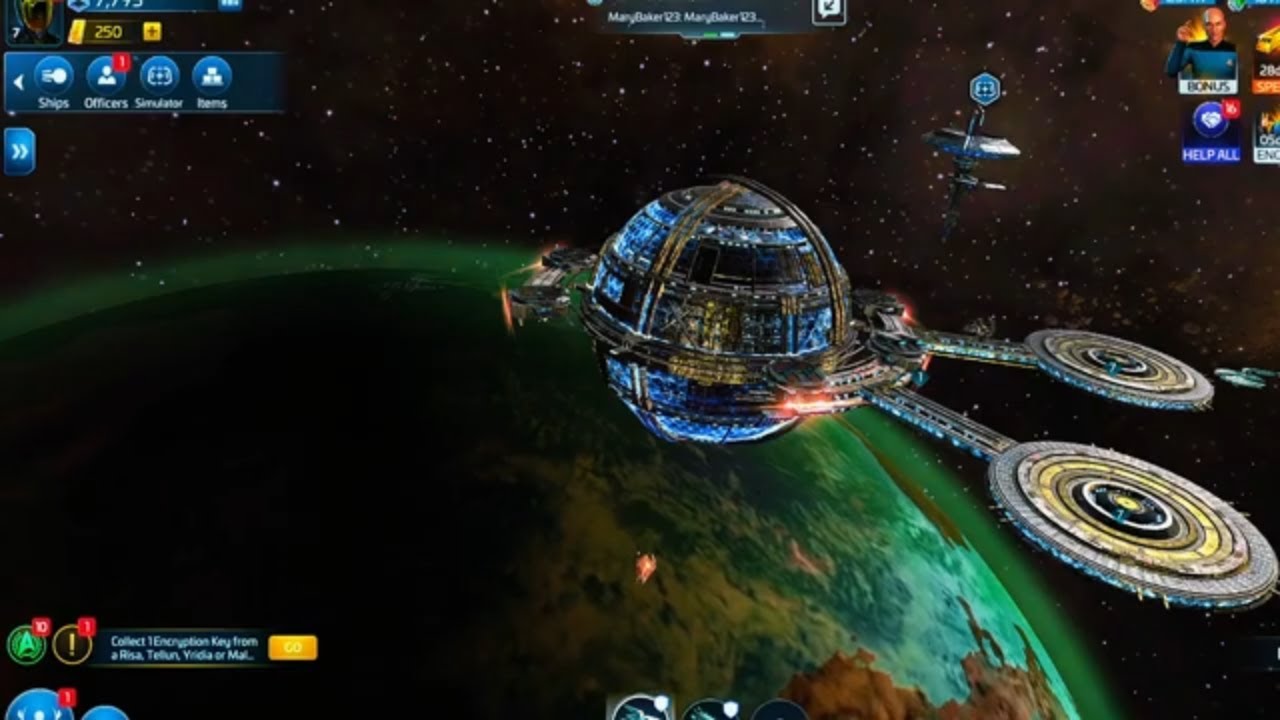
To progress efficiently when starting Star Trek Fleet Command, build only the required prerequisites to advance your Operations building, use your starter Realta ship for low-cost hostile hunting, and keep resource tokens stored in your inventory until an upgrade directly demands them. Rushing nonessential generators or overinvesting materials into your earliest hull slows your account development.
Prioritizing Operations and Core Infrastructure
Your Operations building acts as the hard bottleneck for your entire base. Every internal facility—including resource vaults, defense platforms, the Shipyard, and the Research Department—is capped by your current Operations level. To level up quickly without wasting construction time:
- Check the next Operations requirements: Select the Operations building to identify the exact prerequisites needed for the next level.
- Build only the required structures: Upgrade the specified prerequisites immediately instead of leveling every resource generator across your station.
- Keep the Shipyard and Research Department current: The Shipyard dictates your maximum fleet tier and construction limits, while the Research Department unlocks foundational combat and economic passive bonuses.
- Use free speed-ups: Apply free instant-finish options on short low-tier timers to keep your building queue cycling without spending premium currency.
Completing core missions yields significantly higher raw resources than low-level Parsteel and Tritanium generators, making mission completion your primary early income source.
Operating the Realta and Combat Loops
The Realta serves as your primary combat vessel in early systems, but it should function strictly as a stepping stone.
Before engaging early hostile targets such as Orion marauders, compare your ship's combat power rating against the hostile target in the sector view. Combat resolves automatically once your vessel reaches the target coordinates, calculating damage round by round through weapons, shield capacity, and defense mitigation.
- Exploit low repair costs: The Realta requires negligible Parsteel and only seconds to repair at drydock. Use this low overhead to defeat hostiles, clear combat objectives, and farm early Ship XP without risking expensive drydock downtime.
- Cap your investment: Avoid spending scarce upgrade tokens or excessive Ship XP to max out the Realta's components once new blueprints and ship hulls become accessible. Upgrade the Realta only as much as required to clear mandatory early missions.
Mission Navigation and Sector Movement
Following primary storyline missions marked in yellow provides direct progression milestones, basic research materials, and officer chests. Optional planetary side missions are marked in white.
Use the mission log's locator button to route your ship directly to target systems. Early ships have limited warp range that prevents deep-space travel. Staying within recommended starter systems prevents route locks. When a quest requires defeating specific hostile types, scan the system view for moving patrol clusters rather than leaving your ship idling in deep space.
Resource Protection and Inventory Management
Star Trek Fleet Command tracks three core raw materials in the early game:
| Resource | Primary Early Source | Main Early Usage | Storage Strategy |
|---|---|---|---|
| Parsteel | Mission milestones, generators | Base structures, ship repairs | Keep as unopened inventory tokens |
| Tritanium | Story quests, mining nodes | Ship construction, research | Keep below storage cap; store in tokens |
| Dilithium | Milestone rewards, refinery | Advanced tech, specialized hulls | Leave in crates to prevent station raid exposure |
Stations receive beginner peace shields and player-versus-player protection below Operations level 15. However, resources sitting exposed in your station vaults can be looted by other players once peace shields drop. Unopened resource tokens stored in your inventory cannot be raided. Never open token crates from your inventory until you are ready to spend the contents immediately on a building or research project.
Assigning Officers and Bridge Synergies
Ship performance depends directly on your bridge configuration. Early vessels utilize three bridge seats: one central Captain slot and two flanking officer slots.
- Captain Slot: The officer placed here activates their specific Captain Maneuver.
- Side Officer Slots: These officers apply their Officer Abilities and add raw Attack, Defense, and Health attributes to the ship.
- Synergy Bonuses: Pairing bridge officers of the same group affiliation—such as the starter Cadet crew consisting of Cadet Kirk, Cadet Spock, and Cadet McCoy—activates synergy links that boost weapon damage and shield regeneration.
Concentrate your early Officer XP on your active bridge trio to maximize combat performance against sector hostiles rather than spreading experience points across inactive crew members on your bench.

Free Star Trek Fleet Command Codes
Current active codes and how to redeem them.

Emily Johnson
Emily writes practical mobile strategy guides with a focus on resource planning, base progression, and the early decisions that shape a long-term account.
COMMUNITY
Player Comments
66 players commented on this guide.
I tried this today and it worked better than my old setup.
This saved me time in the early game.
This helped me understand early game much better.
The explanation is clear, especially for beginners.