
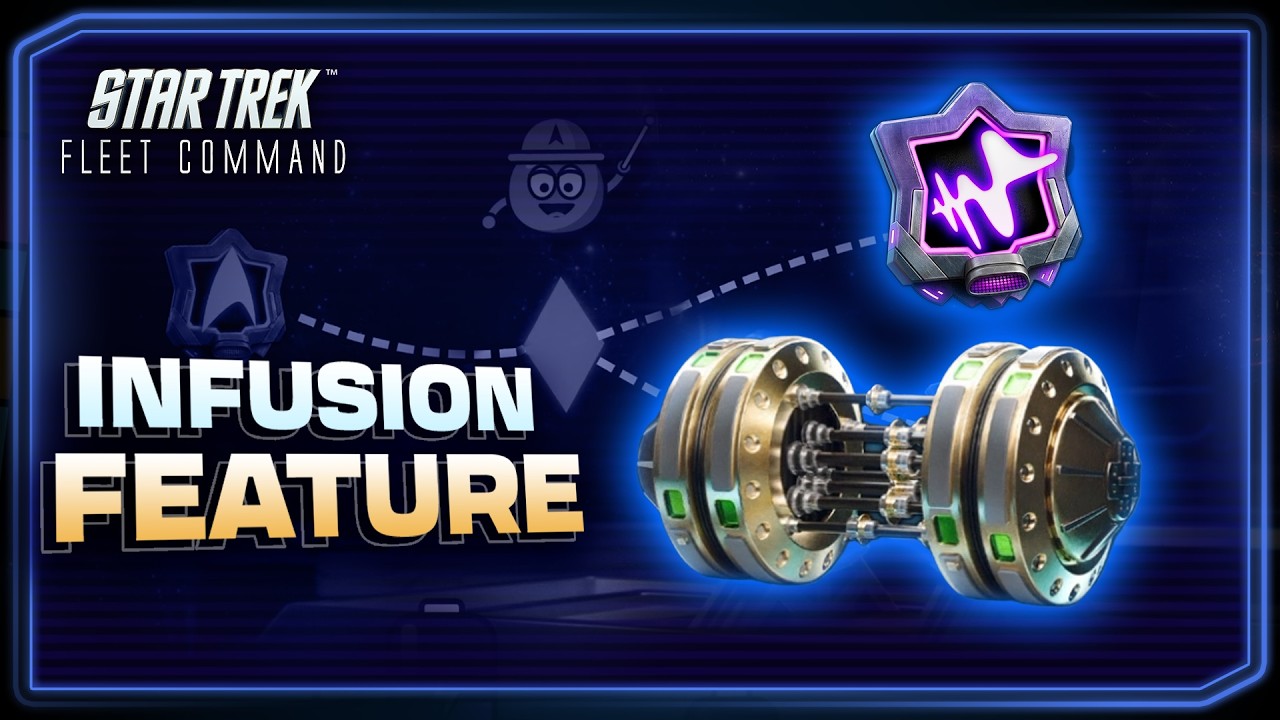
Polaron Infusion is an adaptation of Polaron-based weapon systems in Star Trek Fleet Command that bypasses standard shield mitigation to deal direct damage to starship hull health. To survive and counter Infusion-equipped hostiles, you must shift fleet investments away from shield replenishment modules and focus on deep base hull health pools, physical armor mitigation, and frontloaded burst damage.
How Polaron Infusion Bypasses Shields
In standard Star Trek Fleet Command ship combat, active shields absorb the majority of incoming energy beam and kinetic torpedo fire before structural damage reaches the primary hull. Shield mitigation acts as a primary defensive buffer, absorbing up to 80% of incoming damage during ordinary encounters.
When Polaron Infusion triggers, incoming Polaron weapon bursts bypass this protective envelope. Destructive energy redirects straight into the vessel's hull plating, eroding hull hit points while the active shield gauge remains largely intact. Because passive shield regeneration cannot replenish lost hull points mid-combat, relying on high shield capacity offers false security against Infused hostiles.
| Combat Attribute | Standard Engagements | Polaron Infusion Encounters | Tactical Recommendation |
|---|---|---|---|
| Shield Mitigation | Absorbs up to 80% of damage | Largely bypassed by direct penetration | De-prioritize pure shield recharge setups |
| Hull Health Buffer | Secondary defensive layer behind shields | Primary metric determining ship destruction | Maximize base hull points and structural research |
| Armor Rating | Mitigates residual bleedthrough | Softens unshielded direct hull strikes | Prioritize armor components and defensive hulls |
| Combat Duration | Extended battles favor shield regeneration | High danger due to compounding hull damage | End fights within early rounds using burst fire |
Tactical Counters and Fleet Optimization
Because Polaron Infusion inflicts permanent hull damage across successive combat rounds, defensive attrition strategies fail. Countering Infusion requires compressing engagement times and maximizing structural resistance.
1. Frontload Burst Damage
Eliminate hostile targets before Polaron firing cycles can repeat. Defensive shields will not preserve your ship across long encounters, making high alpha damage essential.
- Discharge heavy kinetic torpedo salvos and charged energy weapons within the first two combat rounds.
- Equip bridge loadouts and ship components that accelerate weapon cycling, ensuring your fleet fires first each round.
- Apply weapon suppression and critical strike debuffs through officer abilities to reduce incoming baseline burst damage.
2. Prioritize Resilient Hull Classes
Vessel choice directly impacts survival against unmitigated Polaron strikes:
- Battleships and Heavy Explorers: Preferred for their deep base hull pools and higher innate armor ratings, which absorb unshielded damage more effectively.
- Interceptors: Vulnerable in Infusion zones. While interceptors rely on evasion against standard weapons, a single unmitigated Polaron strike can deplete their small hull buffer.
3. Upgrade Structural Mitigation and Research
Reallocate drydock components and station research toward physical resistance:
- Install reinforced hull plating over auxiliary shield capacitors.
- Invest in impulse defense nodes to boost baseline mitigation across physical hull sectors.
- Advance Combat and Fleet Commander research trees that grant multipliers to hull hit points and universal armor mitigation.
Station and Drydock Management
Fighting Polaron-equipped hostiles shifts resource costs from shield recovery to physical drydock repairs. Manage your fleet deployments to avoid operational bottlenecks:
- Inspect Sectors in Advance: Check hostile weapon profiles before sending fleets into new systems to verify whether Polaron Infusion is present.
- Stagger Combat Engagements: Alternate between high-threat Infusion targets and standard hostiles to balance hull damage against repair token consumption.
- Track Drydock Timers: Hull repairs take significantly longer than shield replenishment; avoid risking key flagships against Infused targets if your drydocks are already backlogged.
Free Star Trek Fleet Command Codes
Current active codes and how to redeem them.

James Brown
James focuses on Android gaming on PC, emulator setup, controls, performance tuning, and practical troubleshooting for longer play sessions.
COMMUNITY
Player Comments
109 players commented on this guide.
The explanation is clear, especially for beginners.
I tried this today and it worked better than my old setup.
Nice guide. I am checking the other Star Trek Fleet Command articles next.
This saved me time in the early game.