
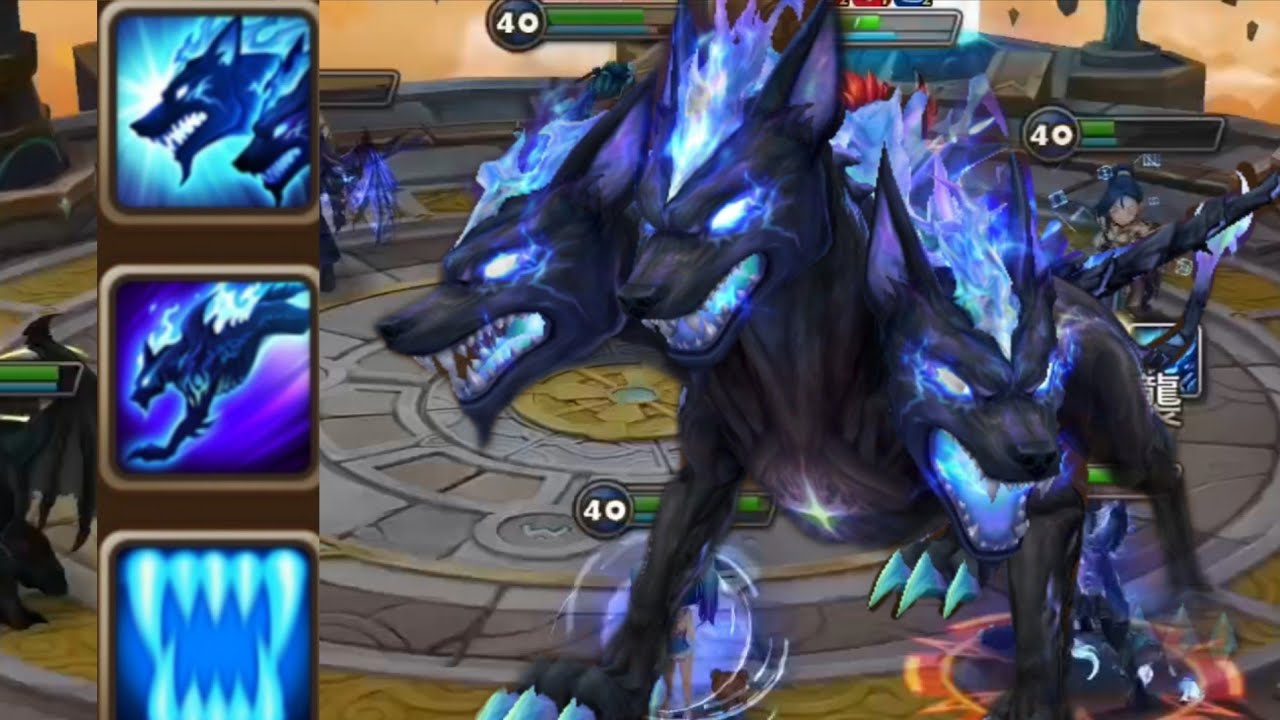
The Second Awakening of the Water Hellhound, Sua, transforms an early-game accessibility monster into a high-octane offensive threat capable of tearing through single-target threats. By leveraging her unique passive, which allows for consistent turn cycling and cooldown reset mechanics, players can create a "glass cannon" capable of overwhelming enemies before they can react. This guide explores the technical requirements, rune builds, and team synergies necessary to turn Sua into a cornerstone of your competitive Summoners War roster.
Decoding Sua’s Passive and Turn-Cycling Mechanics
Sua’s primary utility stems from her ability to maintain offensive pressure. Unlike traditional attackers that rely on a single massive hit, Sua operates on a "momentum" system. Her kit is designed to reward players for landing critical hits and managing skill cooldowns effectively.
The core of her performance is her ability to reset or significantly reduce her skill cooldowns through her passive. By landing critical hits, she keeps her primary damage-dealing skills available, allowing her to cycle through her rotation faster than most other monsters in her class. To master Sua, you must shift your mindset from "burst-only" to "turn-cycling." This means she needs a constant flow of turns to remain effective; if she is stunned, frozen, or forced to take basic attacks, her damage output drops to negligible levels.
Optimal Rune Builds and Stat Priorities
Because Sua scales aggressively with both Speed and Attack, your rune choices must reflect a balance between turn frequency and raw impact.
Recommended Rune Sets
- Swift Sets: The gold standard for Sua. If you are using her for Arena Offense or Guild Wars where moving first is the deciding factor, Swift is non-negotiable. The extra speed ensures she can cycle her turns before the enemy can apply crowd control.
- Fatal Sets: If you have high-efficiency speed sub-stats on your runes, a Fatal set provides the necessary raw damage to turn Sua into a true "nuker." This is ideal for content where you can guarantee the first turn through other team members (like speed leads or ATB boosters).
- Rage/Blade: A secondary option for players focusing purely on maximizing the Critical Damage multiplier, provided you can meet her speed requirements through sub-stats alone.
Essential Stat Thresholds
- Slot 2/4/6: Speed (Slot 2), Critical Damage (Slot 4), and Attack % (Slot 6).
- Critical Rate: You must aim for 85% to 100%. Because Sua’s utility is gated behind her passive, failing to land a critical hit results in a dead turn. Never sacrifice Critical Rate for extra Attack power.
- Speed: Aim for at least +120 speed on top of her base stats for mid-game viability, and higher for competitive PvP.
Strategic Team Synergy
Sua is a quintessential "glass cannon." She provides high damage but lacks the base survivability to survive sustained focus fire. To mitigate this, she must be supported by a team that enables her turn-cycling.
- Attack Buffers: Units like Megan or Bastet are ideal partners. They provide the Attack Power buff Sua needs to maximize her multipliers while simultaneously providing the Attack Bar (ATB) boost required to get her moving immediately.
- Defense Breakers: Sua’s multipliers are strong, but they are not "defense-ignoring." Pairing her with a reliable Defense Breaker (such as Galleon) is mandatory for high-level play. Without a defense break, Sua will fail to punch through tanky bruisers or defensive support monsters.
- Speed Leads: Always pair Sua with a leader who provides a speed bonus. This allows you to allocate more sub-stats into Critical Damage and Attack % without sacrificing the ability to secure the first turn.
Common Mistakes and How to Avoid Them
Many players struggle with Sua because they treat her as a generalist. She is a specialized tool that requires specific conditions to function.
- Ignoring Accuracy: While Sua is a damage dealer, having a small amount of Accuracy sub-stats can help if her secondary effects involve debuffs. Don't let her get completely shut down by evasion-heavy targets.
- Overlooking Turn Order: If your Defense Breaker moves after Sua, you have wasted her entire first turn. Always tune your team so that your buffers and debuffers move before Sua.
- Neglecting Skill-Ups: Unlike Nat 4 or Nat 5 monsters that require expensive Devilmons, Sua is a 3-star unit. Use common Hellhound fodder to max her skills immediately. The reduced cooldowns are essential for her passive turn-cycling.
The Second Awakening Progression Path
The investment required to reach Sua’s Second Awakening is significant, specifically regarding energy efficiency in the Dimension Hole.
- Farm Efficiently: Focus on the highest difficulty level of the Dimension Hole you can clear reliably. Do not attempt "speed clears" if your success rate is below 95%; the energy cost of a failed run is too high for the progress you gain.
- Dimension Predator: If you are struggling with the difficulty of the Second Awakening dungeon, prioritize upgrading your runes on your primary PvE team first. Sua is only as good as the runes she wears; she is not a "carry" that will win battles with poor gear.
- Why She Matters: Sua represents one of the most accessible "high-ceiling" attackers in Summoners War. For players who lack top-tier Nat 5 damage dealers, a fully skilled and awakened Sua provides a path to competitive Arena performance without needing to rely on luck-based summoning.
By focusing on high-speed, critical-hit consistency, and correct team sequencing, you will find that Sua is not just a niche unit, but a reliable damage engine capable of carrying you through many of the game's more difficult offensive challenges. Always prioritize her speed and critical rate, and ensure she has the support necessary to land her hits where they matter most.

Free Summoners War Codes
Current active codes and how to redeem them.

Emily Johnson
Emily writes practical mobile strategy guides with a focus on resource planning, base progression, and the early decisions that shape a long-term account.
COMMUNITY
Player Comments
156 players commented on this guide.
The explanation is clear, especially for beginners.
I wish I had read this before upgrading the wrong thing.
I tried this today and it worked better than my old setup.
Good guide for Summoners War players. The strategy part was useful.