
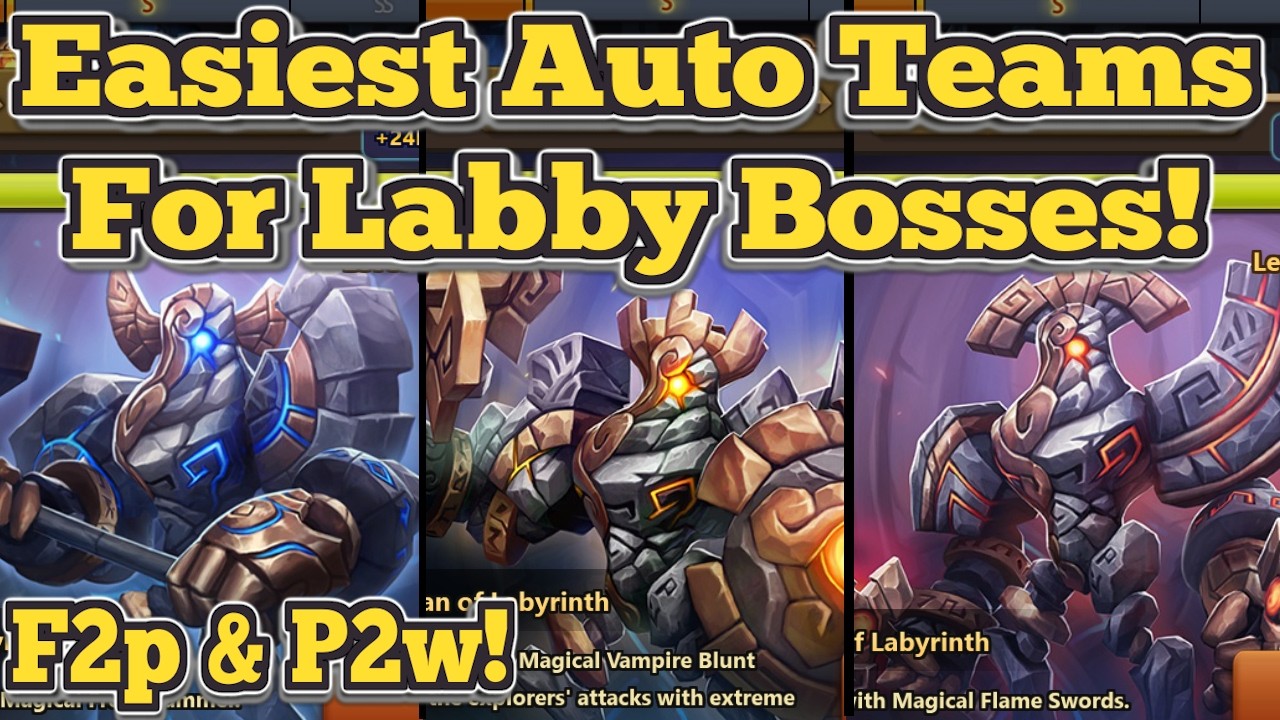
In Summoners War, the Tartarus Labyrinth is a cornerstone of guild progression, offering high-tier rewards like Grindstones and Enchanted Gems. However, manually clearing these bosses is time-consuming and inefficient. To excel, you must transition to high-consistency auto teams. The secret to success lies not just in high-quality runes, but in understanding the distinct mechanical "checks" posed by Leos, Kotos, and Guilles. This guide breaks down the optimal F2P and P2W team archetypes to ensure your guild clears Tartarus with maximum efficiency.
Countering Leos: The Speed and Debuff Strategy
Leos features a unique passive that forces all monsters on the field to have the same Attack Speed. This effectively neutralizes speed-scaling damage dealers and forces you to play a "tank-and-spank" game where raw stat efficiency and debuff uptime are king.
The Mechanical Priority: Because you cannot out-speed the boss, you must maximize damage per turn. Leos requires consistent Defense Break and Brand to punish his high health pool.
- Essential Units:
- Xiao Lin (Water Kung Fu Girl): A premier F2P option. Her multi-hit kit provides consistent Defense Break and Brand, while her passive increases damage based on the number of debuffs on the boss.
- Brandia (Fire Polar Queen): The P2W gold standard. Her massive scaling damage against debuffed targets can single-handedly delete Leos’s HP bar.
- Strategic Tip: Avoid units that rely on "Speed Buffs" or "Attack Bar Boosts," as they provide zero value under Leos’s speed cap. Instead, focus on units with high base ATK and CD (Crit Damage) stats. Ensure your cleanser or healer has high HP/DEF to survive Leos’s freeze mechanic.
Optimizing Kotos Teams with Multi-Hitters
Kotos is a "Shield Check" boss. He periodically gains a shield that significantly reduces incoming damage. To break it, you must land a specific number of hits before the shield expires. If you fail to break the shield, the boss’s next attack will likely wipe your team.
The Mechanical Priority: Speed and hit count are more important than individual skill damage. You need units that can cycle turns rapidly or use "Team Up" mechanics to strip the shield in one or two rotations.
- Recommended Core:
- Colleen (Fire Harpu): Essential for the ATK buff and multi-hit utility. Her ability to keep the team healthy while contributing to the shield break makes her a non-negotiable F2P pick.
- Iunu (Wind Anubis): Provides a safety net with his self-revive and consistent multi-hit damage.
- Twin Sets (Chakram Dancers & Boomerang Warriors): The ultimate P2W/Late-game solution. The "Team Up" mechanic allows your monsters to bypass turn limits and shred the shield rapidly.
- Strategic Tip: Prioritize turn efficiency. Avoid units with long, non-damaging skill animations, as Kotos gains increased stats the longer the fight lasts.
Dominating Guilles via Damage Mitigation
Guilles is arguably the most lethal boss for auto-teams. His lightning-based attacks deal massive damage and apply harmful effects that can quickly spiral out of control if you lack proper mitigation.
The Mechanical Priority: Sustainability is the bottleneck. You need to balance high damage with constant passive damage reduction or shield uptime to survive the boss’s periodic burst phases.
- Defensive Pillars:
- Fran (Light Fairy Queen): Provides immunity, ATK buff, and healing. Immunity is crucial here to prevent the boss’s debuffs from locking your team down.
- Lulu and Friends (Howl): Excellent F2P sustain. Their ability to cleanse and heal on low cooldowns keeps the team alive through Guilles’s lightning strikes.
- Damage Mitigators: Units like Darion (Light Vagabond) provide a passive 20% damage reduction to the whole team, which is often the difference between a successful auto-run and a mid-boss wipe.
- Strategic Tip: Do not skimp on resistance. If your support units are crowd-controlled during a lightning strike phase, your team will fall. Aim for 50%+ resistance on your primary healers.
Managing Trade-offs and Rune Quality
The shift from "Safe" to "Fast" teams is a rite of passage for every Summoners War player. The risk-reward ratio is dictated by your rune quality and team composition.
Progression Milestones:
- Safety Phase (2 Healers/Supports): When first tackling Hell difficulty, prioritize survival. Use two dedicated healers. If your units never drop below 50% health, you are ready to transition.
- Hybrid Phase (1 Healer + 1 Utility): Replace your weakest healer with a secondary damage dealer or a monster that offers a "Team Up" buff.
- Speed Phase (1 Healer + 4 Damage Dealers): This is the P2W/End-game goal. You rely on high-efficiency Rage/Fatal rune sets to kill the boss before he can cast his most dangerous ultimates.
Common Mistakes to Avoid:
- Ignoring Turn Order: Even on auto, set your team order so the Defense Breaker moves immediately before your biggest damage dealer (e.g., Brandia or Xiao Lin). Use the "Monster Placement" menu in the battle preparation screen to force this turn order.
- Overlooking Rune Resistance: If your healer gets stunned, the auto-run fails. Ensure your cleanser has at least +50% Resistance.
- Underestimating HP Requirements: In Tartarus, raw HP is often more important than high ATK stats. If a unit is dying, swap one ATK% rune for an HP% rune; a dead damage dealer deals zero damage.
Conclusion: The Path to Consistent Clears
Mastering Tartarus Labyrinth requires a shift from viewing your monsters as individuals to viewing them as components of a machine. By selecting units that directly counter the boss’s primary mechanics—Leos’s speed cap, Kotos’s shield, and Guilles’s burst damage—you can turn a manual grind into a reliable, automated experience. Start by stabilizing your teams with high-utility supports like Colleen and Fran, then slowly swap in high-damage units as your rune quality improves. Consistent guild participation in Tartarus is one of the fastest ways to farm the high-end Grindstones needed to push your account into the top tiers of Summoners War competitive play.

Free Summoners War Codes
Current active codes and how to redeem them.

Michael Smith
Michael covers live-service games, events, reward systems, and efficient daily routines, turning frequent updates into clear actions for players.
COMMUNITY
Player Comments
109 players commented on this guide.
The explanation is clear, especially for beginners.
The tips are practical and easy to follow.
This guide answered the exact question I had.
I wish I had read this before upgrading the wrong thing.