
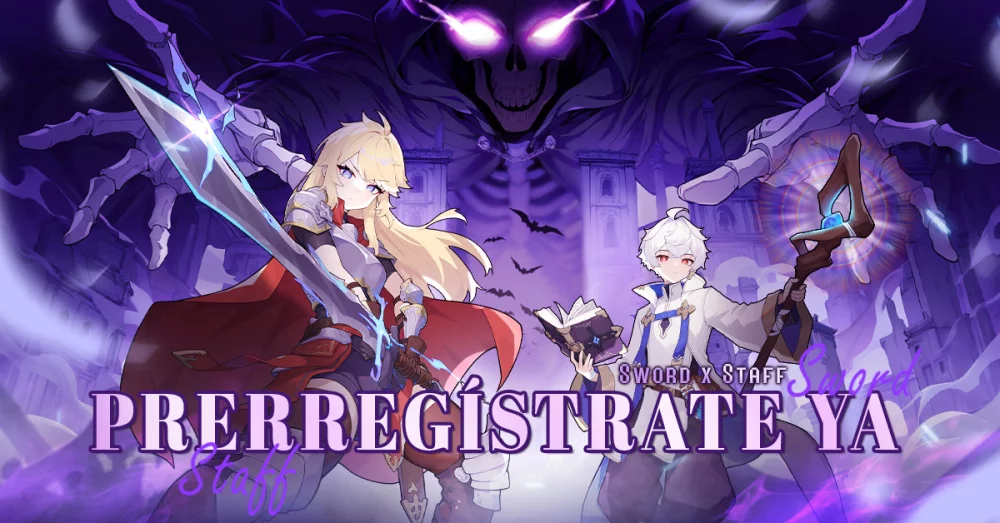
In the S6 meta of Sword x Staff, the Sorcerer class has emerged as a powerhouse, provided players correctly harness the newly refined Light-element skill tree. With the latest updates, Light-based abilities have moved from situational utility to the core of high-end DPS rotations. To truly excel, players must shift away from hybrid elemental setups and embrace a focused, Light-centric build that turns the game’s AI combat system into a precision-based execution engine.
The Core Philosophy: Why Light-Element Dominates S6
The S6 update for Sword x Staff introduced significant passive modifiers that reward elemental specialization. By committing fully to Light-element skills, you unlock internal set bonuses that drastically increase your critical hit rate and ability haste.
In Sword x Staff, damage isn't just about the number displayed on screen; it is about "Elemental Synergy." When your loadout is pure Light, your gear’s damage amplification modifiers stack multiplicatively rather than additively. This creates a "snowball effect" where each subsequent strike hits harder than the last, allowing the Sorcerer to shred through high-armor elite enemies that would otherwise stall a standard build.
Tactical Ability Sequencing for AI Optimization
Sword x Staff features an advanced AI combat system that performs best when the player provides a logical "if-then" structure through their skill slotting. Because the AI is designed to prioritize target acquisition and execution, you must arrange your skills to guide its logic:
- Slot 1 (The Debuffer): Place your armor-shredding or defense-reduction skill here. The AI will prioritize this on the highest-HP target, setting the stage for your burst.
- Slots 2 & 3 (The Core Nukes): Place your highest-damage Light skills here. These will follow the debuff immediately, maximizing "Heavenly Punishment" damage.
- Slot 4 (The Finisher): Place your low-health execution skill here. The AI is specifically programmed to use this when a target hits a certain health threshold.
- Slot 5 (Defensive/Utility): Reserve this for your survival or positioning skill. By placing it last, you ensure the AI keeps it in reserve until your health falls below a critical percentage.
Maximizing the "Heavenly Punishment" Mechanic
The S6 Sorcerer’s "Heavenly Punishment" is the primary source of burst DPS. This mechanic relies on striking targets that are already afflicted by status effects. To capitalize on this, you must look for gear that grants "Status Duration" or "Elemental Vulnerability."
When your AI-controlled Sorcerer engages a boss, it will attempt to cycle through skills. To optimize this, ensure you are not stacking too many long-cooldown skills. If your cooldowns are misaligned, the AI will default to basic attacks, which significantly lowers your sustained DPS. Aim for a 2:1 ratio of short-cooldown "spammable" Light skills to long-cooldown "burst" skills to maintain a constant flow of damage.
Managing Skill Cooldowns and Burst Windows
A common mistake in Sword x Staff is failing to sync your major cooldowns with enemy vulnerability windows. Many elite bosses in S6 have phases where their elemental resistance drops.
- Watch the UI: When the boss glows or enters a "vulnerable" state, ensure your primary Light nuke is off cooldown.
- The AI Override: While the game is automated, you can manually trigger your ultimate to force the AI to prioritize a specific target. Use this to ensure your "Heavenly Punishment" lands during the boss's weakest state.
- Cooldown Resetting: Certain Light-element skills in S6 have a chance to reset their cooldowns upon a critical hit. If your gear focuses on Critical Rate, you can effectively bypass the standard cooldown rotation, allowing you to cast your strongest abilities back-to-back.
Limitations: When to Pivot from Light
While the Light-element Sorcerer is the king of single-target boss encounters, it does have a distinct weakness: crowd control in high-density mob scenarios.
If you are farming low-level instances or clearing large waves of weak trash mobs, a pure Light build might feel inefficient due to the lack of wide-area-of-effect (AoE) coverage. In these situations:
- The Hybrid Swap: Swap one of your high-impact single-target nukes for an AoE ability. You will sacrifice some boss-killing power, but you will significantly increase your clear speed in dungeons.
- Gear Checks: Before committing, ensure your secondary stats are optimized. If your gear lacks Light Damage bonuses, the build will underperform regardless of your skill rotation. Use the crafting bench to reroll secondary stats on your accessories specifically for "Light Damage" or "Crit Damage."
Strategic Decisions: Gear and Progression
Your progression in Sword x Staff is dictated by your ability to adapt your gear to your skills. For the S6 Sorcerer, prioritize gear sets that offer "Skill Haste" and "Light Element Penetration."
- Penetration vs. Damage: In late-game content, high-level enemies have significant elemental resistance. Prioritize "Penetration" over flat "Damage" stats once you hit the endgame thresholds; otherwise, your high-power attacks will be mitigated by the enemy’s defense.
- The AI Advantage: Remember that the game's AI is designed to keep you moving ("走位風騷"). Because the Sorcerer is naturally squishy, gear that provides "Movement Speed" or "Evasion" is essential for surviving higher-tier challenges, even if it feels like you are sacrificing raw DPS. A dead Sorcerer deals zero damage, so prioritize survivability stats if you find yourself getting one-shot in high-difficulty raids.
By focusing on this Light-element synergy and trusting the AI to execute your carefully ordered skill sequence, you will find that the S6 Sorcerer is not only the most visually stunning class to play but also one of the most mechanically rewarding. Focus on your gear rolls, maintain your sequence, and let the AI handle the precision work while you focus on high-level positioning and resource management.

Free Sword x Staff Codes
Current active codes and how to redeem them.

Sarah Williams
Sarah specializes in RPG and collection games, explaining team building, character growth, and beginner-friendly ways to avoid expensive early mistakes.
COMMUNITY
Player Comments
145 players commented on this guide.
I tried this today and it worked better than my old setup.
Can you add more details about strategy in a future update?
I wish I had read this before upgrading the wrong thing.
This saved me time in the early game.