
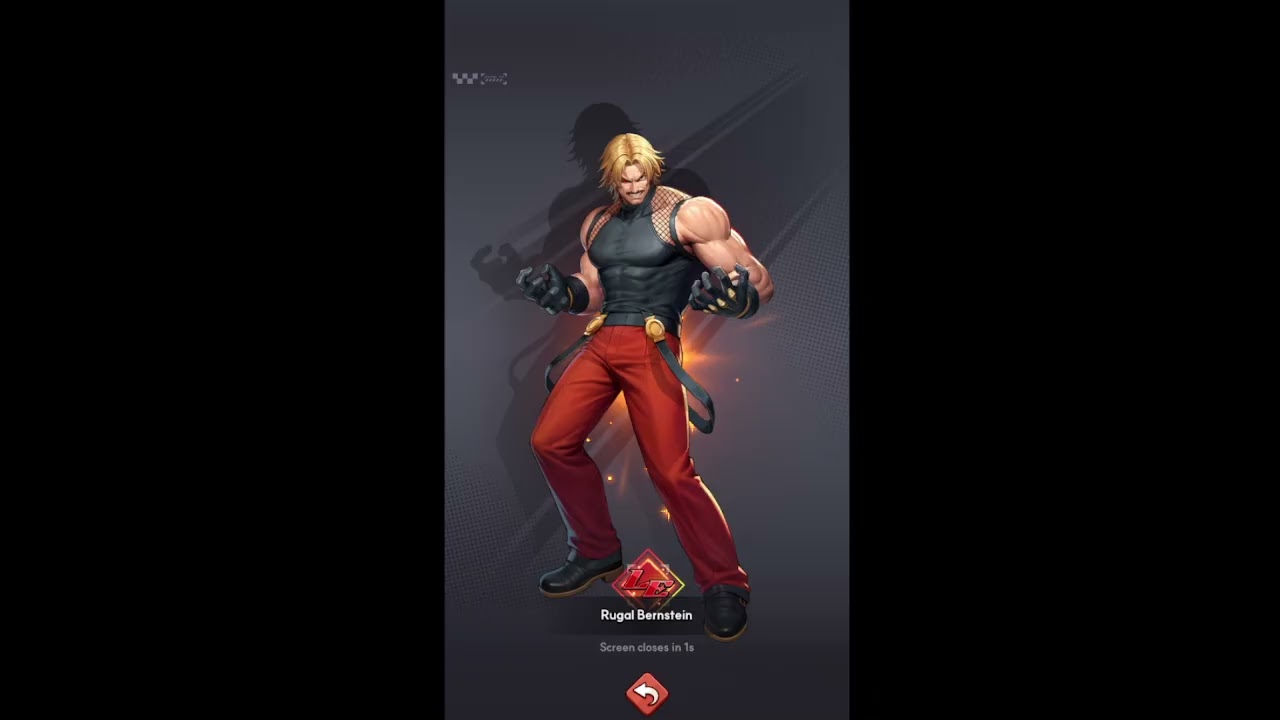
Geese Howard is a transformative addition to any roster in THE KING OF FIGHTERS AFK. Unlike pure damage dealers that may fall off as the meta evolves, Geese functions as a foundational "force multiplier." By understanding how to position him, when to prioritize his resources, and which teammates benefit most from his unique skill set, you can turn a stagnant team into a tournament-topping powerhouse. This guide details exactly how to integrate the Southtown boss into your formation for maximum competitive impact.
Understanding Geese Howard’s Role as a Premier Buffer
In THE KING OF FIGHTERS AFK, the temptation is often to stack your team with the highest base-attack fighters. However, high-level success relies on synergy. Geese Howard occupies the crucial "Buffer" slot, specializing in enhancing the combat efficiency of his allies.
His kit is designed to provide sustained stat increases that elevate the base damage of your DPS units. Instead of viewing him as a direct contributor to the enemy's HP bar, view him as the engine of your formation. When Geese is active, your primary carries hit harder, faster, and more consistently. His value is exponential; the stronger your main damage dealers are, the more significant Geese’s percentage-based buffs become.
Strategic Summoning and Resource Management
Geese Howard is typically available via featured banners, making him a "premium" investment. Because he is a support-utility unit, you should avoid pulling for him unless you can commit to his growth.
- The Milestone Rule: Never spend your Rubies or Summons unless you have enough to hit a pity threshold or reach a significant star-level upgrade. A low-star Geese Howard often lacks the survivability to cast his buffs before being eliminated.
- Resource Prioritization: If you are F2P or a low spender, prioritize Geese only after you have at least one reliable "Carry" unit. Geese enables greatness; he does not create it from nothing.
- Event Timing: Monitor event-specific currency bonuses. If there is a "summoning event" active during his banner, align your resource usage to claim the secondary rewards (like upgrade materials) that help power up his gear simultaneously.
Building the Perfect Team Around Geese
Geese Howard thrives in balanced compositions. Placing him in a team of four other support units will result in a "stalling" squad that cannot finish fights, while placing him in a team of five glass cannons will result in him dying before his buffs take effect.
Ideal Teammate Archetypes:
- The Tanky Frontline: Geese needs time. Pair him with high-defense units like Kyo Kusanagi or heavy-duty tanks who can soak up incoming damage. By drawing aggro away from Geese, these characters ensure he stays on the field to rotate his buffs.
- High-ASPD (Attack Speed) Carries: Buffs that provide flat damage increases are best utilized by characters who attack frequently. If your carry hits ten times in the duration of one Geese buff, they gain the benefit ten times.
- The "Cleave" Specialist: If you are running an AoE-focused team, Geese’s ability to amplify damage allows your sweepers to delete entire enemy teams in a single rotation.
Positioning and Skill Cycling
In THE KING OF FIGHTERS AFK, positioning matters. Place Geese Howard in the backline behind your most durable fighters. His AI is programmed to cycle his buffing skills; you want to ensure that his "cooldown window" is protected by your frontline.
If you find that your team is losing despite having Geese, check your Auto-Skill settings. Ensure that Geese’s buffing ability is prioritized over any minor chip-damage skills he might possess. You want him casting his support buffs as often as the game’s energy system allows.
Avoiding Common Mistakes
Players often fall into the trap of neglecting Geese’s own stats. Because he is a buffer, the instinct is to ignore his gear. This is a critical error.
- The "Glass Buffer" Trap: If Geese is under-leveled, he will die in the opening seconds of a match. Prioritize "Damage Reduction" and "Max HP" gear on him. He does not need to be the strongest; he only needs to be the last one standing.
- Ignoring Skill Levels: Always prioritize leveling Geese's buffing skills over his basic attacks. The scaling on his utility is usually much higher than the scaling on his individual damage output.
- Forcing Synergy: Do not force Geese into a team where his buffs don't align with the damage type of your carries. Always check if his buffs apply to physical or special damage types, and match your carry accordingly.
Long-Term Meta Viability
The true power of Geese Howard in THE KING OF FIGHTERS AFK is his longevity. In the fast-paced world of idle games, DPS units are frequently power-crept by newer, flashier characters with higher base stats. Buffers, however, remain relevant for much longer because their utility is based on mathematical scaling.
By investing in Geese Howard, you are securing a unit that will likely remain in your primary team for months. As you acquire new, powerful attackers, you don't need to replace Geese; you simply swap out the DPS unit he is supporting. This makes him one of the most efficient long-term investments in the game.
Final Decision: Is He Right for Your Account?
If you are struggling to push through high-level campaign stages or find yourself losing in the arena despite having high-power characters, Geese Howard is the missing piece. He fixes the "efficiency gap" by ensuring your team isn't just hitting hard, but hitting with maximum synergy.
Checklist before pulling:
- Do I have a primary DPS that can carry the fight?
- Do I have at least one tank to protect my backline?
- Do I have sufficient resources for at least a few star-ups?
If you answered yes to these, Geese Howard will undoubtedly be the best addition to your THE KING OF FIGHTERS AFK squad. Keep his survivability high, keep his buffs active, and watch your team climb the tournament ranks.

Free THE KING OF FIGHTERS AFK Codes
Current active codes and how to redeem them.

Sarah Williams
Sarah specializes in RPG and collection games, explaining team building, character growth, and beginner-friendly ways to avoid expensive early mistakes.
COMMUNITY
Player Comments
80 players commented on this guide.
This helped me understand strategy much better.
This saved me time in the early game.
The explanation is clear, especially for beginners.
Can you add more details about strategy in a future update?