
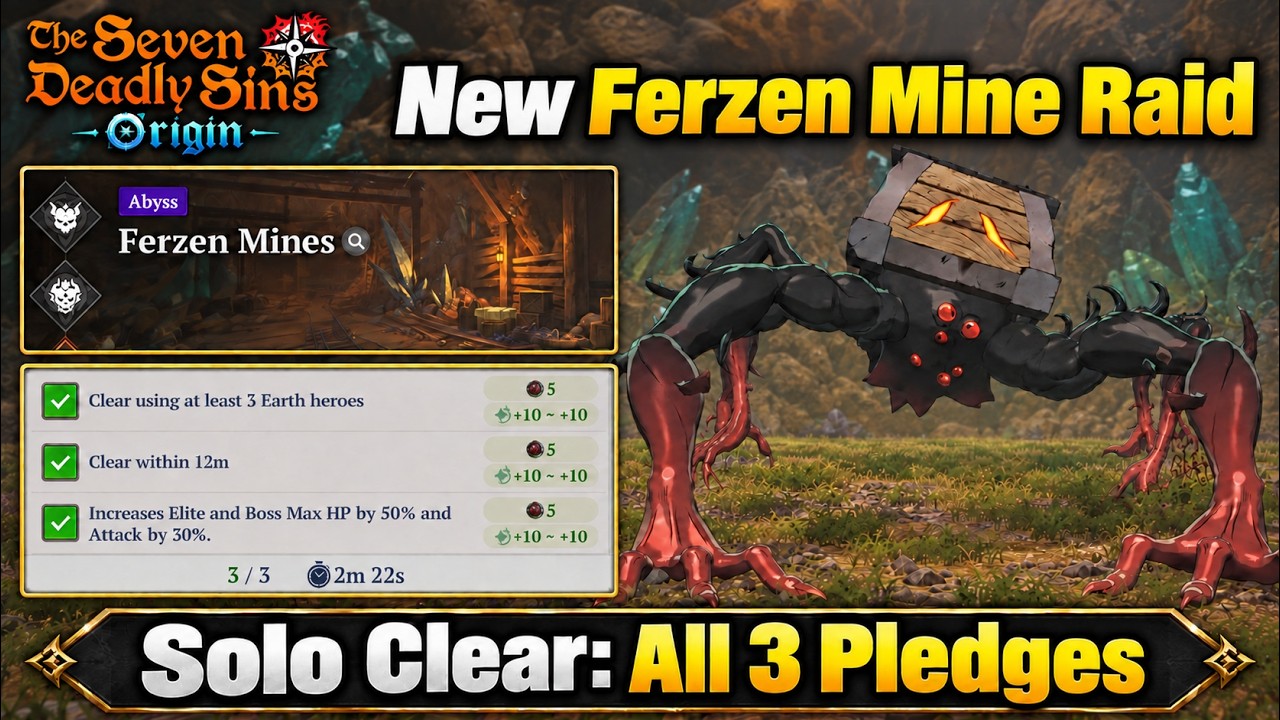
To solo clear the Ferzen Mine Raid with all three pledges enabled in The Seven Deadly Sins: Origin, prioritize defensive stamina management during neutral phases and reserve high-cost damage bursts exclusively for boss stagger windows. Activating all three pledges amplifies boss damage output, tightens recovery windows, and shortens mechanic timers, making passive healing unviable.
Manage Triple-Pledge Modifiers and Stamina
Because stacked pledges heavily increase incoming boss damage, mistimed evasions often result in an instant wipe. Success requires shifting from continuous damage-trading to calculated counter-attacks.
- Maintain a Stamina Buffer: Never allow your dash stamina meter to drop below 30 percent during neutral combat. Emptying your stamina leaves you defenseless against untelegraphed follow-ups.
- Avoid Panic Dashing: Step laterally out of red telegraphs rather than expending stamina on dashes whenever possible.
- Limit Attack Strings: Commit only to short ability chains between boss actions so you can react immediately to incoming attack cues.
Dodge Windows and Boss Attack Patterns
The Ferzen Mine boss relies on large ground slams, sweeps, and falling debris. Use the red floor indicators and physical windups to counter each strike.
| Attack Pattern | Visual and Audio Cue | Counter Strategy | Risk Level |
|---|---|---|---|
| Overhead Ground Slam | Boss raises both arms; narrow red box appears in front | Step sideways without dashing, then attack from the flank | Moderate |
| 360-Degree Sweep | Boss twists torso back; circular red telegraph expands | Dash outward through the edge or execute a character swap for I-frames | High |
| Leaping Ground Impact | Boss jumps vertically off-screen | Sprint along the outer perimeter, then dash once right as the shadow centers | Critical |
| Rock Debris Cascade | Boss roars, causing dust and rocks to fall from the ceiling | Strafe into clear floor spaces and halt long skill animations | High |
When the boss leaps into the air, continue sprinting in a wide circle along the edge of the cavern instead of spamming evasive dashes. Triggering a single directional dash right as the boss descends grants invulnerability frames (I-frames) to bypass the impact without draining your stamina reserve.
Break the Stagger Gauge
The Ferzen Mine boss has a defense bar beneath its primary health meter that heavily mitigates damage. Deploying ultimate abilities while this defense bar remains intact wastes cooldowns and unnecessarily prolongs the fight.
- Apply High-Impact Skills: Cycle through your squad to unleash heavy strike skills, elemental counters, and multi-hit abilities to chip down the defense gauge.
- Confirm the Knockdown: Once the defense gauge empties completely, the boss enters an extended stagger state.
- Unload Stored Ultimates: Immediately execute stored ultimate abilities and character combos while the boss is knocked down.
- Disengage on Recovery: When the boss stands up and regenerates its defense gauge, retreat to mid-range spacing to reset the cycle.
Team Composition and Swap I-Frames
Even when attempting the raid solo, you field a team of characters that swap fluidly in combat. Character swaps provide instantaneous I-frames that negate incoming hits when stamina is low or when an area attack cannot be outrun.
- Primary Frontline DPS: Fast, mobile attacker with short animation locks.
- Shield Breaker: High-impact specialist focused on draining the boss's stagger bar.
- Burst Finisher: High-damage burst dealer reserved strictly for staggered knockdown windows.
- Support or Shielder: Defensive buffer capable of applying barriers or emergency cleansing.
Time your character swaps precisely as a wide-area strike connects to bypass lethal damage without expending dodge stamina. Once the boss commits to a frontal attack, circle behind it with your Shield Breaker, force the stagger knockdown, and trigger your Burst Finisher to clear the raid.

Free The Seven Deadly Sins: Origin Codes
Current active codes and how to redeem them.

Sarah Williams
Sarah specializes in RPG and collection games, explaining team building, character growth, and beginner-friendly ways to avoid expensive early mistakes.
COMMUNITY
Player Comments
89 players commented on this guide.
This guide answered the exact question I had.
I wish I had read this before upgrading the wrong thing.
The tips are practical and easy to follow.
Can you add more details about strategy in a future update?