
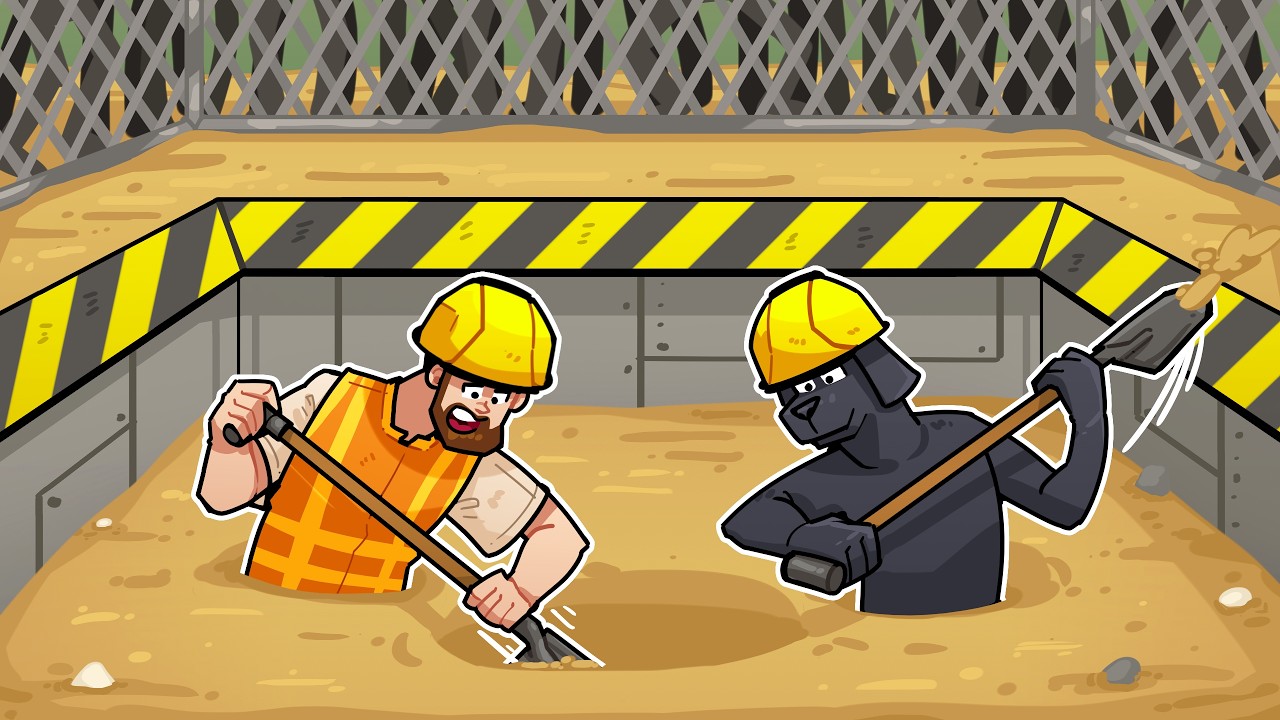
To extract resources safely in The Spotter: Dig or Die, construct a two-block-wide vertical ladder shaft directly adjacent to your shelter, focus early digging on scrap metal and iron ore, and halt all underground work the moment the daylight timer drops to 25 percent. Returning to the surface before nightfall ensures you have enough daylight remaining to smelt ingots, craft ammunition, reload automated turrets, and seal your mine entrance against mutant hordes.
Constructing and Securing Vertical Mine Shafts
A straight vertical drop shaft fitted with contiguous ladders provides the fastest route to underground deposits while conserving stamina. Diagonal ramps and irregular staircases take too long to climb during emergency ascents, cutting into the time needed to prepare surface defenses.
Build and secure your shaft using the following steps:
- Dig a two-block-wide shaft: Carve straight down adjacent to your primary surface shelter. A two-block width gives you room to descend quickly while leaving space to manipulate blocks.
- Install a continuous ladder line: Place ladders along one wall as you dig downward. Contiguous ladders eliminate fall damage and maintain maximum climbing speed when you need to ascend quickly.
- Carve horizontal breakout junctions: Every 10 to 12 blocks of depth, dig out small horizontal platforms. These platforms act as staging junctions where you can branch off into exploratory horizontal drift tunnels.
- Monitor ladder inventory: Never dig deeper than your available crafting supplies allow. Always carry a reserve stack of ladders on your quickbar so you never find yourself trapped at the bottom of a drop.
- Enclose and hatch the pithead: Keep the surface opening inside your main perimeter wall and under turret firing arcs. Place a reinforced hatch or trapdoor directly over the shaft opening, and close it every time you reach the surface. If you create secondary ventilation or extraction shafts elsewhere, cap them with solid stone or locked hatches to prevent swarms from dropping straight into your mine.
Underground Resource Priorities
Automated turrets consume ammunition rapidly each night. Early excavation runs must secure the raw materials needed for baseline base maintenance before you invest daylight into chasing deep, specialized minerals.
| Resource | Depth Layer | Primary Crafting Purpose | Excavation Priority |
|---|---|---|---|
| Scrap Metal & Compacted Dirt | Shallow sub-surface | Ladders, trapdoors, basic barricades | High; gathers essential mobility and sealing materials. |
| Iron Ore | Shallow to mid depths | Smelted bullet casings and structural reinforcement | Highest; supplies daily ammunition needs for base turrets. |
| Sulfur & Copper | Mid-tier depths | Advanced munitions, wiring, and defensive traps | Medium; harvest only after securing an iron surplus. |
| Hard Rock & Bedrock | Deep barriers | Dense obstacles with minimal early yield | Low; avoid until drill upgrades are unlocked to save daylight. |
Always match or exceed your turret consumption in raw iron before digging toward deeper layers. Chewing through dense stone formations with basic drills wastes valuable daytime minutes for negligible material gains.
Daily Excavation and Defense Schedule
Surviving night combat requires maintaining a disciplined daily routine based on the surface clock. Manage your excavation according to this sequence:
- Dawn Restock: Deposit raw ores into smelters, craft ammunition stacks using the previous night's refined bars, refill empty turret hoppers, and craft replacement ladders.
- Midday Descent: Drop down the ladder shaft during peak daylight hours. Drive horizontal tunnels directly into identified ore deposits without wandering into unmapped territory.
- The 25 Percent Cutoff: Stop drilling immediately when the daytime timer reaches 25 percent remaining. Collect all extracted ore and ascend the ladder shaft right away, leaving any partially mined veins behind.
- Dusk Defense: Queue incoming ore in the smelters, top off turret ammunition supplies, position yourself for combat, and lock the mine entrance hatch before night triggers.
Horizontal Branch Mining and Cavvern Navigation
Open strip mining weakens terrain and creates cavernous pits that slow your movement. Use structured branch mining off your main shaft to locate ore efficiently:
- Drive two-block-high horizontal tunnels: Extend horizontal branch corridors perpendicular to your vertical shaft at 90-degree angles.
- Space branch tunnels three to four blocks apart: This spacing exposes ore veins embedded in the walls without forcing you to dig out unnecessary filler blocks.
- Place directional navigation markers: Position torches or distinct structural blocks at every tunnel intersection, orienting them to point back toward the central ladder shaft.
- Seal natural cavern breaches: If a branch tunnel breaks into an open underground void or a steep drop, block the opening immediately with stone or dirt. Sealing natural cavities keeps your travel routes clear and prevents disorientation in the dark.

Free The Spotter: Dig or Die Codes
Current active codes and how to redeem them.

Michael Smith
Michael covers live-service games, events, reward systems, and efficient daily routines, turning frequent updates into clear actions for players.
COMMUNITY
Player Comments
46 players commented on this guide.
I wish I had read this before upgrading the wrong thing.
I tried this today and it worked better than my old setup.
Nice guide. I am checking the other The Spotter: Dig or Die articles next.
The explanation is clear, especially for beginners.