
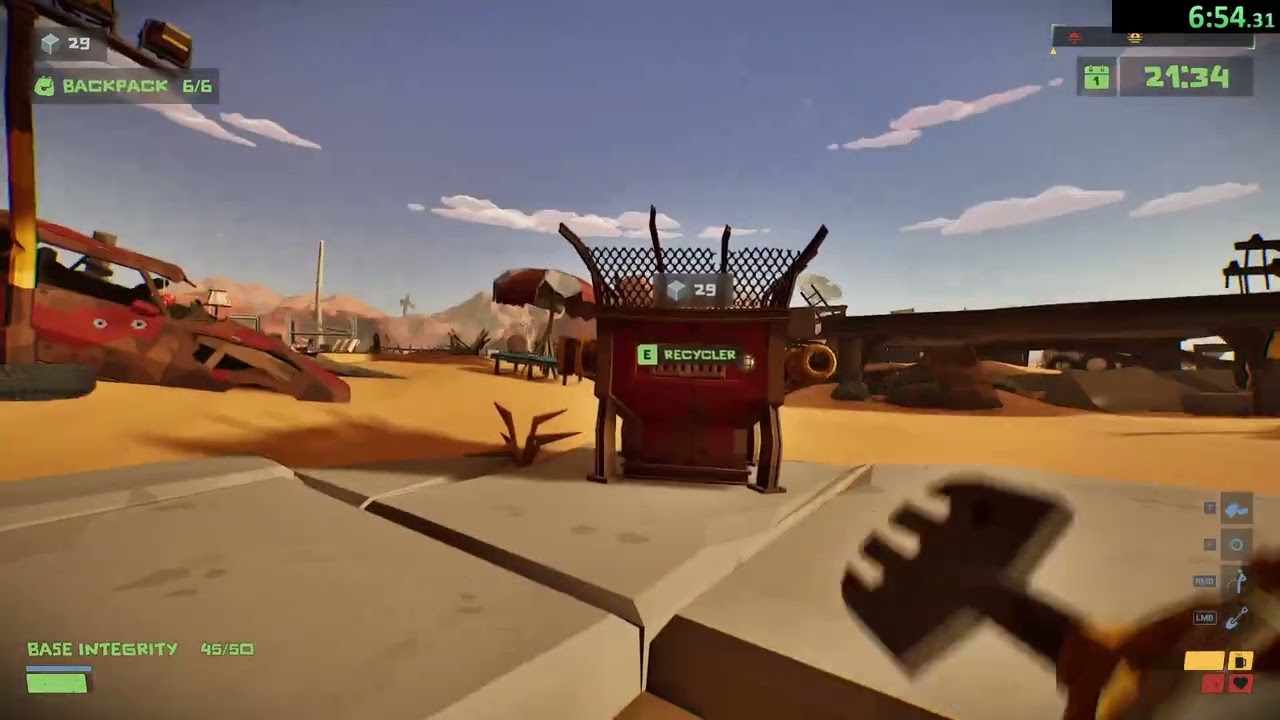
Completing a sub-24 minute Any% speedrun in The Spotter: Dig or Die requires stripping away all traditional base-building, bypassing armor crafting, and plunging immediately down the subterranean critical path. By relying on diagonal block firing gaps to eliminate mandatory bosses, fall-damage negation for rapid vertical descents, and mob kiting during the final launch sequence, runners can reach the escape rocket and trigger the end credits before escalating night waves outscale early-tier weapons.
Split Timeline and Route Milestones
Achieving a final time around 23:28 (or 23:36 with intro sequences included) depends on hitting strict time gates across four distinct phases:
| Split Phase | Target Time | Primary Objectives |
|---|---|---|
| Early Mining & Drop | 0:00–5:00 | Harvest surface scrap, craft baseline Auto-builder upgrades, and dig a primary vertical descent shaft. |
| Deep Cavern Push | 5:00–11:30 | Gather rare ores (crystals and aluminum), unlock targeted burst weapons, and bypass non-essential mobs. |
| Mandatory Boss Rush | 11:30–17:30 | Defeat blueprint-guarding guardians from behind diagonal terrain gaps to collect rocket plans. |
| Launch Assembly & Escape | 17:30–23:30 | Anchor a minimal rocket platform into solid ground, assemble core ship components, and survive the launch timer. |
To protect this timeline, do not linger on the surface to establish perimeter walls, hydroponic farms, or solar arrays. Remaining underground during the initial night cycles causes fliers and heavy waves to spawn in unrendered areas above or get trapped in natural cavern dead ends, allowing uninterrupted excavation.
Minimalist Crafting Priorities
Every crafting action that does not directly speed up movement or melt boss health costs valuable time. You must skip defensive armors, automated turrets, and luxury lighting, relying entirely on the Auto-builder for three critical categories:
- Mobility Enhancements: Craft jump boots or a basic jetpack immediately upon collecting the required rare minerals. Re-ascending cavern drops is one of the largest potential time losses, and vertical thrust removes the need to place wooden ladders.
- Single-Target Burst Weaponry: Avoid crowd-control or spread weapons. Prioritize high-DPS options such as the plasma rifle or heavy burst blaster to secure rapid boss kills without extended kiting phases.
- Structural Blocks: Keep a limited reserve of durable stone or basic metal blocks on your hotbar for assembling combat barriers and rocket foundation anchors.
Because this build foregoes armor entirely, any direct hit from high-tier cavern enemies can prove fatal. Maintain safe spacing and rely on ranged line-of-sight blocks whenever moving through populated caves.
Vertical Shaft Excavation and Fluid Handling
The fastest path to deep resources is a straight two-tile-wide vertical drop channel. Manage descent speed and environmental hazards with these mechanics:
- Fall Damage Negation: Drop directly into natural water reservoirs to arrest fall speed without taking lethal impact damage. If a pool is not naturally present at the bottom of a drop, fire a brief micro-burst of jetpack thrust just before landing, or quickly place a single tile of liquid beneath you to cancel downward momentum.
- Liquid Column Drainage: If an excavated shaft floods, do not wait for water to settle or drain through slow paths. Cut a one-block diagonal relief channel into an adjacent dry cavern to instantly displace the water column and prevent drowning while you continue mining downward.
Diagonal Firing Gap Boss Cheese
Mandatory bosses carrying ship blueprints cannot be safely engaged in close quarters with an unarmored runner. You can exploit enemy pathfinding and projectile limits by building a diagonal firing seam:
- Place a solid two-block-thick barricade between your character and the boss's arena or spawn boundary.
- Break out single corner tiles along the wall to construct a jagged diagonal opening.
- Stand slightly offset from the seam and fire continuous blaster or energy shots through the gap.
Because enemy hitboxes and projectile collision volumes are substantially wider than the diagonal opening, hostile attacks fail to penetrate the seam, while your own smaller projectiles pass through unhindered. This keeps the boss pinned against the exterior wall until eliminated.
Rocket Assembly and Final Wave Kiting
The physics engine calculates load-bearing weight, meaning an improperly supported launch pad will collapse under its own mass. Anchor your Rocket Launch Pad directly into solid bedrock or reinforced rock outcroppings rather than a freestanding wood platform.
Once the pad is secured, quickly construct the Rocket Engine, Hull Plates, and Cockpit, then trigger ignition immediately. Because you have no static turrets or perimeter walls to repel the final swarm, do not attempt to stand your ground on the launch deck. Instead, sprint in circular kiting loops around the lower scaffolding. The attacking mutants will prioritize chasing your moving character rather than damaging the launch pad, preserving the rocket's structural integrity until the ignition countdown finishes.

Free The Spotter: Dig or Die Codes
Current active codes and how to redeem them.

Emily Johnson
Emily writes practical mobile strategy guides with a focus on resource planning, base progression, and the early decisions that shape a long-term account.
COMMUNITY
Player Comments
70 players commented on this guide.
Good guide for The Spotter: Dig or Die players. The base building part was useful.
This helped me understand base building much better.
Nice guide. I am checking the other The Spotter: Dig or Die articles next.
Can you add more details about base building in a future update?