
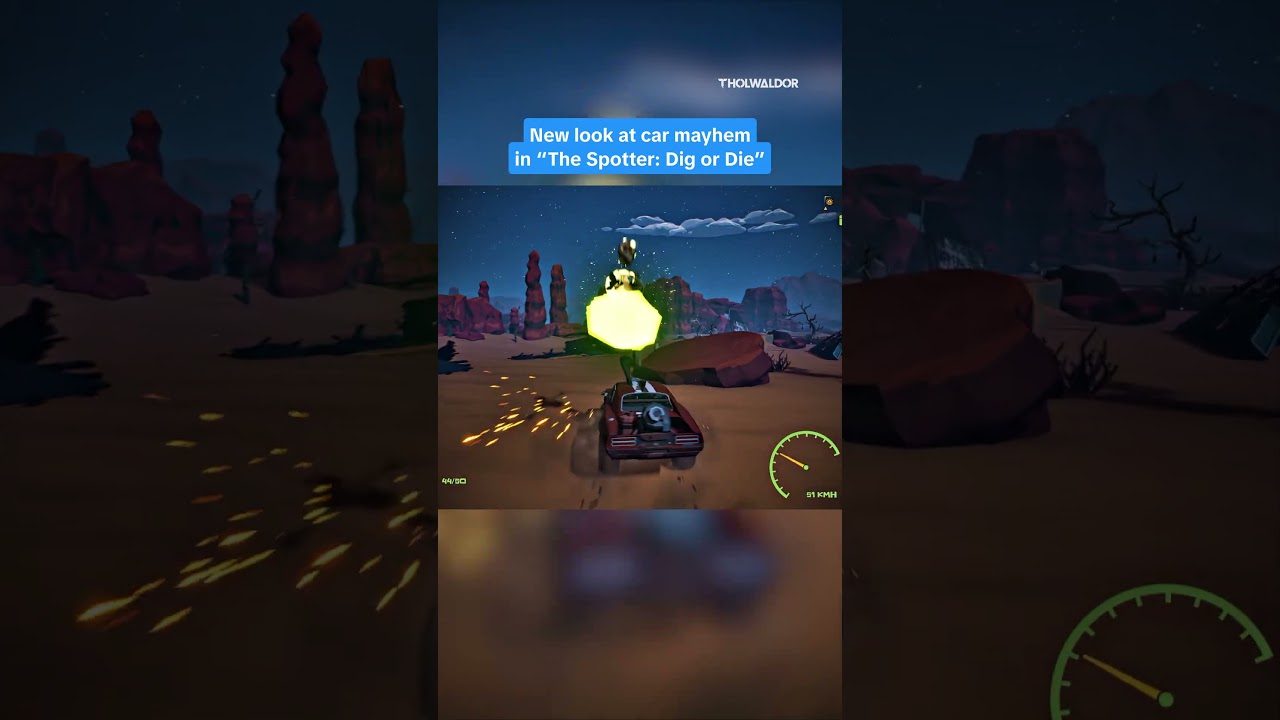
To clear mutant swarms effectively with your vehicle in The Spotter: Dig or Die, maintain top speed along straight approach lines and strike targets off-center with your bumper corners. Impact damage scales directly with your vehicle's forward velocity at the moment of collision. Striking enemies while coasting or accelerating from a standstill inflicts negligible damage on targets and redirects kinetic shock back into your chassis, degrading hull integrity and leaving you immobilized.
How Momentum and Impact Angles Work
Maintaining peak gear before impact is necessary to crush hostile targets without losing momentum. Driving head-on into the center of a dense cluster can halt the car entirely, allowing surrounding hostiles to swarm the cabin before you can reverse.
- Line up long approach runs: Build maximum throttle on flat ground before entering an engagement.
- Clip targets with bumper edges: Striking enemies off-center flings them aside and preserves forward thrust.
- Disengage when speed drops: If an impact noticeably slows your vehicle, steer away into open terrain to rebuild speed instead of pushing through the remaining pack.
Desert Terrain Hazards and Handling
Navigating the Nevada wasteland requires active route planning, as terrain obstacles often present a greater threat than roaming enemies. Dune crests, cracked asphalt shelves, and rocky debris piles can flip your chassis or leave the undercarriage high-centered.
- Scout open corridors: Identify flat stretches of sand free of boulders and trenches before committing to high-speed charges.
- Avoid overcorrecting: Make smooth, gradual steering adjustments at top speeds to prevent violent rollovers.
- Feather the throttle over blind rises: Reduce speed slightly when crossing unfamiliar ridges to prevent landing directly into debris fields or deep trenches.
Preserving Hull Durability
Your vehicle is not an indestructible battering ram. Every direct collision with heavy enemies or solid obstacles reduces the car's structural health, eventually leading to reduced steering control, engine smoke, and complete chassis failure.
Reserve high-speed ramming for small skirmishers and vulnerable clusters. If the front end begins smoking or handling becomes sluggish, cease offensive ramming immediately and use the vehicle solely for rapid repositioning. Avoid head-on collisions with heavily armored elite mutants unless your hull reserves are full and you have clear escape clearance behind the target.
Swarm Kiting and Sweeping Maneuvers
Circling hostiles pulls tight packs into long, single-file lines across open terrain. Once enemies are stretched out, you can safely shear the edges of the formation using sweeping drifts and side-swipes.
| Maneuver | Target Scenario | Tactical Benefit | Risk and Trade-Off |
|---|---|---|---|
| High-Speed Linear Charge | Clustered packs on flat desert | Inflicts maximum collision damage | High hull shock if hitting dense targets |
| Wide Perimeter Drift | Scattered runners along flanks | Hits flanking foes while preserving velocity | Requires wide clearance and level ground |
| Tactical Sweep Disengage | Approaching night wave vanguards | Thins incoming mobs while pulling back | Vulnerable to rear hits if the engine stalls |
| Chokepoint Funnel Ram | Clustered canyon or trench entry | Damages multiple targets in tight corridors | High risk of wedging against terrain barriers |
When drifting or using handbrake turns to reverse direction, check your turning radius beforehand. Sliding into rocks or disabled wreckage will cancel your momentum completely.
Establishing Base Withdrawal Routes
Surface combat sorties should always align with a direct return path to your fortified base entrance. As daylight fades, nighttime horde surges make surface navigation dangerous and can disable vehicles caught far from defensive structures.
Keep a designated approach corridor cleared of barricades, mining clutter, and defensive obstacles. When vehicle hull health drops or fuel runs low, disengage from combat early and follow your clear path back to the entrance. Park your transport inside a sheltered garage or behind forward automated turrets to keep it protected between surface runs.

Free The Spotter: Dig or Die Codes
Current active codes and how to redeem them.

Sarah Williams
Sarah specializes in RPG and collection games, explaining team building, character growth, and beginner-friendly ways to avoid expensive early mistakes.
COMMUNITY
Player Comments
96 players commented on this guide.
I wish I had read this before upgrading the wrong thing.
The explanation is clear, especially for beginners.
This saved me time in the early game.
This guide answered the exact question I had.