
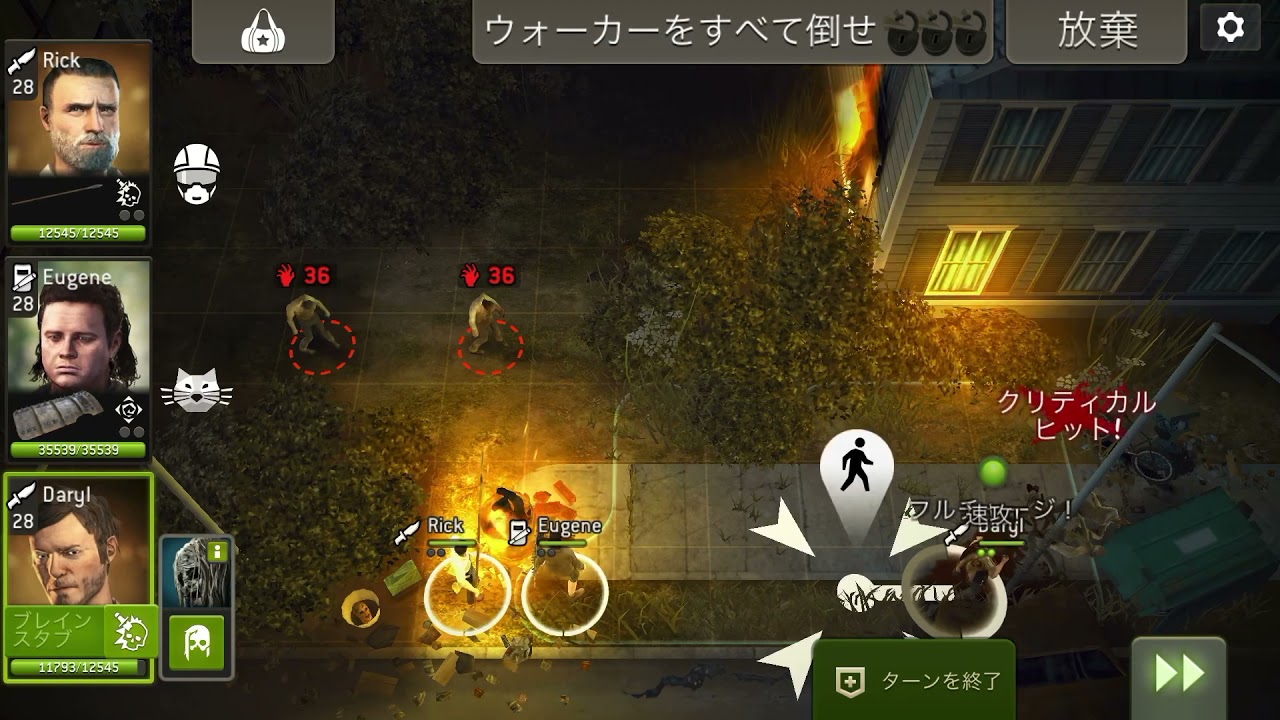
To clear the Emergency Evacuation challenge mission at Difficulty 36 in The Walking Dead No Man's Land, you must funnel incoming walkers through narrow bottlenecks, conserve action points for armored targets, and push all squad members onto the extraction grid without stopping to clear the final wave.
At Difficulty 36, walker health and damage scale significantly, meaning standard or armored enemies can incapacitate a survivor in a single unmitigated strike. Surviving the map requires strict lane discipline and coordinated turn planning.
Recommended Squad Composition
A three-survivor team combining single-target burst, ranged crowd management, and melee control provides the tools needed to clear obstacles without wasting action points.
| Class Role | Tactical Function | Priority Perks and Traits |
|---|---|---|
| Scout | Target elimination, objective interaction, rapid mobility | High Critical Chance, Tactical, Ruthless |
| Shooter or Hunter | Ranged damage, softening armored targets | Piercing, Lethal, Extended Range |
| Warrior or Bruiser | Choke point anchoring, multi-target crowd control | Sweeping Strike, Wide Arc Stun, Retaliation |
Use your Warrior or Bruiser to anchor doorways and corners, absorbing or stunning the front row of enemies. Follow up with your Shooter or Hunter to pierce through tightly clustered lines from safe range. Reserve the Scout's charge attack to instantly eliminate priority targets, such as armored walkers blocking pathways.
Choke Point Tactics and Threat Management
Emergency Evacuation funnels survivors through corridors bounded by walls, fences, and abandoned vehicles. Use the environment to control engagement pacing:
- Hold narrow thresholds: Do not engage multiple walkers in open clearings. Position your frontline melee unit at doorways or narrow gaps so walkers can only approach one at a time.
- Open doors on fresh turns: Opening a gate or access door frequently alerts ambient walkers on the other side. Always interact with doors using your first action point of a new turn so your squad retains full reserve attacks to neutralize emerging threats.
- Conserve charged attacks for armor: Normal strikes deal insufficient damage against high-difficulty armored walkers. Save guaranteed critical strikes and charged abilities to break armor plating quickly.
- Control weapon noise: Loud firearm discharges accelerate the horde countdown and trigger reinforcement spawns early. Rely on silent melee strikes whenever possible to delay incoming waves.
Navigating the Route to Extraction
Complete the mission by breaking the run into three distinct tactical phases:
- Secure the drop zone: Neutralize all immediate threats in the starting sector before moving toward the main corridor. Rushing forward immediately will leave your squad pinned between ambient path blockers and rear spawn waves.
- Advance along the perimeter: Move your survivors in tight formation along the boundary wall. Keep all three units within supporting range so a melee survivor can immediately stun or knock back any walker that closes in on a wounded teammate.
- Sprint to the extraction tiles: Once the extraction area is visible, ignore off-path walkers and horde spawns. Focus fire exclusively on the specific walkers obstructing the exit squares. Move your Scout through open gaps to touch down first, use your melee unit to tie up pursuers, and step the final survivors onto the extraction grid to trigger instant mission completion.

Free The Walking Dead No Man's Land Codes
Current active codes and how to redeem them.

Michael Smith
Michael covers live-service games, events, reward systems, and efficient daily routines, turning frequent updates into clear actions for players.
COMMUNITY
Player Comments
128 players commented on this guide.
The tips are practical and easy to follow.
This helped me understand strategy much better.
This guide answered the exact question I had.
This saved me time in the early game.