
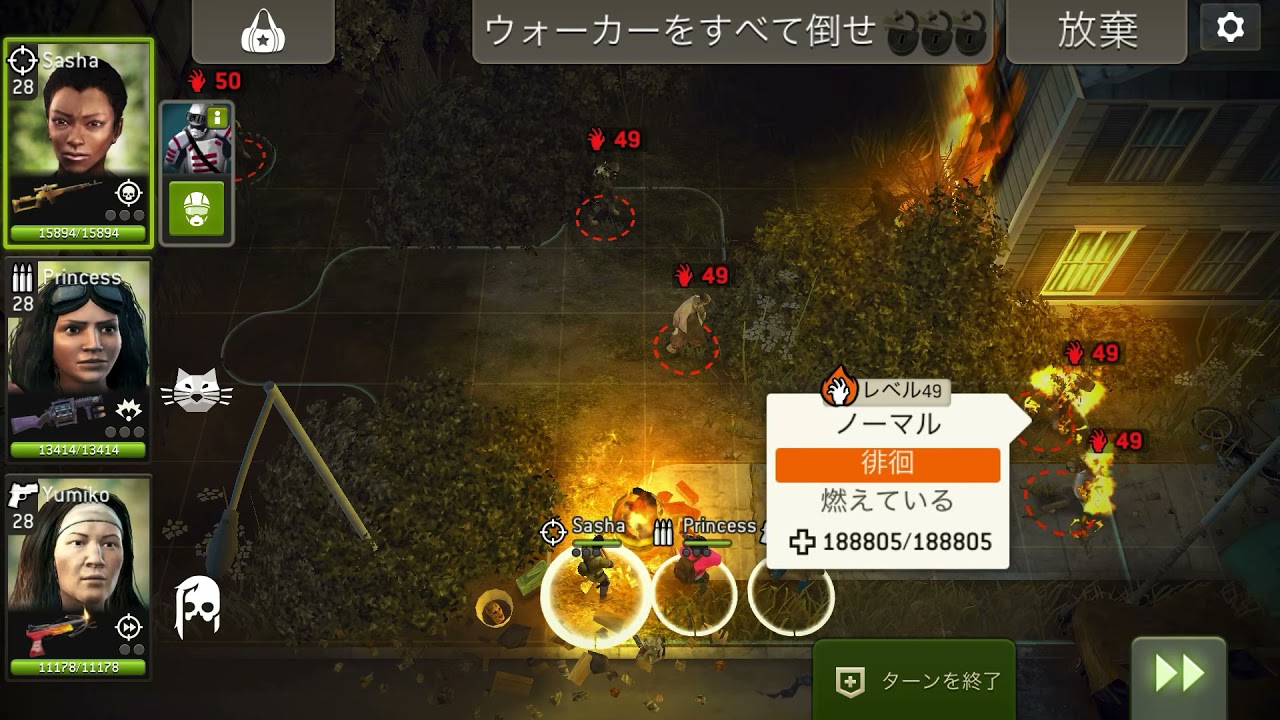
To beat Emergency Evacuation at Difficulty 49 in The Walking Dead No Man's Land, your squad must focus strictly on reaching the green extraction zone rather than clearing the map. At this difficulty tier, enemy health scaling and continuous walker reinforcements make full board clears mathematically unsustainable. Attack only when neutralizing immediate path blockers, funnel enemies into terrain bottlenecks, and advance your survivors toward the exit as a synchronized unit.
Squad Composition and Class Utility
High-density walker waves at Difficulty 49 survive standard primary attacks. To stay alive, build a three-survivor squad that relies on movement reach, stuns, and physical crowd control instead of pure damage trades.
| Survivor Class | Primary Role | Tactical Function |
|---|---|---|
| Scout | Vanguard navigation | Uses high movement range, Dodge, and stealth to slip past dense packs and reach the exit. |
| Shooter | Ranged suppression | Provides line-of-sight attacks, charged stuns, and Overwatch coverage along open corridors. |
| Warrior | Frontline disruption | Sweeps wide arcs, inflicts knockback, and stuns clustered walkers at tight street bottlenecks. |
Shooters maintain squad safety by applying charged stuns to incoming threats before they enter melee range. Warriors hold narrow lanes by disrupting multiple targets with a single attack action, buying time for the rest of the team to advance. Scouts lead the movement path, clearing light obstacles and securing tiles toward the evacuation zone.
Street Navigation and Bottleneck Control
Emergency Evacuation features urban streets congested with debris, barricades, and car wrecks. Avoid moving through wide, open streets where multiple walker spawn points can surround your team simultaneously.
- Hug Map Boundaries: Move along building facades and wrecked vehicles to limit walker approach vectors to a single direction.
- Funnel Swarms Through Single-Tile Gaps: Guide approaching swarms into one-tile corridors between debris.
- Stall Trailing Enemies: Apply a Stun, Root, or Cripple effect to the lead walker in a narrow lane. Because following walkers cannot step through an immobilized ally, a single status effect neutralizes an entire line for a turn.
- Ignore Distant Threats: Armored walkers or high-health enemies that cannot reach your survivors on their next turn should be bypassed entirely rather than attacked.
Turn Sequences and Action Point Conservation
Reaching the exit requires disciplined Action Point (AP) management. Expending your full action pool on stationary attacks leaves survivors exposed to fresh spawns on the enemy phase. Use a hit-and-advance pattern: spend initial action points to attack or disable blocking targets, then use remaining movement allowance to reposition toward the objective.
When executing the final push, follow this activation order:
- Clear Immediate Obstacles: Activate your melee vanguard (Warrior or Scout) first to eliminate or stun walkers directly blocking the forward corridor.
- Provide Ranged Cover: Activate your Shooter second to pick off flankers or stun runners threatening the vanguard's flanks.
- Advance in Formation: Keep all three survivors within mutual support distance. Leaving a single unit trailing behind exposes them to reinforcement waves.
- Anchor the Rear: If the team stops just outside the exit perimeter, orient a defensive survivor toward the pursuing swarm to establish an Overwatch screen.
- Extract Simultaneously: Move all surviving squad members across the green extraction perimeter within the same turn to end the mission immediately and prevent late-turn damage.

Free The Walking Dead No Man's Land Codes
Current active codes and how to redeem them.

Michael Smith
Michael covers live-service games, events, reward systems, and efficient daily routines, turning frequent updates into clear actions for players.
COMMUNITY
Player Comments
155 players commented on this guide.
I tried this today and it worked better than my old setup.
Good guide for The Walking Dead No Man's Land players. The strategy part was useful.
This helped me understand strategy much better.
I wish I had read this before upgrading the wrong thing.