
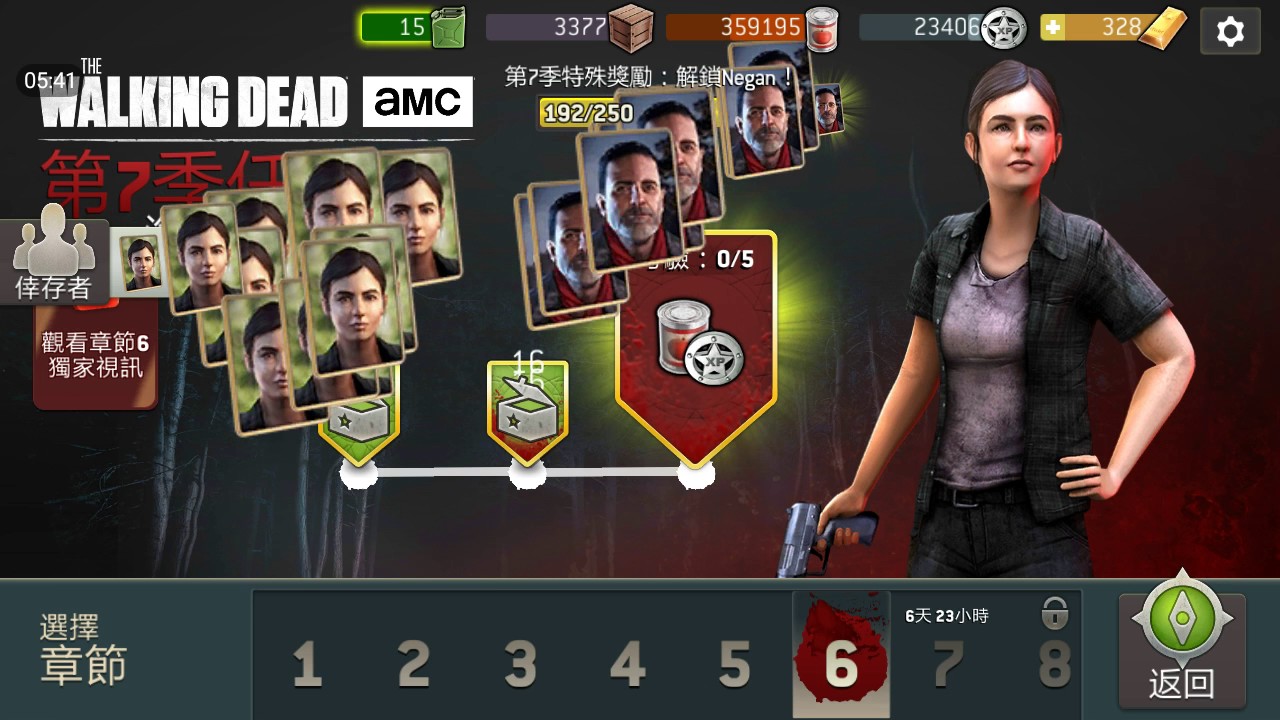
To complete Season 7 Chapter 6, Seaside Carnival, on Hard and Challenge difficulties in The Walking Dead No Man's Land, anchor your squad behind the narrow carnival stall choke points, clear incoming walkers using ranged overwatch and stuns, and extract all three survivors together on the same turn.
Recommended Squad Composition
Deploy a three-survivor fireteam consisting of a Scout, a Hunter, and a Bruiser (or sweeping Warrior). The fairground map funnels enemies through narrow lanes between concession booths, making single-target melee survivors vulnerable if they lack crowd support or ranged cover.
| Class Role | Primary Tactical Function | Key Equipment and Trait Priority |
|---|---|---|
| Scout | Silent takedowns and objective retrieval | Melee blade with high threat reduction and critical chance |
| Hunter | Long-range boardwalk lockdown and overwatch | Rifle with extended range and overwatch accuracy |
| Bruiser | Lane bottlenecking and emergency crowd stun | Heavy blunt weapon with stun chance and damage mitigation |
- Scout: Uses high mobility to collect crates and trigger mission objectives. Equip a silent blade to kill isolated walkers without raising the noise meter.
- Hunter: Holds central boardwalk firing lanes. Overwatch picks off approaching walkers during the enemy phase to conserve Action Points (AP).
- Bruiser: Holds corners at stall openings. A high-stun blunt weapon neutralizes armored or high-health walkers that survive initial ranged fire.
Fairground Choke Point Tactics
Do not push into open carnival clearings. Carnival tents, booths, and barricades form natural bottlenecks that you can use to limit incoming enemy attacks.
- Establish an anchor point: Hold your squad just behind a booth corner or alley opening near the entrance lane.
- Force single-file movement: Forcing walkers through narrow gaps prevents them from surrounding your team and lets your Bruiser intercept one enemy at a time.
- Never end a turn on blind corners: Entering unexplored territory without spare AP leaves survivors open to dormant walkers hidden behind concession partitions.
- Break line of sight: If walkers cannot trace a direct route to your survivors, they waste movement walking around stall walls. Use these turns to reload, set up Hunter overwatch, and prep melee ambushes.
Hard Difficulty Walkthrough
Hard difficulty requires careful AP management and steady perimeter clearance rather than rushing objectives.
- Turns 1–3: Form a defensive perimeter near the spawn. Position your Hunter in overwatch facing down the main promenade, place your Bruiser on point at the nearest corner, and keep the Scout in reserve. Allow patrolling walkers to walk into overwatch fire during their turn.
- Advance to objectives: Once the initial path is clear, advance toward mission supplies and passage gates. Send the Scout to interact with items while the Bruiser and Hunter face outward in defensive positions.
- Tether your runner: Keep your Bruiser within one turn's move of the Scout. If a sudden spawn threatens your Scout mid-interaction, your Bruiser must be close enough to step in with a stun.
Challenge Mode Adjustments
Challenge mode scales walker health, attack damage, and spawn frequency. Enemies frequently survive non-critical standard attacks, making status effects and noise discipline critical.
- Silence your attacks: Avoid unsuppressed firearms. Firing noisy weapons escalates the threat meter and triggers immediate walker spawns from nearby tents.
- Focus fire high-threat targets: Soften high-health walkers at range with your Hunter before finishing them with your Scout or Bruiser to avoid leaving damaged enemies adjacent to your team.
- Rotate crowd control: Use your Bruiser's charge stun on the highest-health target, allowing standard attacks to finish weaker enemies.
- Preserve retreat tiles: Keep at least two clear tiles behind your front line. If an overwatch shot misses or an elite enemy advances, step backward into a narrow stall lane to force the walker to spend its AP moving.
Extraction Procedure
Securing the objective alerts dormant walkers across the fairground. Shift your priority immediately from eliminating enemies to reaching the green extraction zone.
- Form an extraction wedge: Send your Scout ahead to dispatch any stragglers blocking the exit path. Keep your Hunter in the center covering both ends, and leave your Bruiser at the rear to intercept pursuing enemies.
- Do not exit piecemeal: Stepping survivors into the extraction zone one by one over multiple turns leaves the remaining squad members outnumbered.
- Extract simultaneously: Assemble all three survivors along the border of the extraction grid, clear any immediate threats, and move the entire team into the extraction zone on the same turn.

Free The Walking Dead No Man's Land Codes
Current active codes and how to redeem them.

Emily Johnson
Emily writes practical mobile strategy guides with a focus on resource planning, base progression, and the early decisions that shape a long-term account.
COMMUNITY
Player Comments
32 players commented on this guide.
The explanation is clear, especially for beginners.
Nice guide. I am checking the other The Walking Dead No Man's Land articles next.
This guide answered the exact question I had.
I tried this today and it worked better than my old setup.