
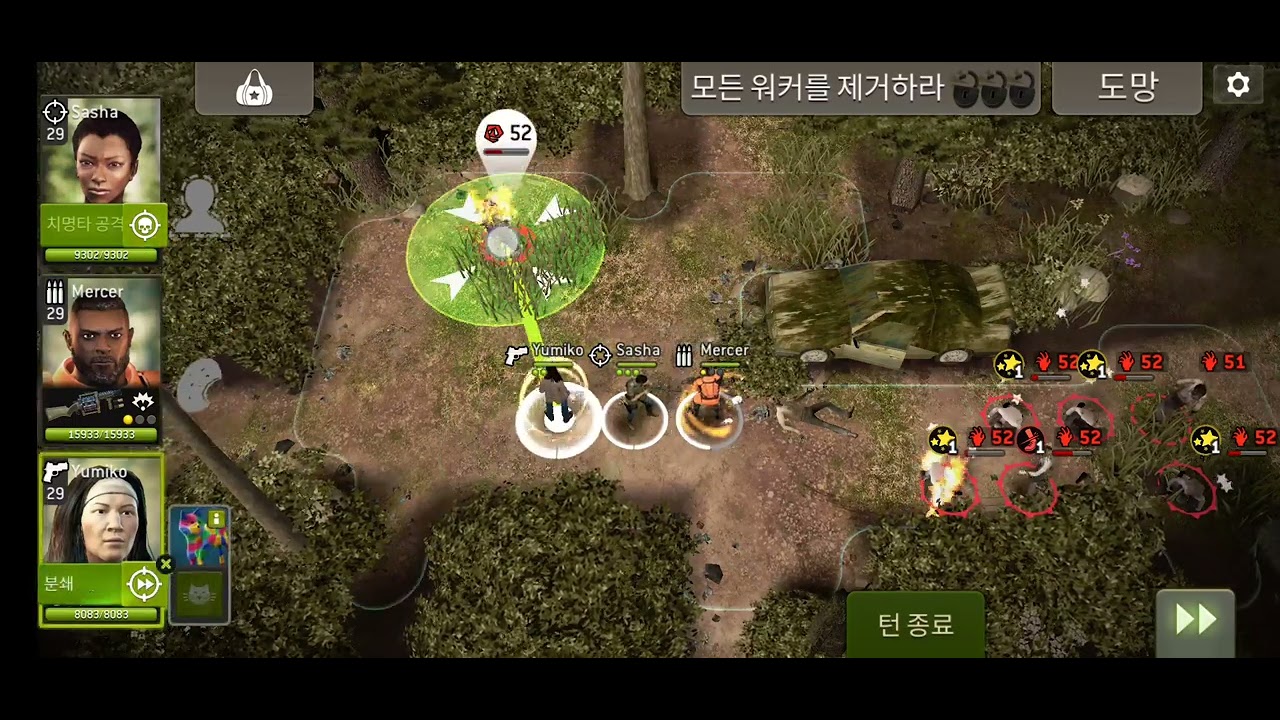
To beat Round 56 in The Walking Dead No Man's Land Season 11B Challenge, anchor your squad behind narrow environmental chokepoints, break heavy walker armor from range, and cycle melee crowd control each turn. Because walker health and damage scale sharply at this stage, surviving requires strict Action Point (AP) preservation and a disciplined leapfrog retreat to the exit.
Squad Composition and Weapon Traits
Field a balanced three-survivor team featuring a defensive melee frontline, armor-piercing ranged damage, and agile crowd control. Pure single-target damage without debuffs will stall against the dense health pools of Commonwealth-themed armored walkers.
| Class | Primary Role | Essential Weapon Traits | Tactical Function |
|---|---|---|---|
| Warrior | Frontline defense | Stun, Concussion | Blocks single-tile lanes and immobilizes clusters of basic walkers. |
| Hunter / Shooter | Ranged armor shred | Piercing, Destructive | Strips heavy armor plates before targets reach melee range. |
| Scout | Crowd control & flanking | Ruthless, Tactical | Applies cripple, eliminates weakened targets, and repositions cheaply. |
Chokepoint Defense and AP Management
Use corridor bottlenecks, fence lines, and barricade openings to force sprawling walker herds into single-tile queues. Funneling enemies eliminates flanking risks and keeps your ranged damage dealers protected.
- Preserve frontline AP: Always end the Warrior's turn with at least one unused Action Point to maintain an active defensive stance and trigger retaliatory strikes.
- Maintain ranged spacing: Place your Shooter or Hunter two to three tiles behind the Warrior with an unobstructed line of sight to the chokepoint entrance.
- Hold position: Never step forward into fog-of-war zones or open clearings during active waves, as unnecessary movement exhausts AP and alerts idle walker clusters.
- Reposition under pressure: If the Warrior takes heavy damage or faces multiple charging walkers, use the Scout's charge attack to knock targets back or swap defensive positions.
Target Prioritization and Threat Meter Control
Armored and charging walkers pose the greatest danger to your defensive line. Unsilenced gunfire and prolonged engagements rapidly fill the mission's Threat Meter, summoning larger reinforcement waves. Dismantle high-priority targets systematically:
- Strip armor first: Target advancing armored walkers with ranged piercing attacks before they get within two movement tiles of your frontline.
- Apply melee crowd control: Once armor plates are broken, strike with the Scout's cripple or the Warrior's stun to immobilize the target for an entire turn.
- Conserve special attacks: Avoid spending charge abilities on low-health regular walkers; save burst damage for incoming armored threats.
- Recharge on stunned targets: Finish off incapacitated walkers with basic melee attacks to refill ability meters before the next wave arrives.
Phased Extraction Strategy
Do not break formation to sprint toward the exit tiles. Late-wave walkers continue to spawn from the map edges, and an uncoordinated rush leaves trailing survivors vulnerable to fatal ambushes.
- Designate a rear guard: Leave the Warrior or an overwatch-ready ranged survivor at the chokepoint to suppress pursuing walkers.
- Advance forward units: Move your other two survivors toward the extraction perimeter using standard movement.
- Establish covering fire: Once the lead survivors reach the extraction boundary, turn them around to cover the retreat path.
- Disengage and extract: Have the rear defender disengage from the choke and spend full movement AP to reach the exit safely alongside the squad.

Free The Walking Dead No Man's Land Codes
Current active codes and how to redeem them.

Emily Johnson
Emily writes practical mobile strategy guides with a focus on resource planning, base progression, and the early decisions that shape a long-term account.
COMMUNITY
Player Comments
119 players commented on this guide.
Nice guide. I am checking the other The Walking Dead No Man's Land articles next.
This guide answered the exact question I had.
Good guide for The Walking Dead No Man's Land players. The strategy part was useful.
The explanation is clear, especially for beginners.