
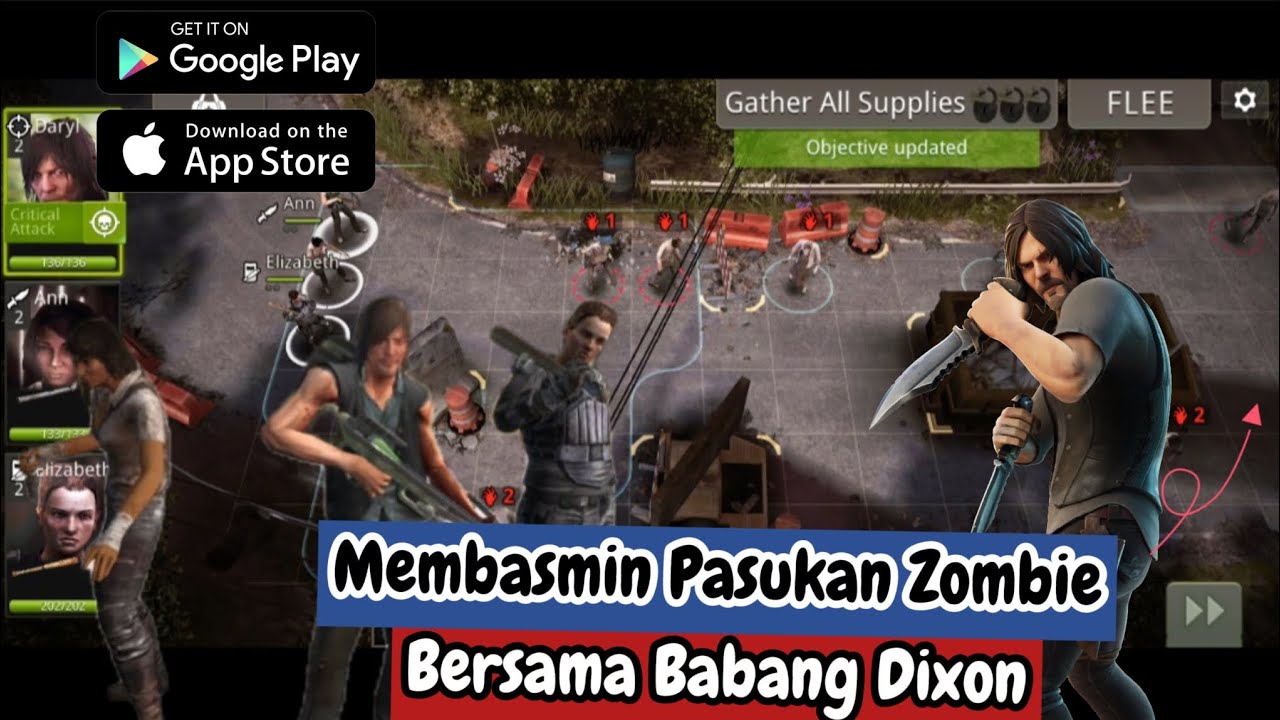
In The Walking Dead No Man's Land, victory is rarely decided by raw power alone; it is determined by your ability to manipulate the grid-based environment and control the movement of the walker horde. The most effective way to optimize your survivor positioning is to treat every turn as a puzzle where you must balance offensive output with defensive integrity. By funneling enemies into narrow corridors, managing line-of-sight, and baiting walkers toward your most durable units, you can clear stages that would otherwise overwhelm a poorly positioned squad.
Mastering Grid-Based Movement and Tile Management
Every mission in The Walking Dead No Man's Land takes place on a tile-based grid. Understanding the movement range of your survivors versus the movement range of walkers is the foundation of survival.
- Check Enemy Range: Before moving, tap on any walker to see their movement radius. Never end a turn within a walker’s "threat zone" unless that survivor is a tanky character specifically intended to bait an attack.
- Action Point (AP) Conservation: Every survivor typically has 2–3 AP. Avoid the "full move" trap; if you move your character to the edge of their range, you leave them with 0 AP for an attack, forced to sit idle while walkers surround them. Always save at least 1 AP for an attack or a defensive action.
- The "One-Step" Rule: If you are unsure of the situation, move only as far as necessary to secure a kill or reach cover. Keeping a bit of movement range in reserve allows you to reposition if a stray walker appears from the fog of war.
Creating and Controlling Chokepoints
The most vital tactical skill in The Walking Dead No Man's Land is forcing enemies to funnel into a single tile. Walkers are dangerous in groups, but trivial when forced into a single-file line.
- Identify Narrow Passageways: Look for doorways, gaps between vehicles, or alleyways.
- Station Your Melee Unit: Place a high-defense survivor (like a Warrior or Tank) at the mouth of the choke point.
- Support from Behind: Position shooters or scouts directly behind the melee unit. Because walkers must enter the choke point one by one, your melee unit can soak up the damage while your ranged units pick them off without ever being in danger.
Managing Action Points for Maximum Combat Efficiency
Action Points are your most precious resource. Efficient play requires "AP chaining," where you ensure that every point spent yields a net positive in board control.
- Prioritize Kills: If a survivor can finish a walker with 1 AP, do it. Clearing a walker is more valuable than moving to a "safer" tile because it removes a source of incoming damage for the entire turn.
- The Retreat Mechanic: Remember that Scouts and certain other classes have specialized movement abilities. If you find yourself overextended, use these abilities to fall back to a safer position rather than wasting AP on ineffective melee swings against multiple targets.
- Defensive Stances: If you have an extra AP and no clear targets, use it to put a survivor into a defensive stance (if available) or move them behind cover. Always end the turn with your survivors facing the direction from which the most walkers are approaching.
Utilizing Environment and Line of Sight
The environment is not just cosmetic; it is a tactical tool. Vehicles, walls, and fences can be used to break enemy pathfinding.
- Obstacle Blocking: Walkers often have "dumb" pathfinding. If you place a character behind a vehicle, a walker may have to walk around the entire structure to reach you, effectively wasting their turn.
- Ranged Advantage: Ranged survivors (Shooters) can fire over small obstacles. Use this to maintain safety while thinning the horde. Always check the line-of-sight indicator; if the path is red, you cannot hit the target. If it is clear, you have a direct shot.
Predicting Enemy Behavior and Baiting
Walkers in The Walking Dead No Man's Land are attracted to noise. Actions like firing loud weapons (rifles, shotguns) or breaking down doors will pull walkers toward that survivor.
- Strategic Baiting: You can intentionally make noise with a durable character to draw walkers away from a fragile teammate. Once the walkers are clustered, use a character with an area-of-effect (AoE) attack or a grenade to clear them all at once.
- Target Priority: Walkers always target the closest survivor. Use this to your advantage by keeping your "tank" closest to the horde while your fragile "shooter" stays just outside of the danger zone. If you move your shooter into the "threat zone," the walkers will switch targets, potentially leading to your shooter being overwhelmed.
Balancing Squad Composition for Success
While you may have a favorite survivor, a balanced team is essential for navigating the variety of missions you will face.
- The Melee/Ranged Split: A standard, effective early-game team consists of two melee survivors (to hold choke points) and two ranged survivors (to provide DPS).
- The Scout Utility: Always try to include at least one Scout. Their ability to move and attack, then potentially move again, makes them the most versatile units for map exploration and objective completion.
- Adaptability: If a mission has many ranged walkers, prioritize speed and cover. If a mission is a "hold out" scenario, prioritize high-armor melee survivors and AOE damage dealers.
Common Mistakes to Avoid
- Overextending: Moving into a new area of the map without clearing the current one is the fastest way to trigger a "swarm" where walkers appear from multiple directions.
- Ignoring the Turn Counter: Some missions have hard limits on the number of turns. Do not play too defensively; you must maintain a steady forward momentum to reach objectives.
- Forgetting to Upgrade: Positioning can only do so much. If your survivors are under-leveled, they will lack the damage output to clear chokepoints effectively. Ensure your gear and levels keep pace with the difficulty of the chapter you are currently attempting.
By consistently applying these principles—funneling enemies, managing AP, and respecting walker movement ranges—you will find that The Walking Dead No Man's Land becomes a game of precision and strategy rather than one of luck. Always plan your final positions before you commit your first action of the turn.

Free The Walking Dead No Man's Land Codes
Current active codes and how to redeem them.

Michael Smith
Michael covers live-service games, events, reward systems, and efficient daily routines, turning frequent updates into clear actions for players.
COMMUNITY
Player Comments
29 players commented on this guide.
Good guide for The Walking Dead No Man's Land players. The base building part was useful.
I tried this today and it worked better than my old setup.
This guide answered the exact question I had.
Nice guide. I am checking the other The Walking Dead No Man's Land articles next.