
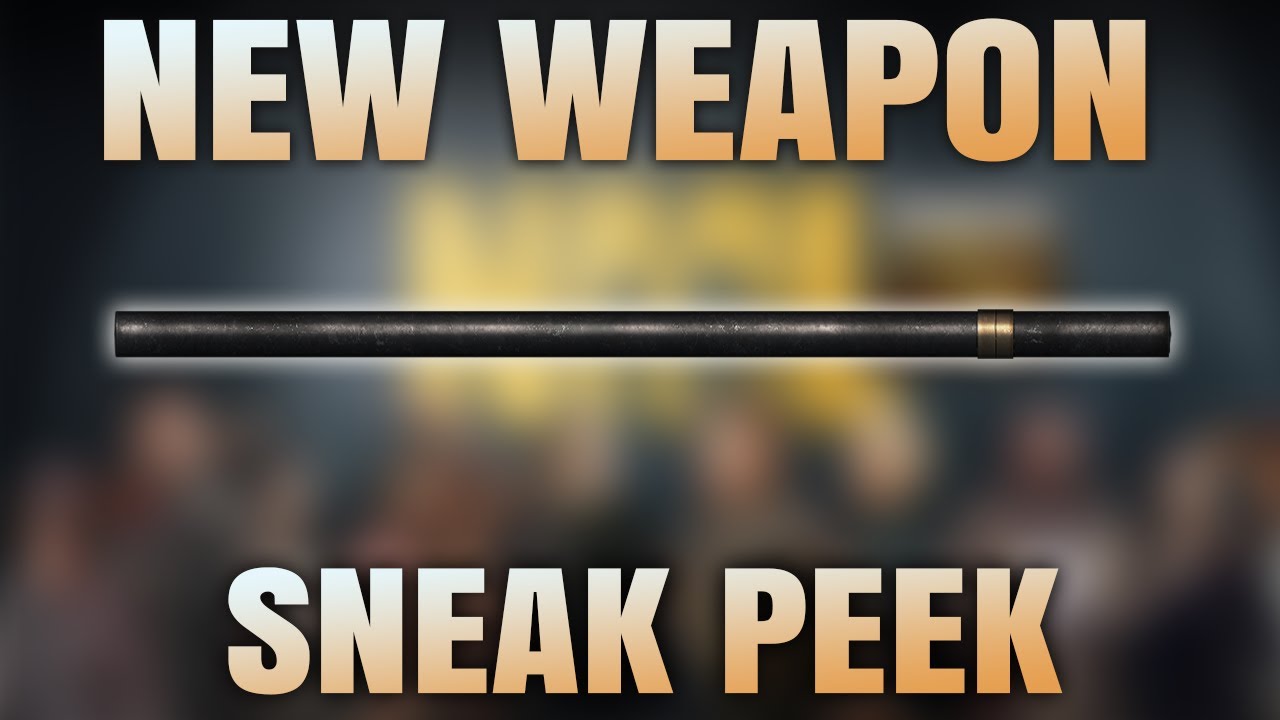
In The Walking Dead No Man's Land, success is rarely determined by raw damage output alone; it is dictated by your ability to manage the board. The Henry Staff stands out as one of the most unique melee tools in the game, shifting the focus from pure lethality to tactical crowd control. If you have been struggling with swarms of walkers overwhelming your perimeter, the Henry Staff provides the necessary breathing room to reposition, mitigate damage, and clear high-density stages with surgical precision.
Why the Henry Staff Changes the Meta
Most weapons in The Walking Dead No Man's Land are categorized by their damage-per-second (DPS) stats or critical hit multipliers. The Henry Staff disrupts this paradigm. It is designed to interrupt the action economy of the walkers. By landing stuns, you effectively remove enemies from the turn order, preventing them from attacking your survivors. In a game where one bad turn can lead to a survivor's death, the ability to "pause" a threat is often mathematically superior to dealing an extra 50 points of damage.
Understanding the Stun Mechanic
The Henry Staff functions on a probability-based proc system. When your survivor connects with a walker, there is a distinct chance to trigger a stun state.
- The "Softening" Effect: Do not view the staff as a primary executioner. Instead, use it to "soften" the incoming tide. By stunning the lead walker in a pack, you create a physical barrier that prevents the walkers behind it from advancing, essentially gating the flow of enemies toward your more vulnerable ranged units.
- Managing RNG: Because the stun is not a 100% guarantee, you must play conservatively. Always assume the stun will not proc on your next turn. By positioning your survivor as if they are going to take a counter-attack, you ensure that even if the luck of the draw isn't in your favor, your team remains safe.
Tactical Positioning: The Front-Line Anchor
The Henry Staff-wielder is your defensive anchor. Because the weapon requires close-quarters combat, your survivor will inevitably be exposed. To mitigate this, you must treat your staff-wielder as a "Tank-Lite" unit.
Optimal Positioning Strategies
- Chokepoint Lockdown: Place your staff-wielder in doorways or narrow alleyways. In these tight corridors, the staff’s ability to stun the front walker prevents the enemies behind it from moving forward, effectively locking the entire pack in place.
- The "Safety Net" Formation: Position your staff-wielder one tile ahead of a high-DPS ranged unit (like a Scout or Shooter). The staff-wielder absorbs the initial aggression and stuns the priority target, while the ranged unit picks off the remaining walkers safely from behind the safety of your melee line.
- Aggro Magnetism: Use the Henry Staff to "tag" the most dangerous walker in a cluster. By making the first move on a high-threat enemy, you force the AI to prioritize that target, allowing your other squad members to focus on clearing the surrounding perimeter without being swarmed.
When to Deploy the Henry Staff
The Henry Staff is not a universal solution for every mission. Recognizing when to equip it is a hallmark of an advanced player.
Best Scenarios
- Horde Missions: Any stage featuring high volumes of low-health enemies is where the staff shines. The ability to stun multiple targets over several turns is far more efficient than burning through ammunition.
- Escort/Protection Objectives: When you must keep an NPC or a specific survivor alive, the staff’s crowd-control utility provides the best defense against enemies closing the distance.
Scenarios to Avoid
- Boss Battles: Many bosses in The Walking Dead No Man's Land feature crowd-control immunity. If you bring the Henry Staff to a boss fight, you are essentially bringing a weapon with lower-than-average damage output and zero utility. In these cases, prioritize weapons with high critical multipliers or damage-over-time effects.
- Low-Density Maps: If the mission involves only a few, high-health targets, the staff loses its effectiveness. You are better off using a heavy-hitting melee weapon or a firearm to clear those threats quickly.
Survivor Synergy and Loadouts
Not every survivor is built to hold the Henry Staff. To maximize the weapon, you must look at your survivor's skill tree. Look for traits such as:
- Increased Dodge: Essential for any melee-focused survivor.
- Armor Boosts: Keeps your staff-user alive during the turns when the stun fails to proc.
- Debuff Duration/Chance: Some survivors possess skills that increase the success rate or duration of status effects. These are the best candidates for the Henry Staff.
Common Mistakes to Avoid
- Over-committing: Never send a staff-wielder into a group of four or more walkers expecting them to stun everyone. The staff is a tool for managing groups, not tanking them.
- Ignoring Weapon Upgrades: Because the staff relies on utility, players often neglect upgrading it. However, the weapon's base stats still dictate its damage. If you don't keep the staff leveled, you won't be able to finish off the enemies you stun, turning a tactical advantage into a wasted turn.
- Neglecting Backup: Never field a staff-wielder without a secondary damage dealer. The staff is a support piece; if your team lacks a "finisher," you will eventually run out of stamina or turns, leading to a mission failure.
Final Verdict: Is the Henry Staff Worth the Investment?
The Henry Staff is an invaluable asset for any player looking to master the mid-to-late game stages of The Walking Dead No Man's Land. While it lacks the raw stopping power of endgame axes or blades, its ability to dictate the pace of a fight is unmatched. If you are struggling with "Horde" challenges or find your team constantly getting surrounded, the Henry Staff is the tactical solution you need. Invest in it, learn its stun thresholds, and use it to turn the tide of the apocalypse in your favor.

Free The Walking Dead No Man's Land Codes
Current active codes and how to redeem them.

Emily Johnson
Emily writes practical mobile strategy guides with a focus on resource planning, base progression, and the early decisions that shape a long-term account.
COMMUNITY
Player Comments
68 players commented on this guide.
Good guide for The Walking Dead No Man's Land players. The strategy part was useful.
This helped me understand strategy much better.
This saved me time in the early game.
Can you add more details about strategy in a future update?