
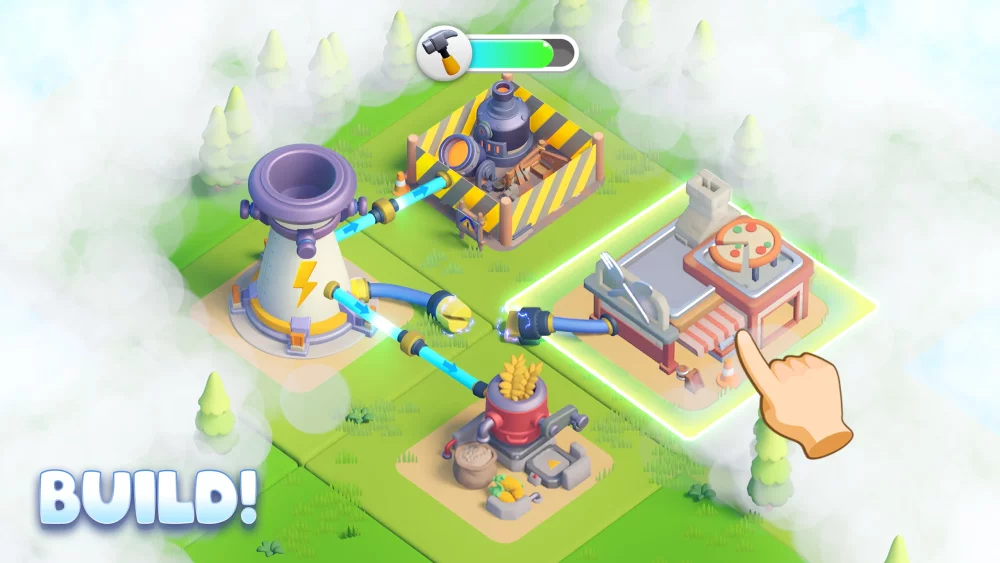
In Tiles Survive!!, the Gravekeeper is more than just another unit; they are a cornerstone of high-level board management. If you are struggling to clear late-game stages, the issue rarely lies in a lack of raw damage, but rather in a lack of board control. The Gravekeeper excels at manipulating the grid, mitigating incoming pressure, and creating windows of opportunity for your damage dealers. Mastering this hero requires a deep understanding of rhythm, synchronization, and the strategic layering of faction bonuses.
The Gravekeeper’s Tactical Utility Explained
The Gravekeeper is a utility-heavy specialist designed to act as a pivot point for your formation. Unlike frontline tanks or glass-cannon DPS units, the Gravekeeper’s value is derived from their ability to disrupt enemy reinforcement patterns.
Core Mechanics
- Grid Manipulation: Gravekeeper abilities often push, pull, or lock tiles. Use these to force high-threat enemies into suboptimal positions where your other units can focus-fire them.
- Damage Mitigation: By controlling the board, the Gravekeeper naturally limits how many enemies can engage your backline simultaneously.
- The "Clutter" Threshold: Gravekeeper skills are most effective when the screen is crowded. Avoid firing their primary abilities against lone, weak targets. Wait until the game's rhythm dictates an enemy "burst" or reinforcement spawn to get maximum value from their AoE utility.
Optimizing Faction Bonuses for Maximum Impact
Tiles Survive!! utilizes a faction system that rewards players for thematic team building. When you field multiple heroes from the same faction, you unlock multiplicative stat boosts that are essential for scaling into the mid and late game.
Why Faction Synergy Matters
Faction bonuses typically provide flat percentage increases to Attack, Health, or Defense. When your Gravekeeper is properly supported by faction-aligned allies, these bonuses ensure your utility isn't just "functional"—it becomes a force multiplier.
Strategic Team Building Tips:
- The 3-2 Split: If you aren't running a full faction team, a 3-2 split (three units from one faction, two from another) is often superior to a rainbow team. It provides two distinct, powerful resonance buffs.
- Stat Balancing: If your Gravekeeper is the weakest link survivability-wise, prioritize faction compositions that grant "Defense" or "Shield" bonuses. If you are failing due to turn-count limits, lean into "Attack Speed" or "Damage" synergies.
- Cross-Faction Synergy: Identify which factions possess the best "enablers"—units that grant energy or speed—and pair them with the Gravekeeper to ensure their skill cooldowns align with critical enemy waves.
Tactical Deployment and Mission Flow
In Tiles Survive!!, timing is everything. The Gravekeeper is a "mid-stage" hero, meaning their value is lowest during the opening turns and highest when the board is at its most chaotic.
The Three-Phase Deployment Model
- Phase 1: Setup (Turns 1-3): Focus on clearing basic obstacles and positioning your primary DPS units. Keep the Gravekeeper in reserve or in a low-risk lane. Do not burn their skills on the initial wave.
- Phase 2: Management (Turns 4-6): This is the Gravekeeper's primary window. As elite enemies and reinforcements begin to overwhelm your formation, deploy the Gravekeeper to disrupt their movement and peel for your damaged units.
- Phase 3: Execution (Late Game): With the board under control, use the Gravekeeper to lock down bosses or high-threat targets while your DPS units finish the mission.
Preventing Common Strategic Mistakes
Even experienced players often fall into traps that stifle their progression. Avoid these common pitfalls to keep your Gravekeeper relevant.
1. The Resource Spread Trap
Players often try to level every hero in their barracks equally. This is a mistake in Tiles Survive!!. Focus your upgrade materials on a single core faction team. A "level 50" team with maxed-out faction synergies will always outperform a "level 30" team of random high-rarity units.
2. Ignoring "Tile Pressure"
The Gravekeeper’s effectiveness is tied to the physical layout of the grid. If you ignore the tiles that provide buffs or debuffs, you are failing to use half of the hero's kit. Always prioritize moving your Gravekeeper onto tiles that provide Energy or Cooldown Reduction.
3. Over-Reliance on Autoplay
While the game features an automated mode, the Gravekeeper’s kit is too nuanced for the AI to handle perfectly. The AI often uses Gravekeeper skills as soon as they are available, wasting their potential on low-priority targets. For high-difficulty stages, manual control is non-negotiable.
Comparison: Gravekeeper vs. Alternative Utility Units
When deciding whether to slot the Gravekeeper, compare them against other common utility archetypes:
| Hero Archetype | Strengths | Weaknesses | Best Role |
|---|---|---|---|
| Gravekeeper | Board control, disruption | Low burst damage | Mid-game stabilization |
| Support Healer | Sustain, health recovery | No board control | Prolonged survival |
| Debuffer | Stat reduction on enemies | Fragile, requires setup | Boss encounters |
The Gravekeeper is your best choice when the mission involves high enemy density or "rush" mechanics where enemies move quickly toward your base. If you are facing a slow-moving, high-HP boss, you might find more value in a pure debuffer or healer.
Conclusion: Mastering the Rhythm
To succeed with the Gravekeeper in Tiles Survive!!, you must stop thinking of them as a source of damage and start viewing them as a conductor for the battlefield. By aligning your faction choices to support their unique utility and learning to hold your skills until the perfect moment, you will find that even the most difficult stages become manageable. Remember: in Tiles Survive!!, the board is your greatest weapon, and the Gravekeeper is the tool that lets you wield it.

Free Tiles Survive! Codes
Current active codes and how to redeem them.

Michael Smith
Michael covers live-service games, events, reward systems, and efficient daily routines, turning frequent updates into clear actions for players.
COMMUNITY
Player Comments
63 players commented on this guide.
The tips are practical and easy to follow.
Good guide for Tiles Survive! players. The base building part was useful.
This guide answered the exact question I had.
The explanation is clear, especially for beginners.