
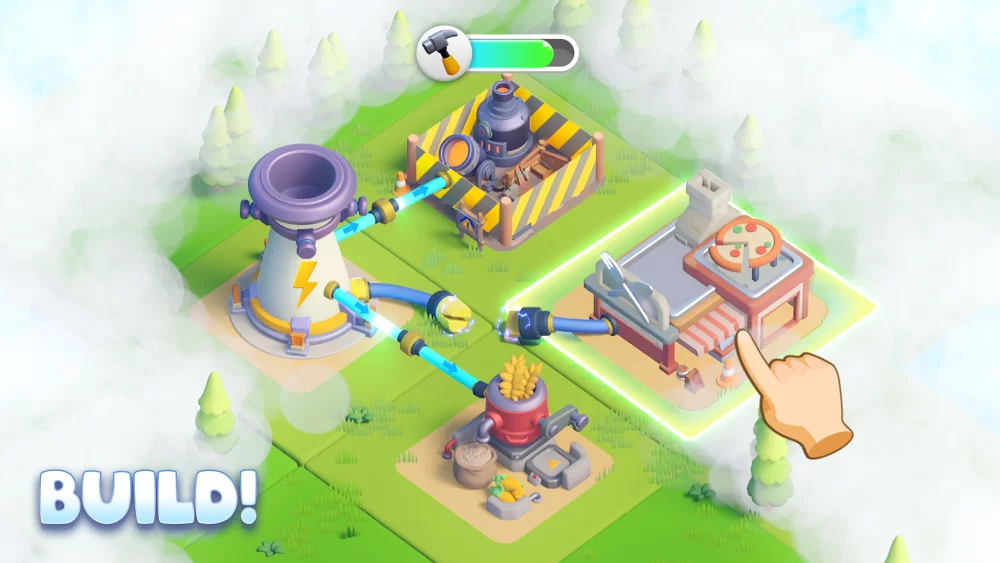
Reaching Stage 5-10 in Tiles Survive!! often presents a significant challenge due to the specific enemy placement and the necessity of utilizing ricochet mechanics to reach shielded or distant targets. Success at this stage relies less on raw power and more on your ability to visualize geometry and maximize your projectile's path.
Understanding Ricochet Mechanics
In Tiles Survive!!, the ricochet system allows your attacks to bounce off specific surface boundaries. In Stage 5-10, enemies are frequently positioned in a way that makes direct line-of-sight shots ineffective.
- Boundary Geometry: Projectiles will bounce at an angle equal to the impact angle. Aiming near corners often yields the most unpredictable results, so focus on flat wall surfaces for consistent trajectories.
- Target Prioritization: Always clear the "blocking" enemies first. If a target is shielded by a tile or an obstacle, look for the wall surface that aligns with the target's exposed side.
- The Angle of Incidence: When aiming, imagine an invisible line extending from the target back to the wall. Positioning your shot to hit the wall at that specific point will increase your accuracy significantly.
Tactical Positioning for Stage 5-10
The layout of 5-10 requires a methodical approach to board control. Attempting to brute-force the level by firing directly at the front-most enemies will likely result in wasted turns.
| Strategy Component | Focus Area | Goal |
|---|---|---|
| Wall Bouncing | Side and Top Rails | Bypass front-line obstacles to hit rear enemies. |
| Cluster Clearing | Tight Corner Shots | Trigger chain reactions that damage multiple targets. |
| Angle Adjustment | Micro-movements | Fine-tune your aim to account for movement patterns. |
Advanced Tips for Consistent Clearing
To master the ricochet shots required for 5-10, keep these tactical adjustments in mind:
- Don't Rush Your Aim: The game does not penalize you for taking time to calculate your bounce. Use the visual aiming line to verify that the trajectory reflects off the wall and lands on the target's hit-box.
- Identify "Dead Zones": Certain areas of the map are poor candidates for bounces because they lead to loops or unproductive paths. If you find your projectile consistently missing, switch to the opposite wall to change the angle of entry.
- Utilize Enemy Movement: Wait for enemy patterns to align. Some targets in 5-10 move across your line of fire; timing your shot to catch them as they transition into the "bounce path" is often more effective than trying to hit a stationary target behind cover.
- Prioritize Efficiency: Each turn spent repositioning is a turn where your base or hero team takes damage. Aim for the most "dense" part of the enemy group to maximize the value of every single shot.
By treating the board as a geometry puzzle rather than a standard combat screen, you can navigate the complexities of Stage 5-10 with much greater success and lower resource consumption.

Free Tiles Survive! Codes
Current active codes and how to redeem them.

Emily Johnson
Emily writes practical mobile strategy guides with a focus on resource planning, base progression, and the early decisions that shape a long-term account.
COMMUNITY
Player Comments
134 players commented on this guide.
Can you add more details about strategy in a future update?
This helped me understand strategy much better.
This guide answered the exact question I had.
The tips are practical and easy to follow.