
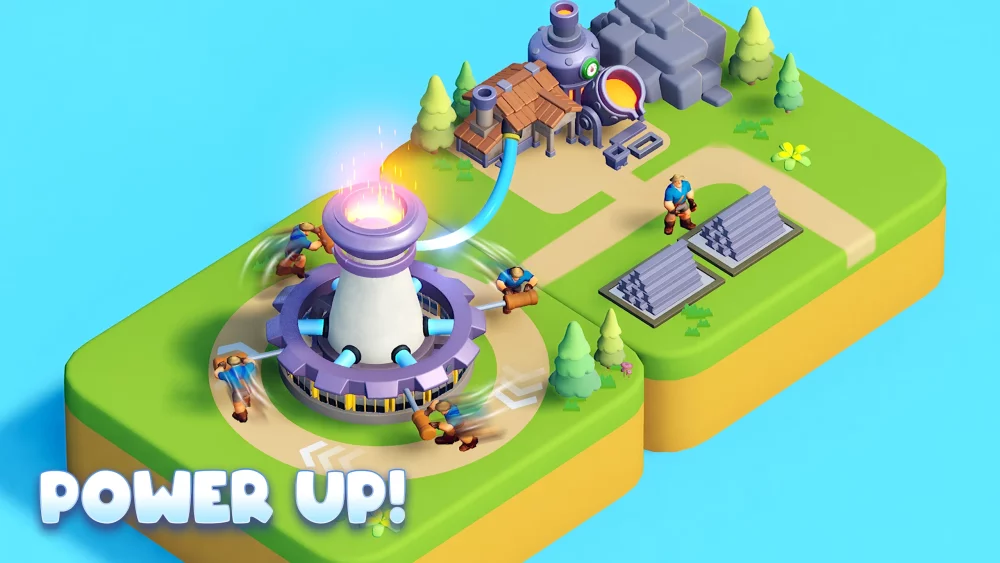
Navigating the early stages of Tiles Survive!! requires a shift in mindset from simple movement to calculated geometry. Stage 2-1 serves as a critical checkpoint where players must move beyond basic attacks and master the art of the ricochet. By understanding how your character interacts with wall bounces, you can clear crowded stages more efficiently and conserve your health pool.
Understanding Ricochet Physics
In Tiles Survive!!, every bounce increases the travel distance of your hero, which can be both a blessing and a curse.
- Angle of Incidence: The angle at which you strike a wall determines your exit trajectory. Shallow angles allow for wide, sweeping clears across the bottom of the arena, while steep angles are better for hitting targets tucked behind obstacles.
- Momentum Conservation: Striking a wall does not reduce your speed, but it does change your target focus. Use walls to "hook" your movement around clusters of enemies that are otherwise blocked by environmental tiles.
- Predictive Pathing: Before launching, observe the projected pathing indicator. If the path leads directly into a hazard or a dead end, adjust your starting position rather than relying on a complex multi-bounce shot.
Tactical Positioning for Stage 2-1
Stage 2-1 introduces tighter enemy formations that punish players who simply aim for the center of the screen. Use these positioning tactics to maximize your output:
| Strategy | When to Use | Result |
|---|---|---|
| Corner Anchoring | When enemies are clustered in the middle | Creates a "pinball" effect that hits the center from multiple sides. |
| The Parallel Bounce | When facing long rows of mobs | Allows you to clear an entire line in a single pass. |
| Wall-Hug Launch | When surrounded by high-damage hazards | Minimizes the distance traveled, allowing for tighter control of your landing spot. |
Resource and Health Management
Survival in Tiles Survive!! is not just about clearing tiles; it is about sustaining your hero through the entire encounter.
- Prioritize Pathing over Damage: It is better to take a slightly longer route that ends in a safe zone than to take a direct shot that leaves you exposed to enemy retaliation.
- Chain Reactions: Look for tiles that trigger secondary effects. In stage 2-1, hitting a tile that initiates a chain reaction can clear more space than a direct hit on an enemy.
- The "Safety First" Bounce: If you are low on health, prioritize bounces that move you toward the edges of the board. The center is often the most dangerous area due to the density of enemy attacks.
Tips for Consistent Clears
- Don't Over-calculate: While geometry is important, don't spend too long on your turn. Rapid, decisive movements often prevent enemies from repositioning into harder-to-hit spots.
- Analyze the Board State: Before your first move in Stage 2-1, scan the entire layout. Identify which tiles are obstacles and which are paths. Your goal is to navigate the paths, not break through the obstacles.
- Adapt to Movement Speed: As you progress, your hero's speed may fluctuate. Re-learn your ricochet angles every time your hero receives a movement buff or debuff to avoid miscalculating your end position.
By focusing on the geometry of the arena and treating walls as tools rather than barriers, you will find Stage 2-1 significantly easier to clear. Consistency in Tiles Survive!! comes from recognizing these patterns early and applying them to every new layout you encounter.

Free Tiles Survive! Codes
Current active codes and how to redeem them.

Emily Johnson
Emily writes practical mobile strategy guides with a focus on resource planning, base progression, and the early decisions that shape a long-term account.
COMMUNITY
Player Comments
98 players commented on this guide.
The explanation is clear, especially for beginners.
Nice guide. I am checking the other Tiles Survive! articles next.
This helped me understand early game much better.
The tips are practical and easy to follow.