
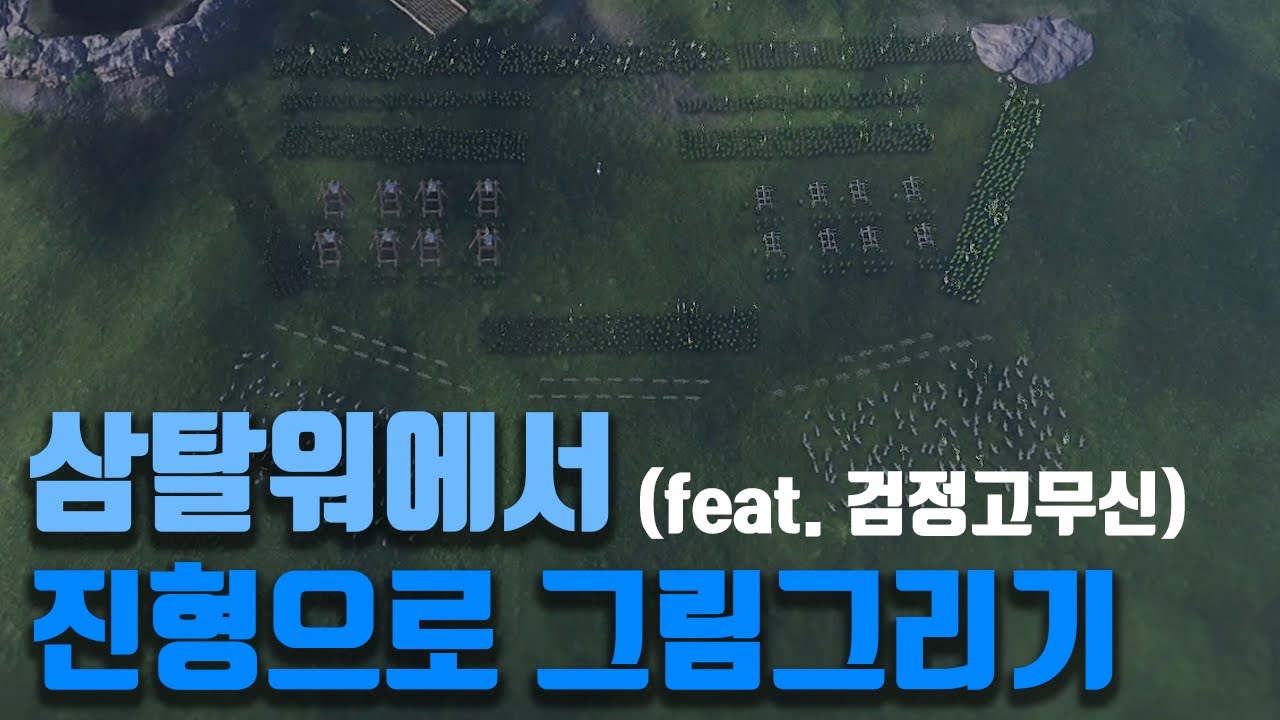
To establish battlefield control in Tiny War: Kingdom Defense, deploy high-defense infantry in a tight horizontal frontline, position ranged units directly behind them, and hold cavalry on the flanks for targeted counter-attacks. Structured unit placement prevents enemy breaches and keeps your high-damage units protected during wave engagements.
| Unit Role | Primary Position | Tactical Objective | Failure Point |
|---|---|---|---|
| Infantry | Frontline center | Form a dense wall to absorb initial enemy charges | Spreading units too thin creates gaps for enemy cavalry |
| Ranged | Directly behind infantry | Deliver continuous fire into clustered enemies | Repositioning mid-combat reduces overall damage output |
| Cavalry | Outer flanks or reserve line | Flank the enemy to eliminate archers and support units | Remaining stationary in prolonged melee engagements |
Deploying a Tight Infantry Frontline
Your frontline infantry functions as the core anchor of your defense. Position high-defense infantry side by side in a tight, horizontal line to create a physical barrier against incoming forces.
- Maintain dense spacing: Keep infantry units close together. Spacing them too far apart creates open lanes that enemy cavalry can exploit to bypass your frontline.
- Absorb enemy momentum: Let the enemy charge directly into your anchored wall. Holding the line keeps enemy units stationary, turning them into clear targets for your backline damage dealers.
Positioning Ranged Units for Uninterrupted Damage
Ranged units deliver their highest damage output when stationary. Placing archers directly behind the center of your infantry line keeps them safe while minimizing the need for mid-combat movement.
- Cluster behind the center: Group archers behind the midpoint of your infantry anchor to focus fire on incoming enemy clusters.
- Stay within hero aura range: Keep ranged units close enough to frontline heroes to receive active support buffs and defensive benefits.
- Avoid back-of-map placement: Do not retreat ranged units to the far edge of the map unless anticipating a direct rear ambush, as excessive distance reduces effective battlefield coverage.
Executing Flanking Maneuvers with Cavalry
Keep cavalry out of the initial head-on clash. Holding cavalry on the outer flanks allows you to manipulate enemy target prioritization once the main battle lines meet.
Wait until the enemy infantry engages your anchored frontline, then launch sweeping flank attacks around the sides of the battle. Direct your cavalry straight toward vulnerable enemy archers and support units. This maneuver forces enemy forces to shift focus toward their backline, relieving pressure on your frontline infantry. Once the strike is complete, pull cavalry back out; use repeated hit-and-run cycles rather than keeping cavalry in static melee combat.
Adjusting Formations Under Pressure
Adapt your formation shape based on incoming terrain features and enemy unit compositions:
- Use terrain barriers: Anchor one side of your infantry line against map obstacles such as forests or hills to block flanking routes and reduce the width of your active combat zone.
- Respond to enemy line width: If the enemy deploys in a wide formation, broaden your infantry line to match. If enemy forces charge in a dense cluster, deepen your frontline center to absorb the shock.
- Rotate damaged units: When frontline units take severe damage, pull them back behind fresh reserve troops to reform the defensive line before the wall breaks.

Free Tiny War: Kingdom Defense Codes
Current active codes and how to redeem them.

Emily Johnson
Emily writes practical mobile strategy guides with a focus on resource planning, base progression, and the early decisions that shape a long-term account.
COMMUNITY
Player Comments
47 players commented on this guide.
This guide answered the exact question I had.
I wish I had read this before upgrading the wrong thing.
The explanation is clear, especially for beginners.
This helped me understand strategy much better.