
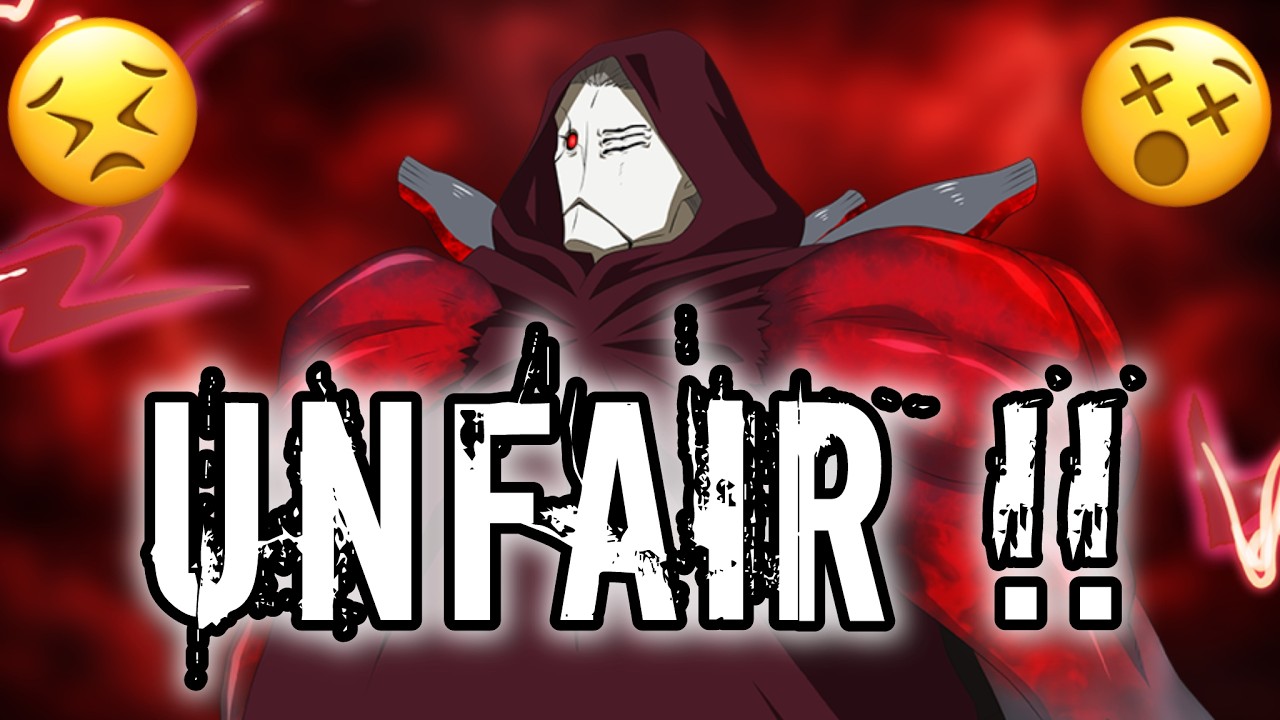
To run the new Owl effectively in Tokyo Ghoul · Break the Chains, pair him with dedicated energy buffers and defensive sustain supports who can charge his ultimate while keeping his health above his passive activation thresholds. Owl functions as an offensive bruiser who relies on stacking combat buffs, mitigating damage through shields, and releasing a team-wide area-of-effect (AoE) ultimate that shreds armor and applies debuffs.
Team Lineup and Support Roles
Because Owl supplies the core area damage, his supporting teammates must focus on charging his energy pool, absorbing incoming single-target burst, and cleansing crowd control.
| Slot | Role | Example Synergies | Key Function |
|---|---|---|---|
| Main Carry | Frontline AoE Bruiser | New Owl | Absorbs pressure, applies debuffs, and wipes waves with his ultimate |
| Energy Battery | Ultimate Accelerator | Support Hide, Misa | Supplies rapid rage generation to trigger Owl's ultimate by Turn 2 |
| Defensive Anchor | Damage Redirect / Tank | Noro, Tank Arima, Shado | Soaks single-target burst to protect the backline and Owl's HP |
| Utility Healer | Cleanser / Sustain | School Maid Touka, SSR Support | Removes disables and heals Owl to maintain his high-HP passive traits |
Deploying a secondary frontline threat or redirect tank like Noro splits incoming enemy focus. This prevents opponents from targeting Owl with concentrated single-target bursts before his shields activate.
Skill Rotation and Turn Sequence
Card efficiency and merging determine how quickly Owl reaches full damage potential. Merge cards to increase their skill rank whenever possible, as higher card ranks boost both Owl's damage modifiers and the shield values he generates.
- Turn 1 (Buff and Energy Setup): Play energy generation cards from your support units alongside team defensive shields or attack buffs. Activate Owl's positioning or self-buff skills first to begin stacking offensive bonuses instead of spending raw, unbuffed attack cards.
- Turn 2 (Shielding and Debuffing): Apply defensive shields to guard Owl against early counter-attacks. Use your utility slot to inflict defense-down debuffs on high-value targets before playing Owl's heavy hits.
- Turn 3 (Ultimate Execution and Clean-Up): Cast Owl’s AoE ultimate as soon as enemy defensive barriers expire. Follow up with any merged AoE sweep cards to finish off remaining backline enemies. If targets survive, cycle defensive and recovery cards immediately to restore Owl's passive protection markers.
Stat Priorities
Build Owl with a hybrid focus that maximizes offensive critical potential while retaining sufficient survivability to stay above his passive bonus thresholds.
- Attack % and Critical Rate: Prioritize these primary offensive stats so his broad AoE skills can punch through enemy barriers. A Critical Rate of 60% or higher provides consistent execution power.
- Critical Damage: Invest heavily in Critical Damage once your Critical Rate baseline is established.
- Damage Reduction and HP %: Allocate secondary stats to survival pools so Owl does not fall below his required health thresholds during enemy burst phases.
- Gear and Card Effects: Equip gear and memory sets that grant bonus damage following ultimate activation, convert outgoing damage into protective shields, or supply passive energy regeneration.
Matchup Tactics
- Against Single-Target Assassin Teams: Burst units like DST Ayato or Carnival Juzo can eliminate Owl before his defensive mechanics cycle. Run a tank with taunt or redirection abilities and position Owl away from standard focus lanes to force single-target nukes onto your frontline anchor.
- Against Control and Freeze Lineups: If enemy teams rely on silence or stun effects, an immobilized battery will delay Owl's cycle. Equip cleansing cards on your utility support, prioritize removing disables from Owl before taking action, and rely on his built-in durability to win extended exchanges.

Free Tokyo Ghoul · Break the Chains Codes
Current active codes and how to redeem them.

Emily Johnson
Emily writes practical mobile strategy guides with a focus on resource planning, base progression, and the early decisions that shape a long-term account.
COMMUNITY
Player Comments
102 players commented on this guide.
I tried this today and it worked better than my old setup.
This saved me time in the early game.
I wish I had read this before upgrading the wrong thing.
This helped me understand strategy much better.