
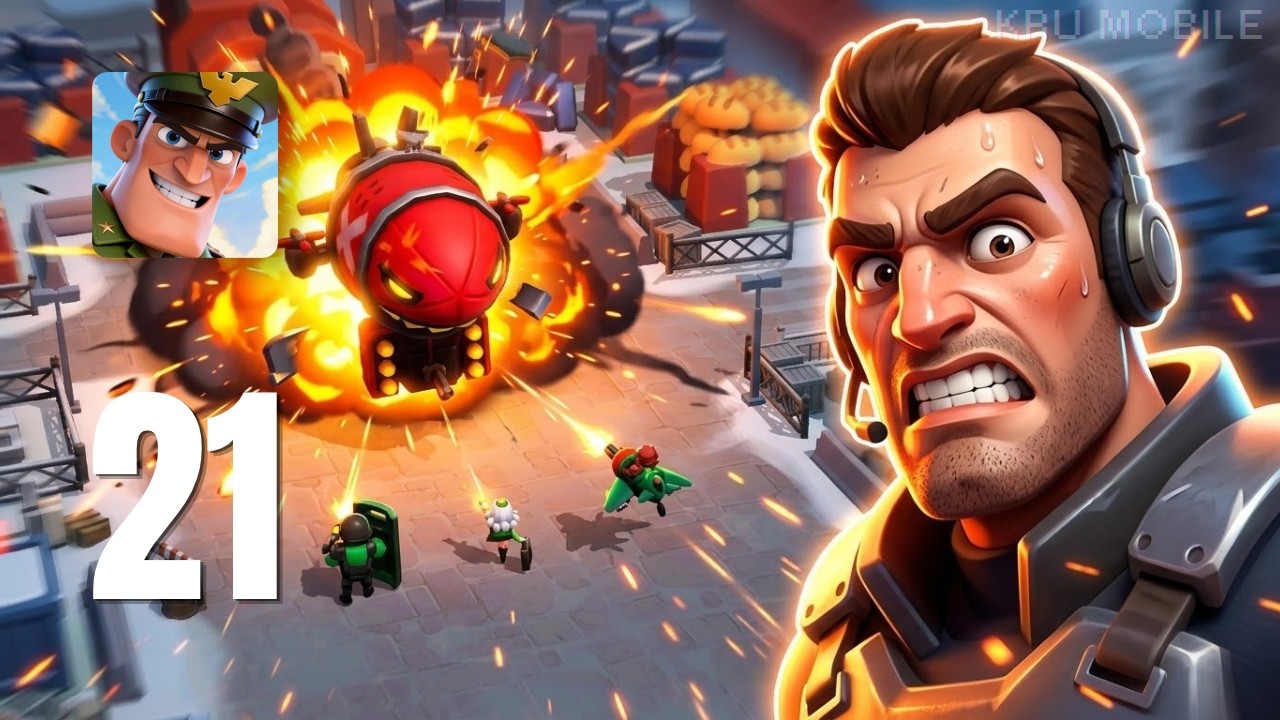
To clear Missions 480 through 495 in Top Force: Commander, disable auto-combat, switch to a dual-tank formation, and manually direct single-target burst skills at enemy backline artillery before attacking frontline barricades.
Stages across this bracket feature heavy, front-loaded damage from concentrated enemy barrages. If your frontline collapses in the opening five seconds, enemy ranged units will wipe out your backline damage dealers. Surviving requires manual skill timing and dedicated frontline coverage.
Squad Composition and Role Allocation
Single-tank setups frequently fail between Missions 485 and 492 because enemy heavy infantry execute multi-target sweeping attacks. Deploying a secondary bruiser prevents crowd control from opening a path straight to your rear damage dealers.
| Role | Battlefield Responsibility | Unit Type |
|---|---|---|
| Main Tank | Pulls primary aggro and absorbs opening burst | High-HP armored infantry or heavy mech units |
| Secondary Bruiser | Catches flanking units and stabilizes the frontline | Hybrid off-tank with shields or self-healing |
| Burst DPS | Eliminates high-threat backline mortars and snipers | High single-target hero with targeted active skills |
| Sustained DPS | Dismantles heavy enemy frontliners and barricades | Continuous automatic gunner or armor-shred specialist |
| Tactical Support | Provides crowd control, healing, and skill energy | Disruption caster or energy-generating support |
Position your primary tank and secondary bruiser slightly offset rather than directly side by side. This spatial separation prevents enemy explosive projectiles and area-of-effect (AoE) strikes from hitting both defensive anchors at the same time.
Target Priority and Combat Flow
Enemy rocket launchers and mortar teams deal lethal splash damage across your team if left unattended. Neutralize these backline artillery units before spending cooldowns on high-durability frontline barricades.
Execute combat actions in the following order:
- Absorb the opening volley: Let your frontline absorb the initial barrage. Activate defensive shields only when enemy commanders begin charging their weapon systems.
- Interrupt incoming waves: Hold crowd-control stuns and AoE nukes until enemy reinforcement waves fully assemble on the field.
- Snipe high-threat targets: Direct manual burst abilities at rear artillery batteries and mortars immediately to prevent repeated splash damage rotations.
- Dismantle the frontline: Once backline threats are cleared, use your sustained DPS units to finish off heavy armored bruisers and barricades.
Manual control is critical on Missions 488, 491, and 495. Auto-combat routines fire ultimate abilities as soon as energy gauges fill, wasting high-impact abilities on low-health stragglers or immune barriers.
Troubleshooting Stage Bottlenecks
If you get stuck on a specific encounter between Missions 490 and 495, adjust your squad loadout based on the exact failure condition:
- Frontline dies within 10 seconds: Strip defensive gear and high-tier armor from secondary units and equip them onto your main tank and off-tank to raise their survival thresholds against the opening salvo.
- Stage timer runs out before the final wave clears: If your tanks survive the full mission but lack clear speed, remove your utility support hero and add an armor-piercing damage specialist to break high-defense targets faster.
Free Top Force: Commander Codes
Current active codes and how to redeem them.

Sarah Williams
Sarah specializes in RPG and collection games, explaining team building, character growth, and beginner-friendly ways to avoid expensive early mistakes.
COMMUNITY
Player Comments
99 players commented on this guide.
This guide answered the exact question I had.
This saved me time in the early game.
Nice guide. I am checking the other Top Force: Commander articles next.
Can you add more details about strategy in a future update?